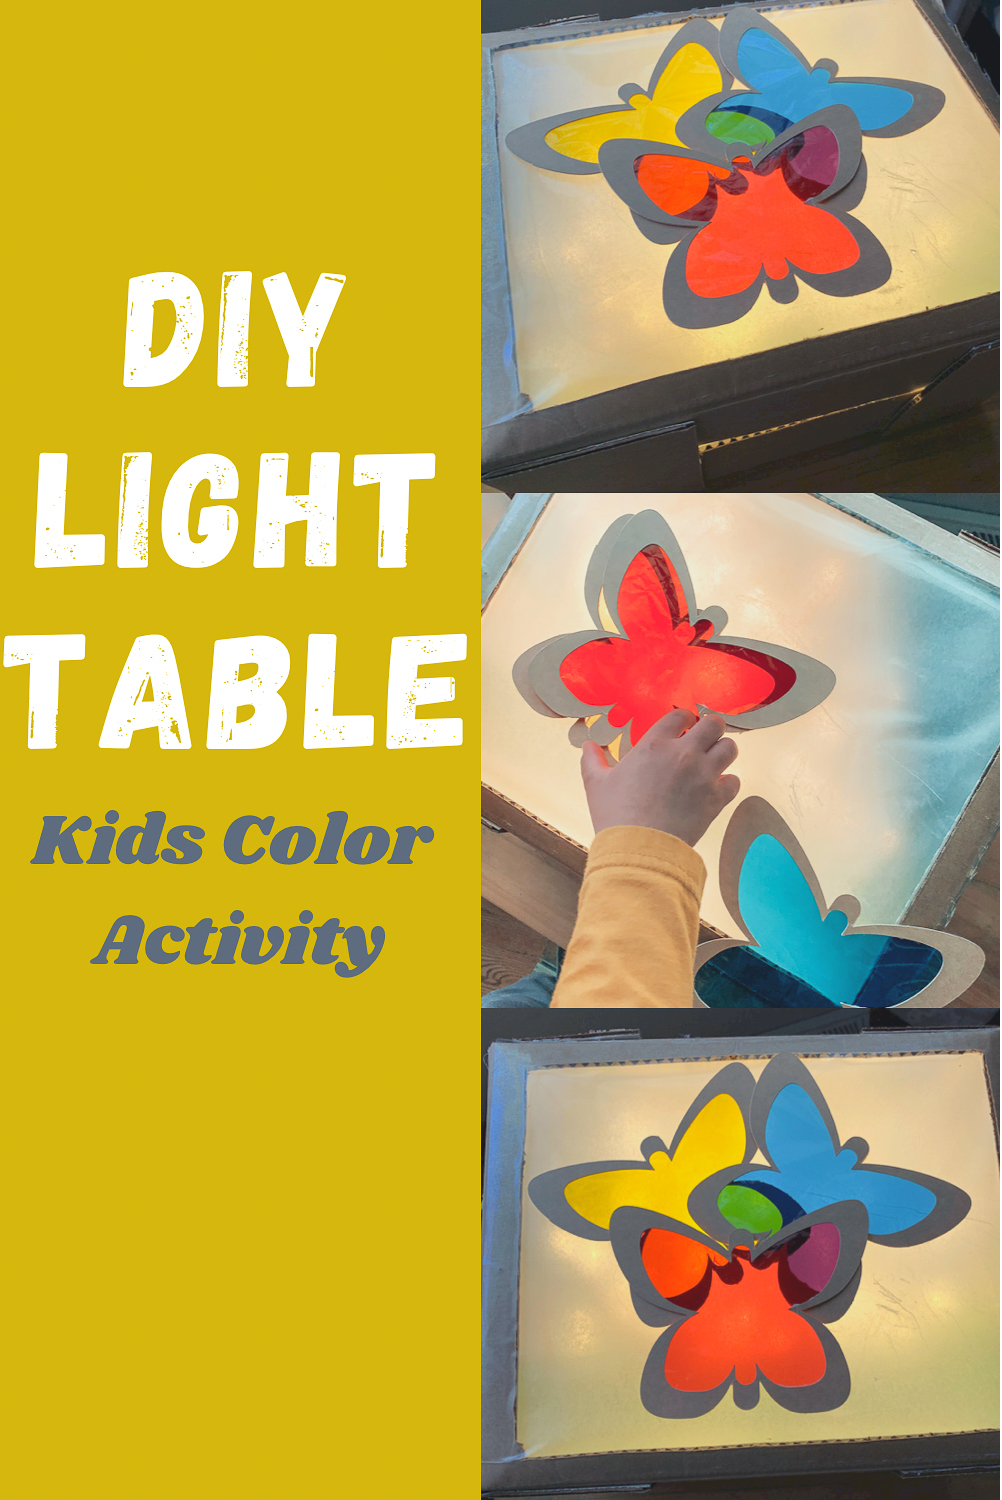
I think you reach a whole new level of being obsessed with kids activities when you start dreaming about them. This DIY light table idea was thought up while I was sleeping. It was totally random but I loved the idea! I have never seen anything quite like it.
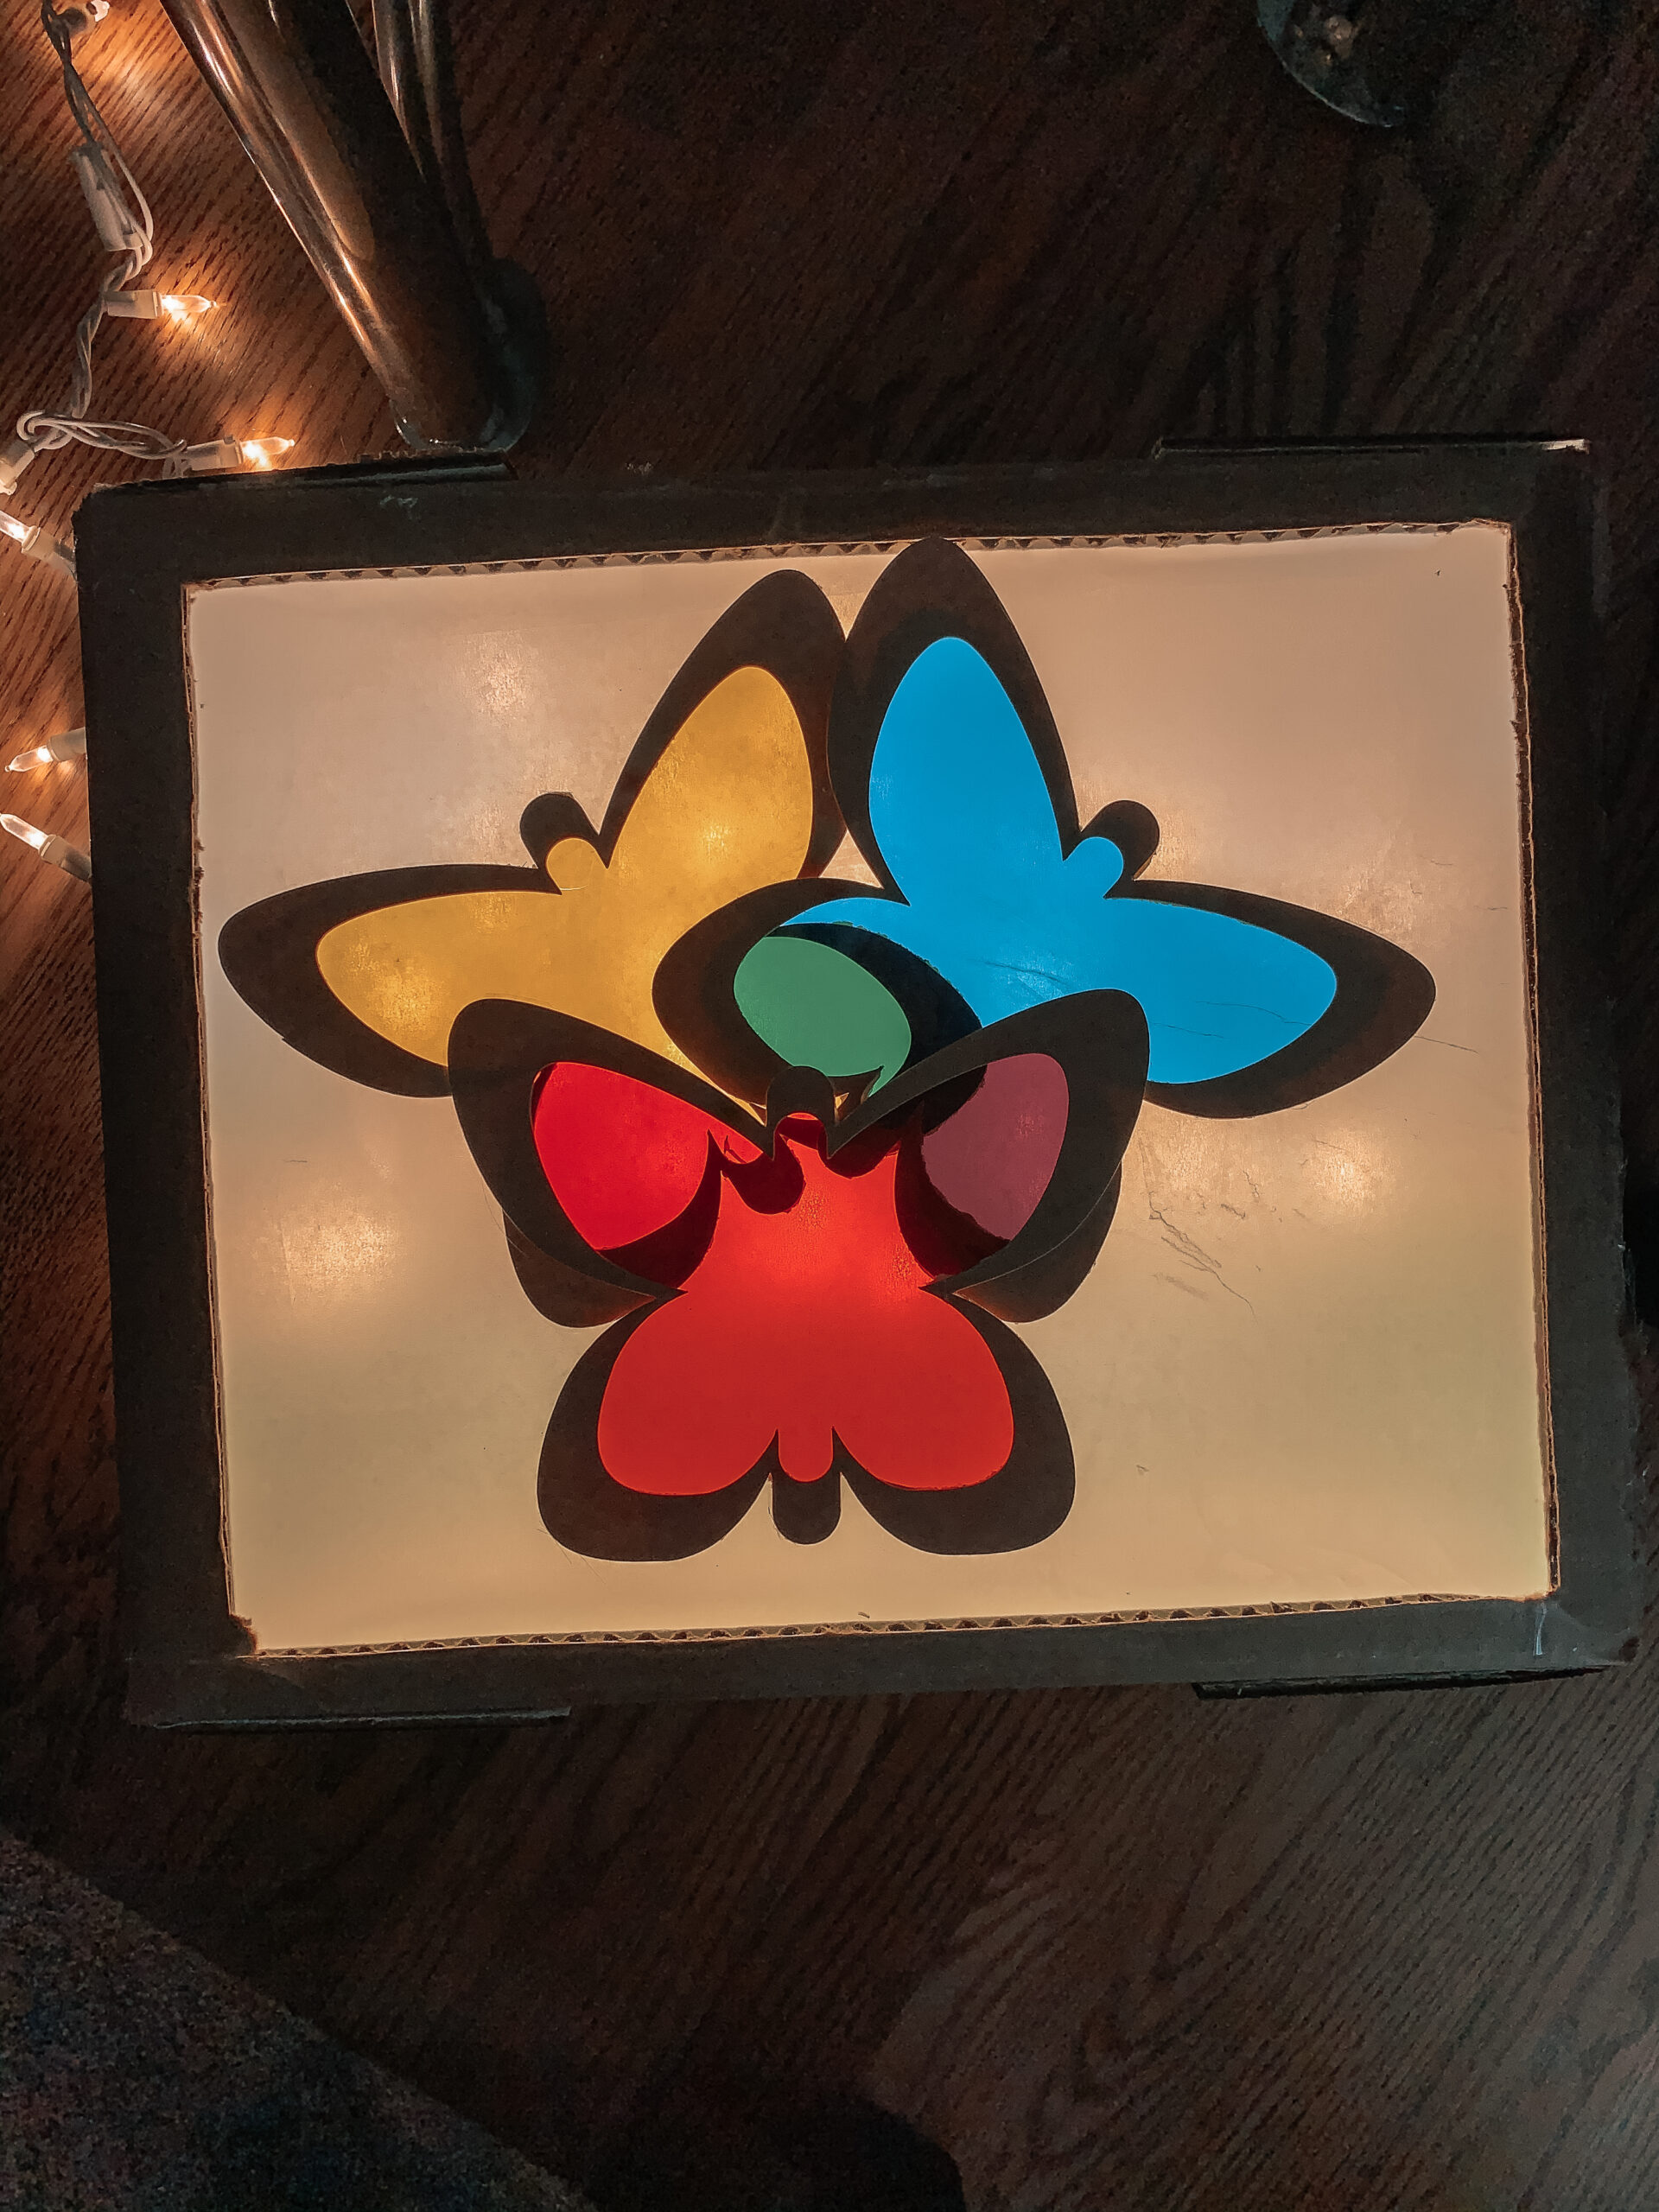
This light table is a fun way to teach your kids how primary colors can be combined to create secondary colors. Bonus is that it is mess free!
How I Made This DIY Light Table
First, I began this project with a baby wipes box. I cut a section out of the top of the box.
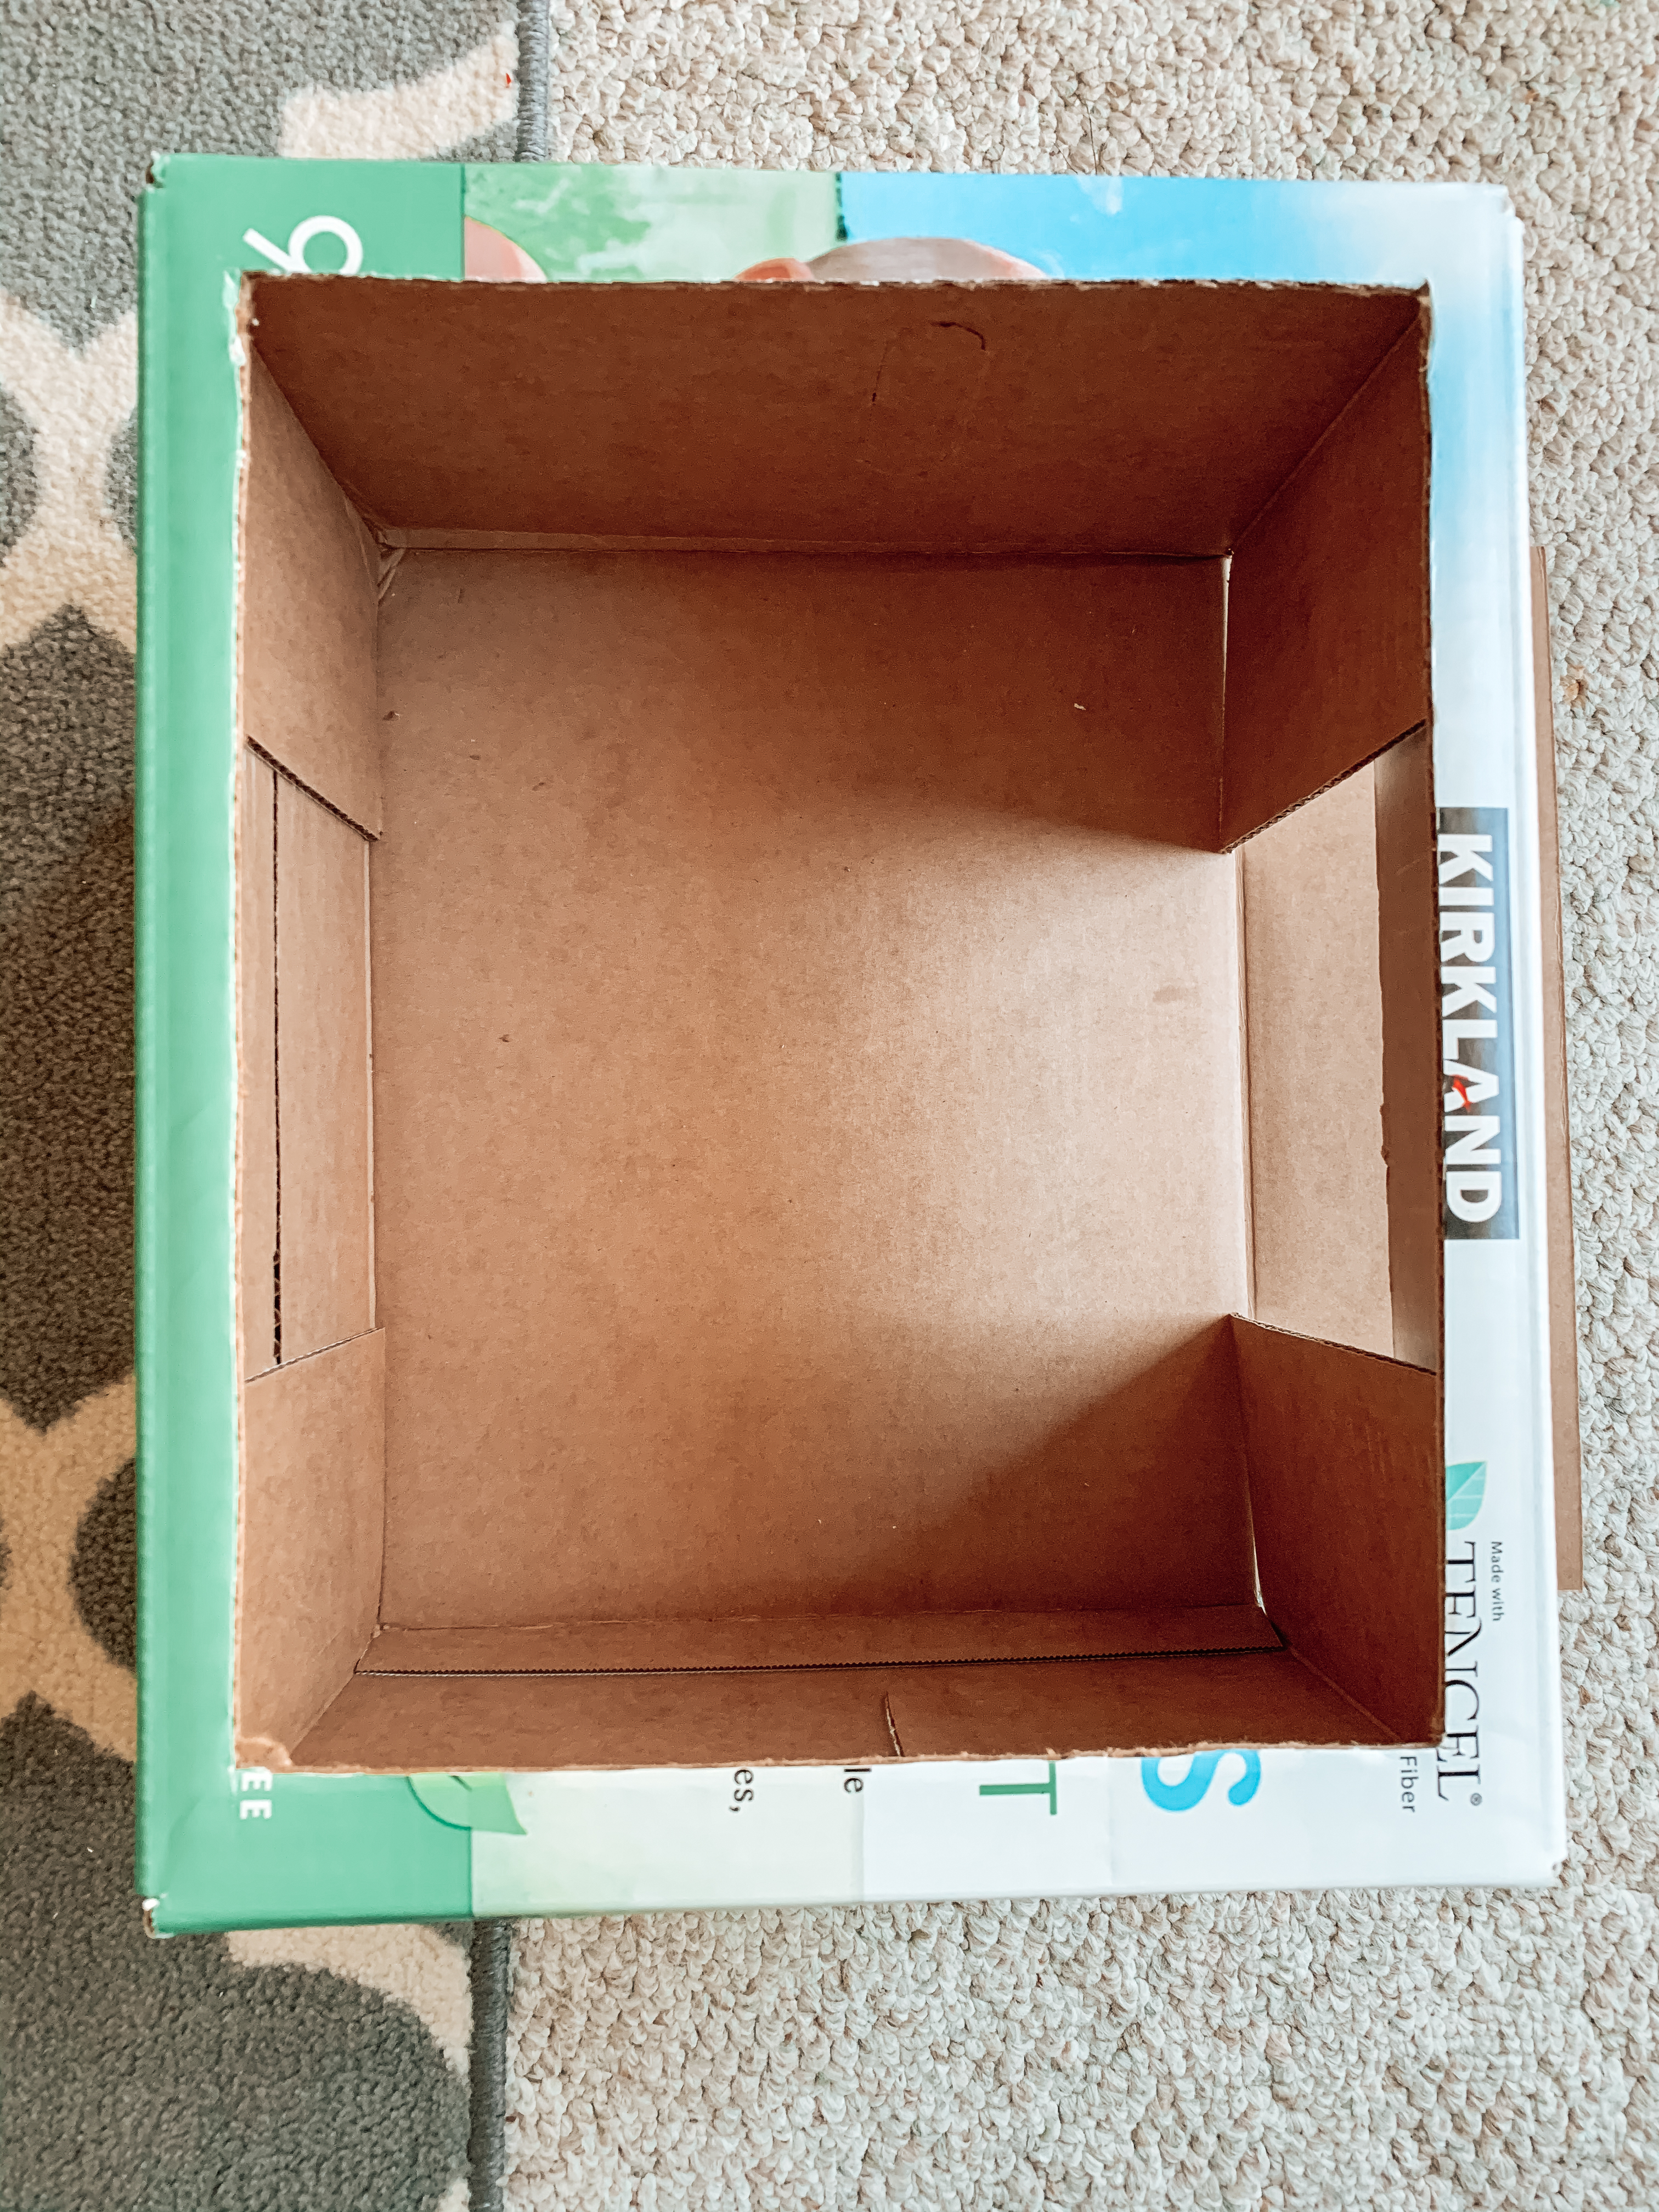
I prefer to have just a brown box showing so next, I started the process of flipping the box inside out. You can find all the directions on how to do this in our Easter Egg Hunt Backpack post.
While I had the box taken apart to flip it inside out, I added the wax paper and contact paper. To do this, I first cut a piece of wax paper out so that it fit slightly larger than the box cutout.
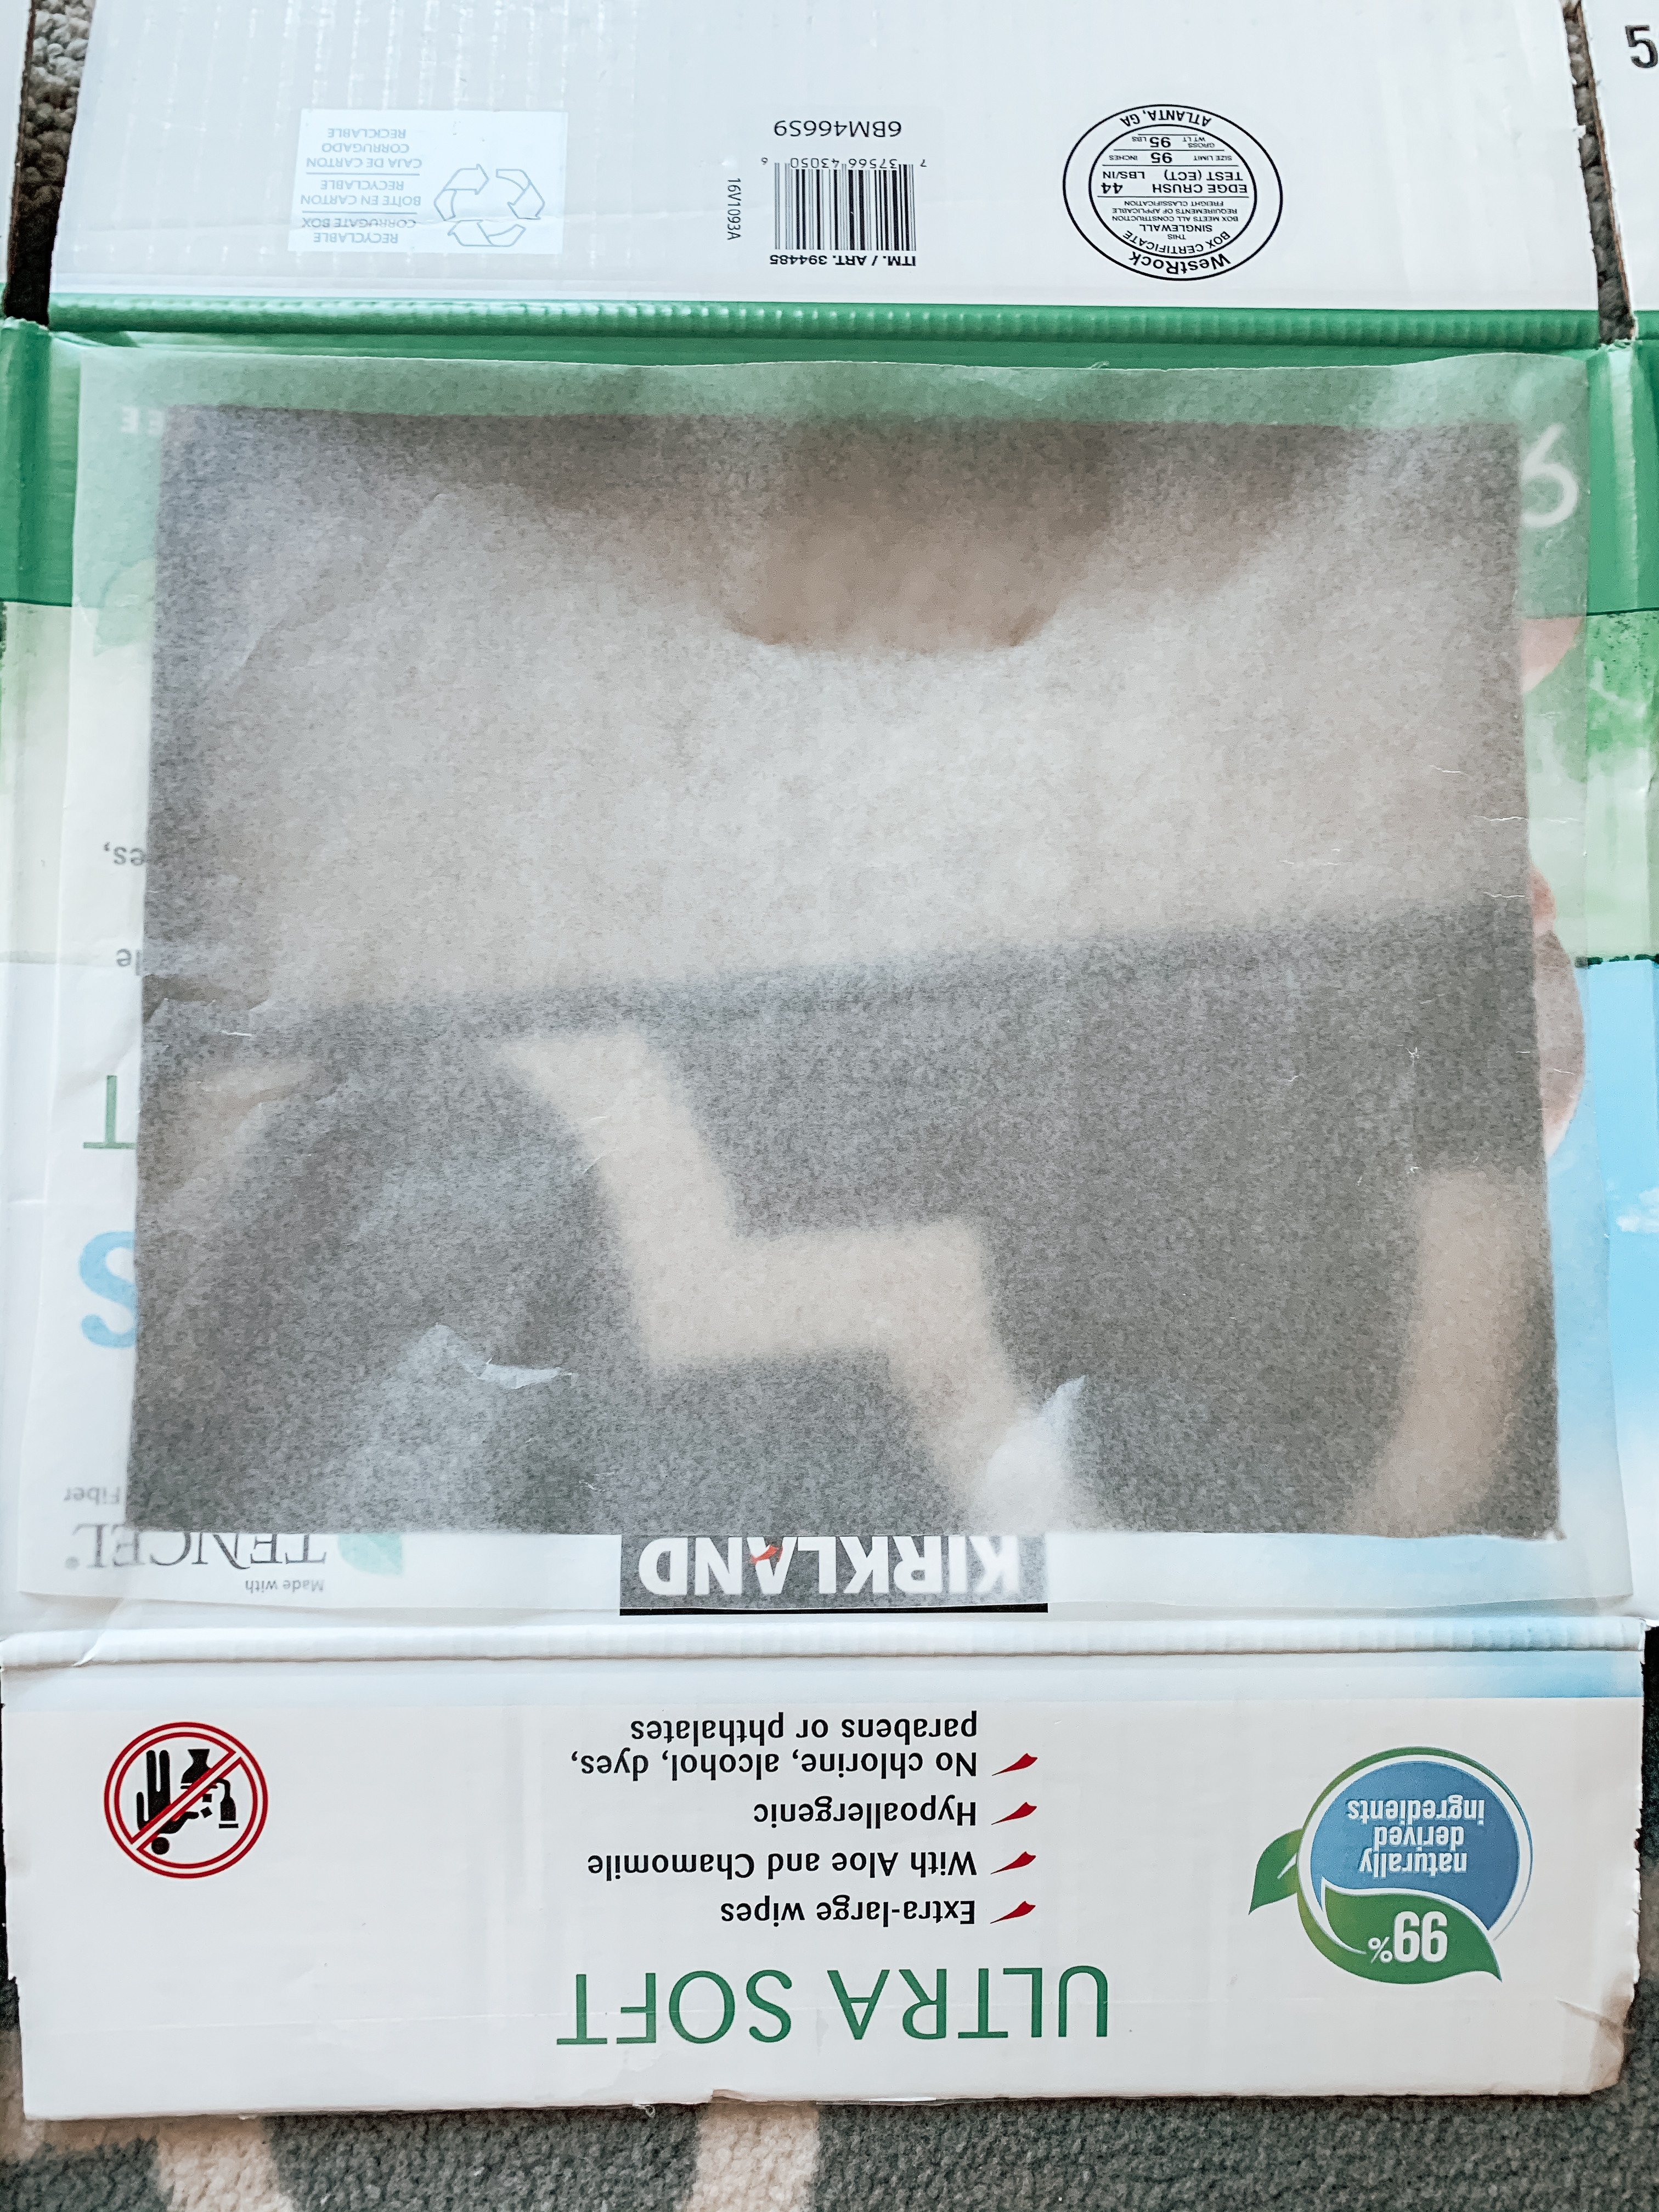
Then, I stuck that piece of wax paper to some contact paper and cut the contact paper slightly larger than the wax paper. Once cut out, I stuck the contact paper to the inside of the box, covering the box cutout. The wax paper was facing up.
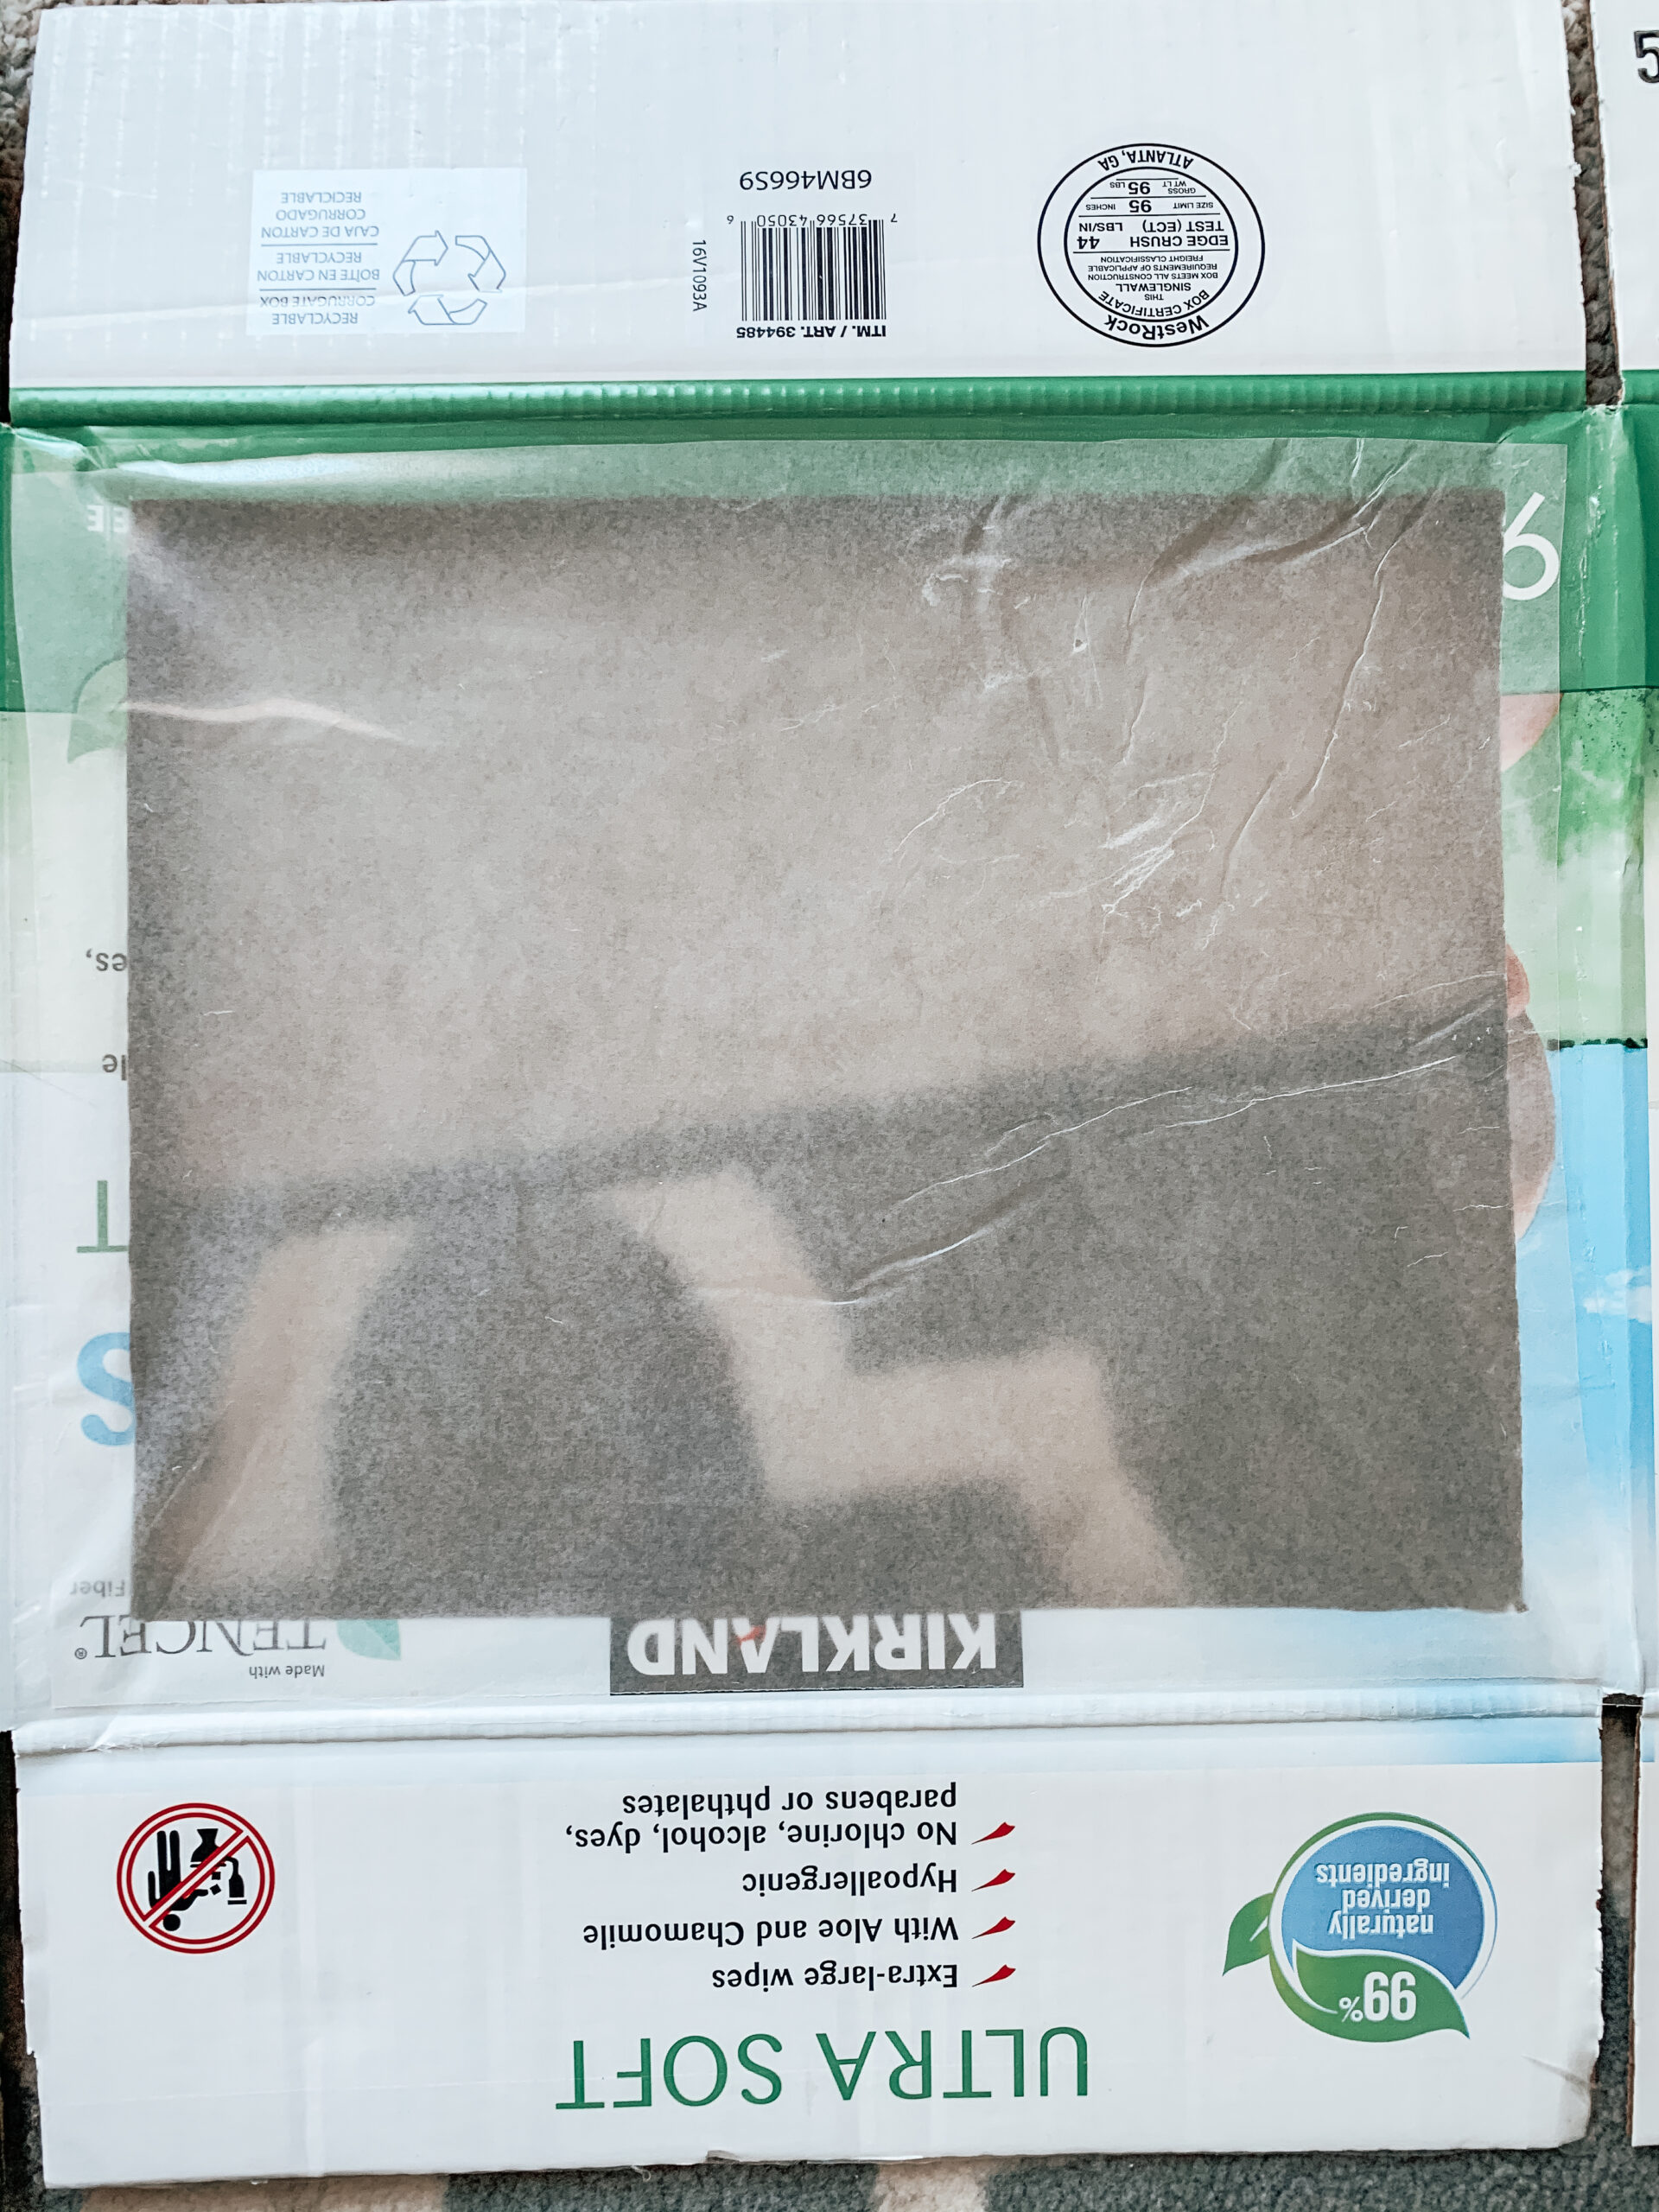
Next, I cut out another piece of contact paper out that fit slightly larger than the box cutout. I stuck this piece of contact paper to the top of the box, with the sticky side facing the wax paper that was already stuck to the box. This created the top of the light box.
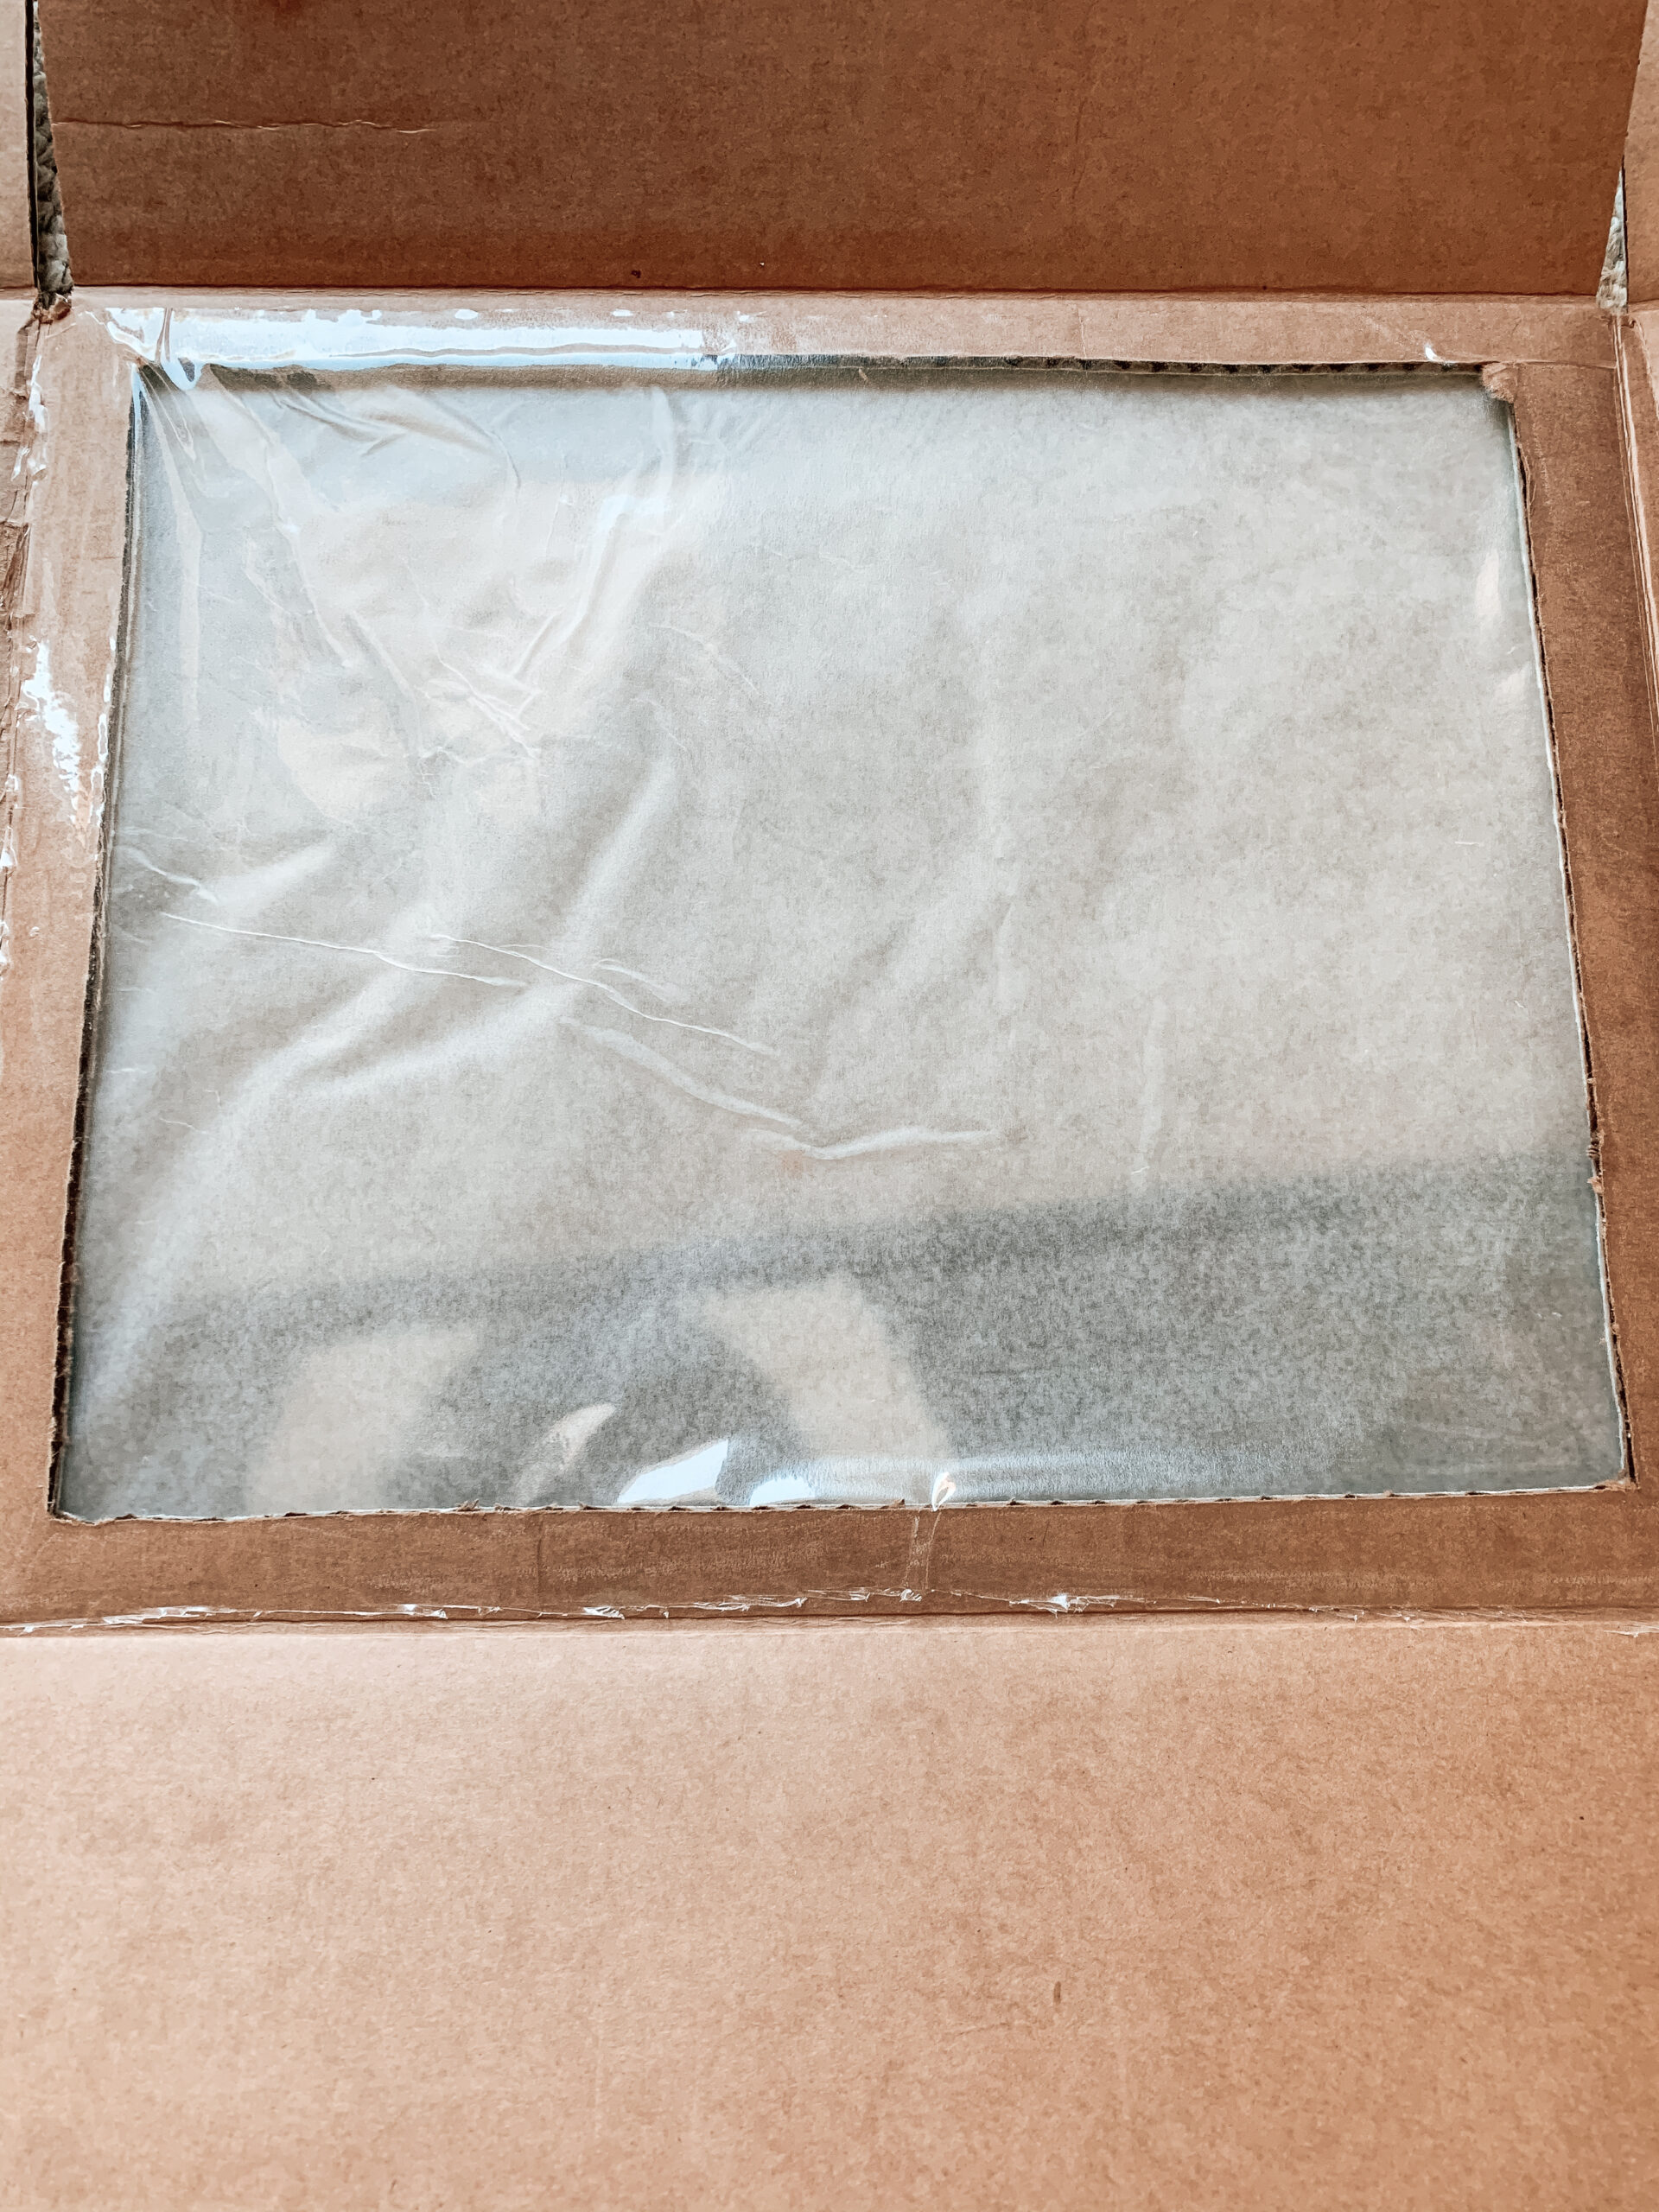
Then, I hot glued the box back together.
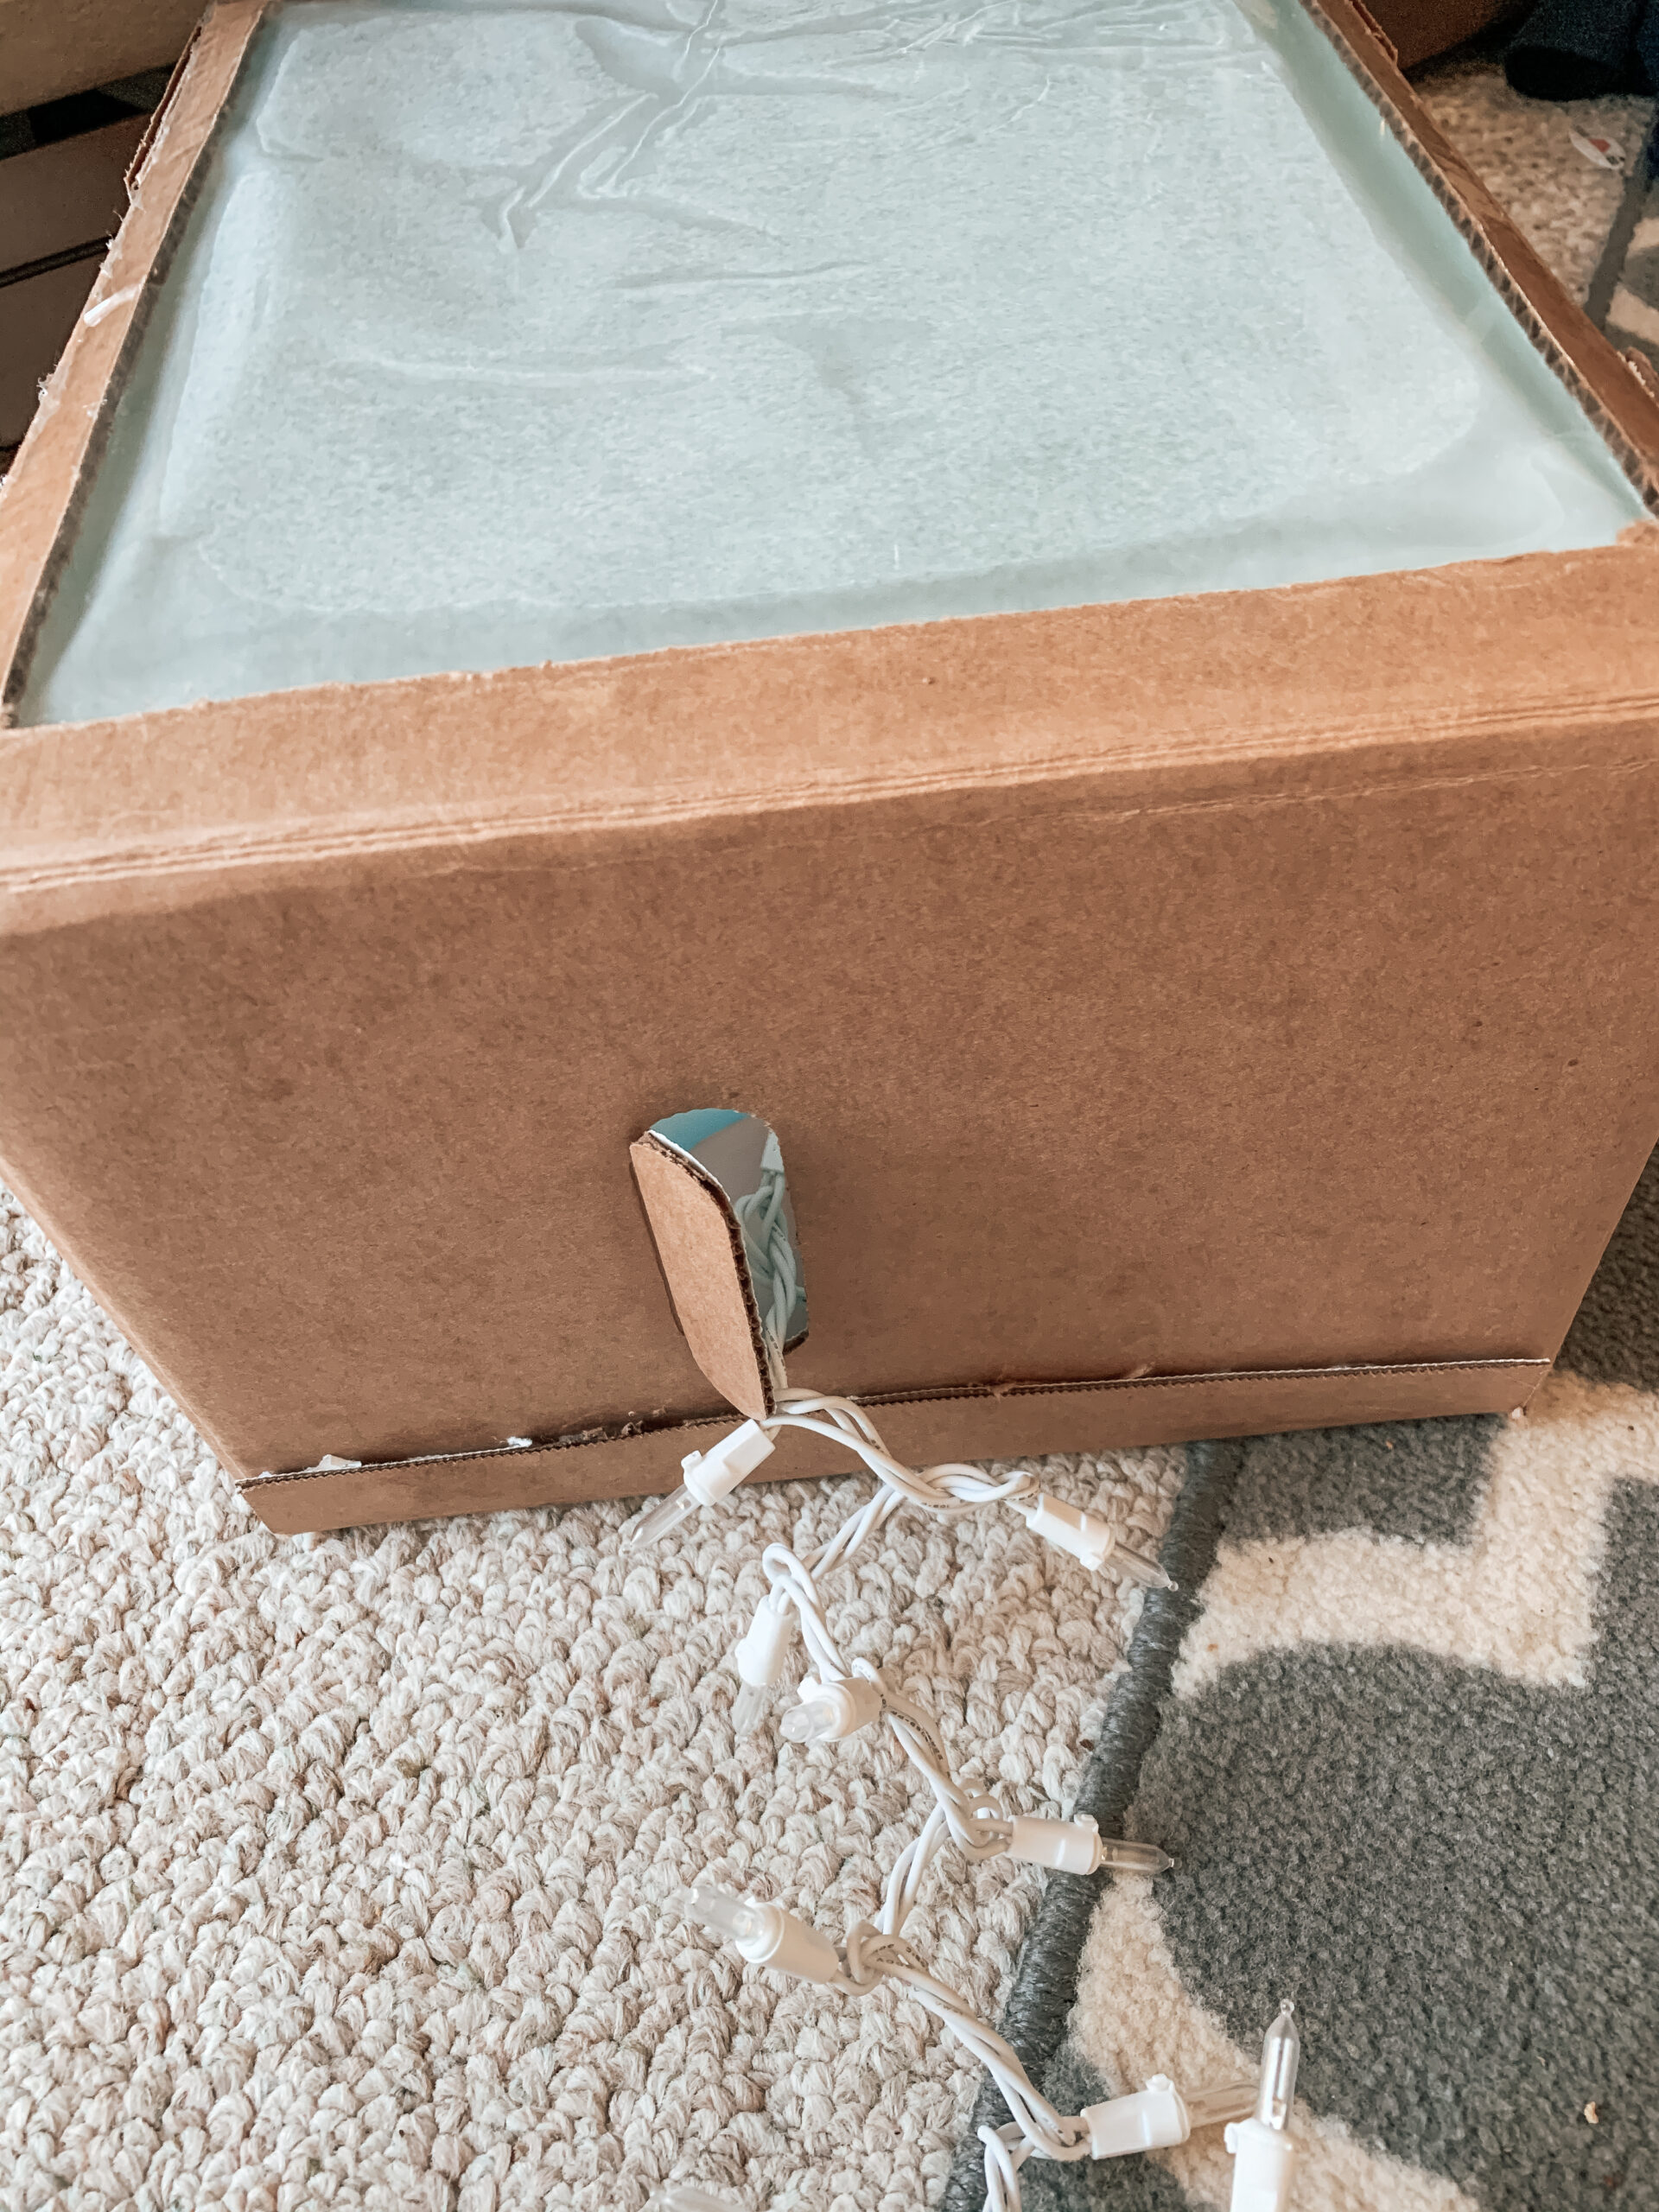
Finally, I placed Christmas lights inside. The box that I used had cutouts for handles so I strung the lights through them. if your cardboard box doesn’t have this feature, then you can cut a small hole to string the lights through instead.
How I Made The Color “Mixing” Butterflies.
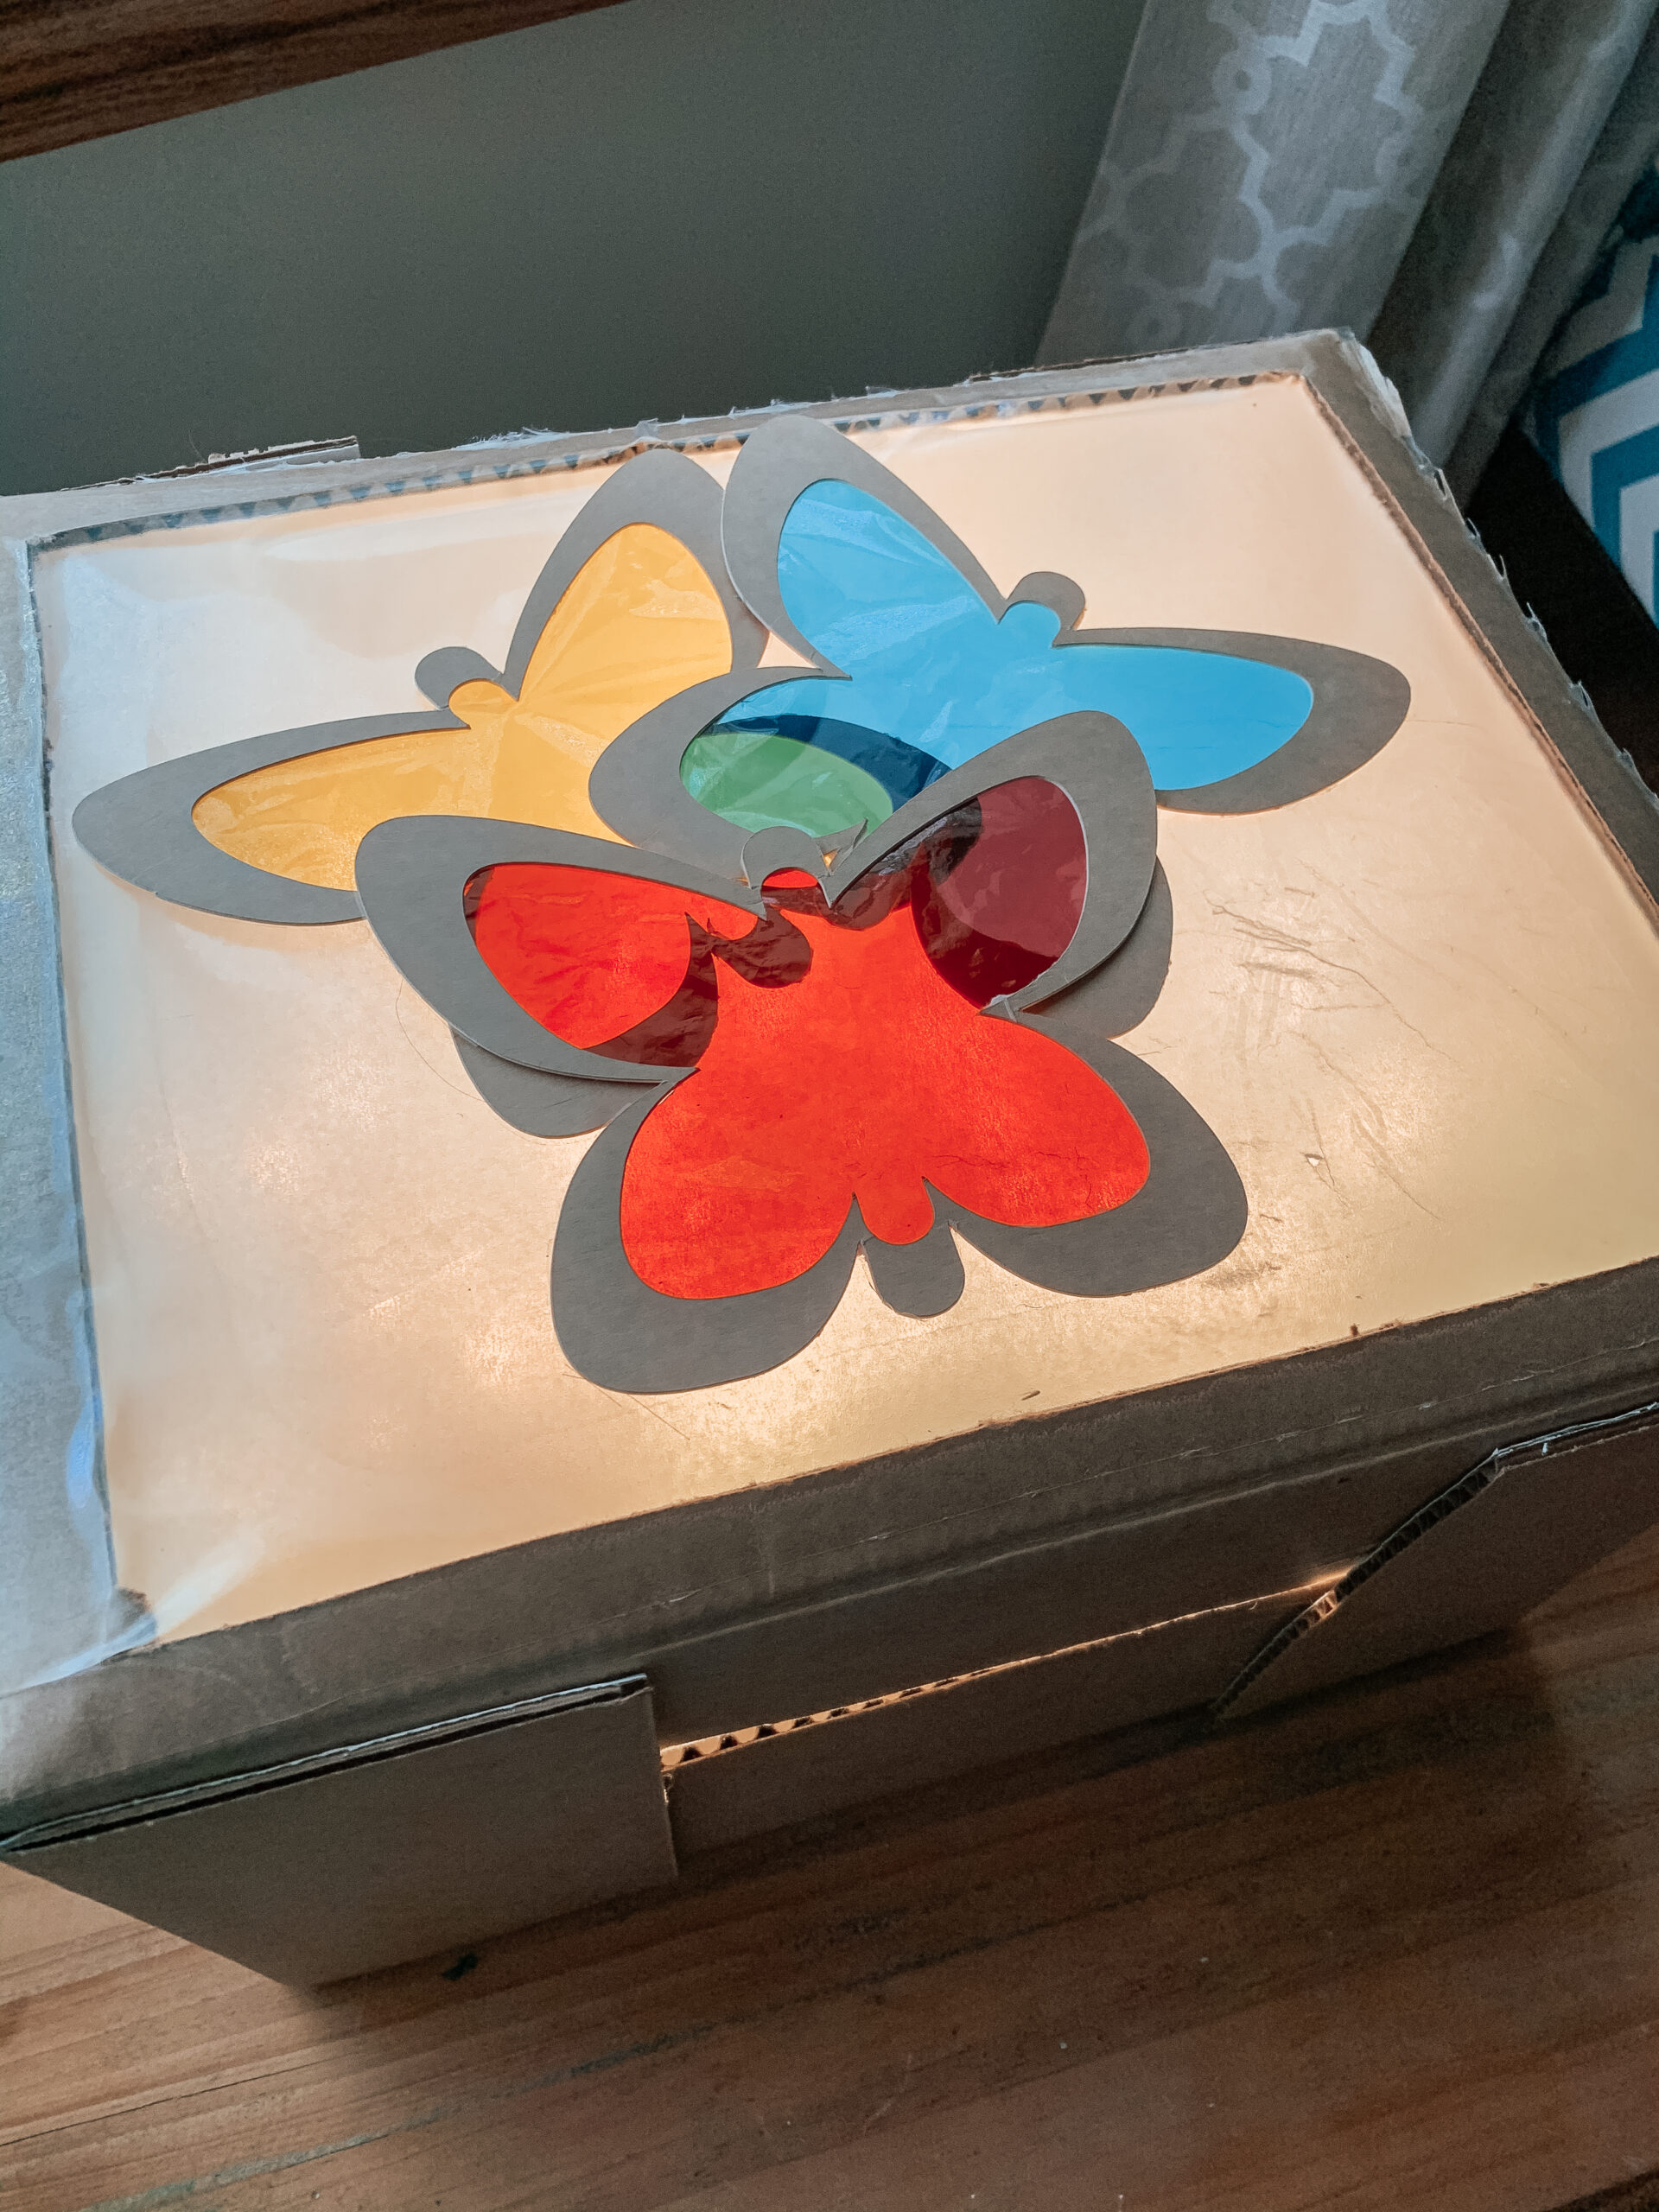
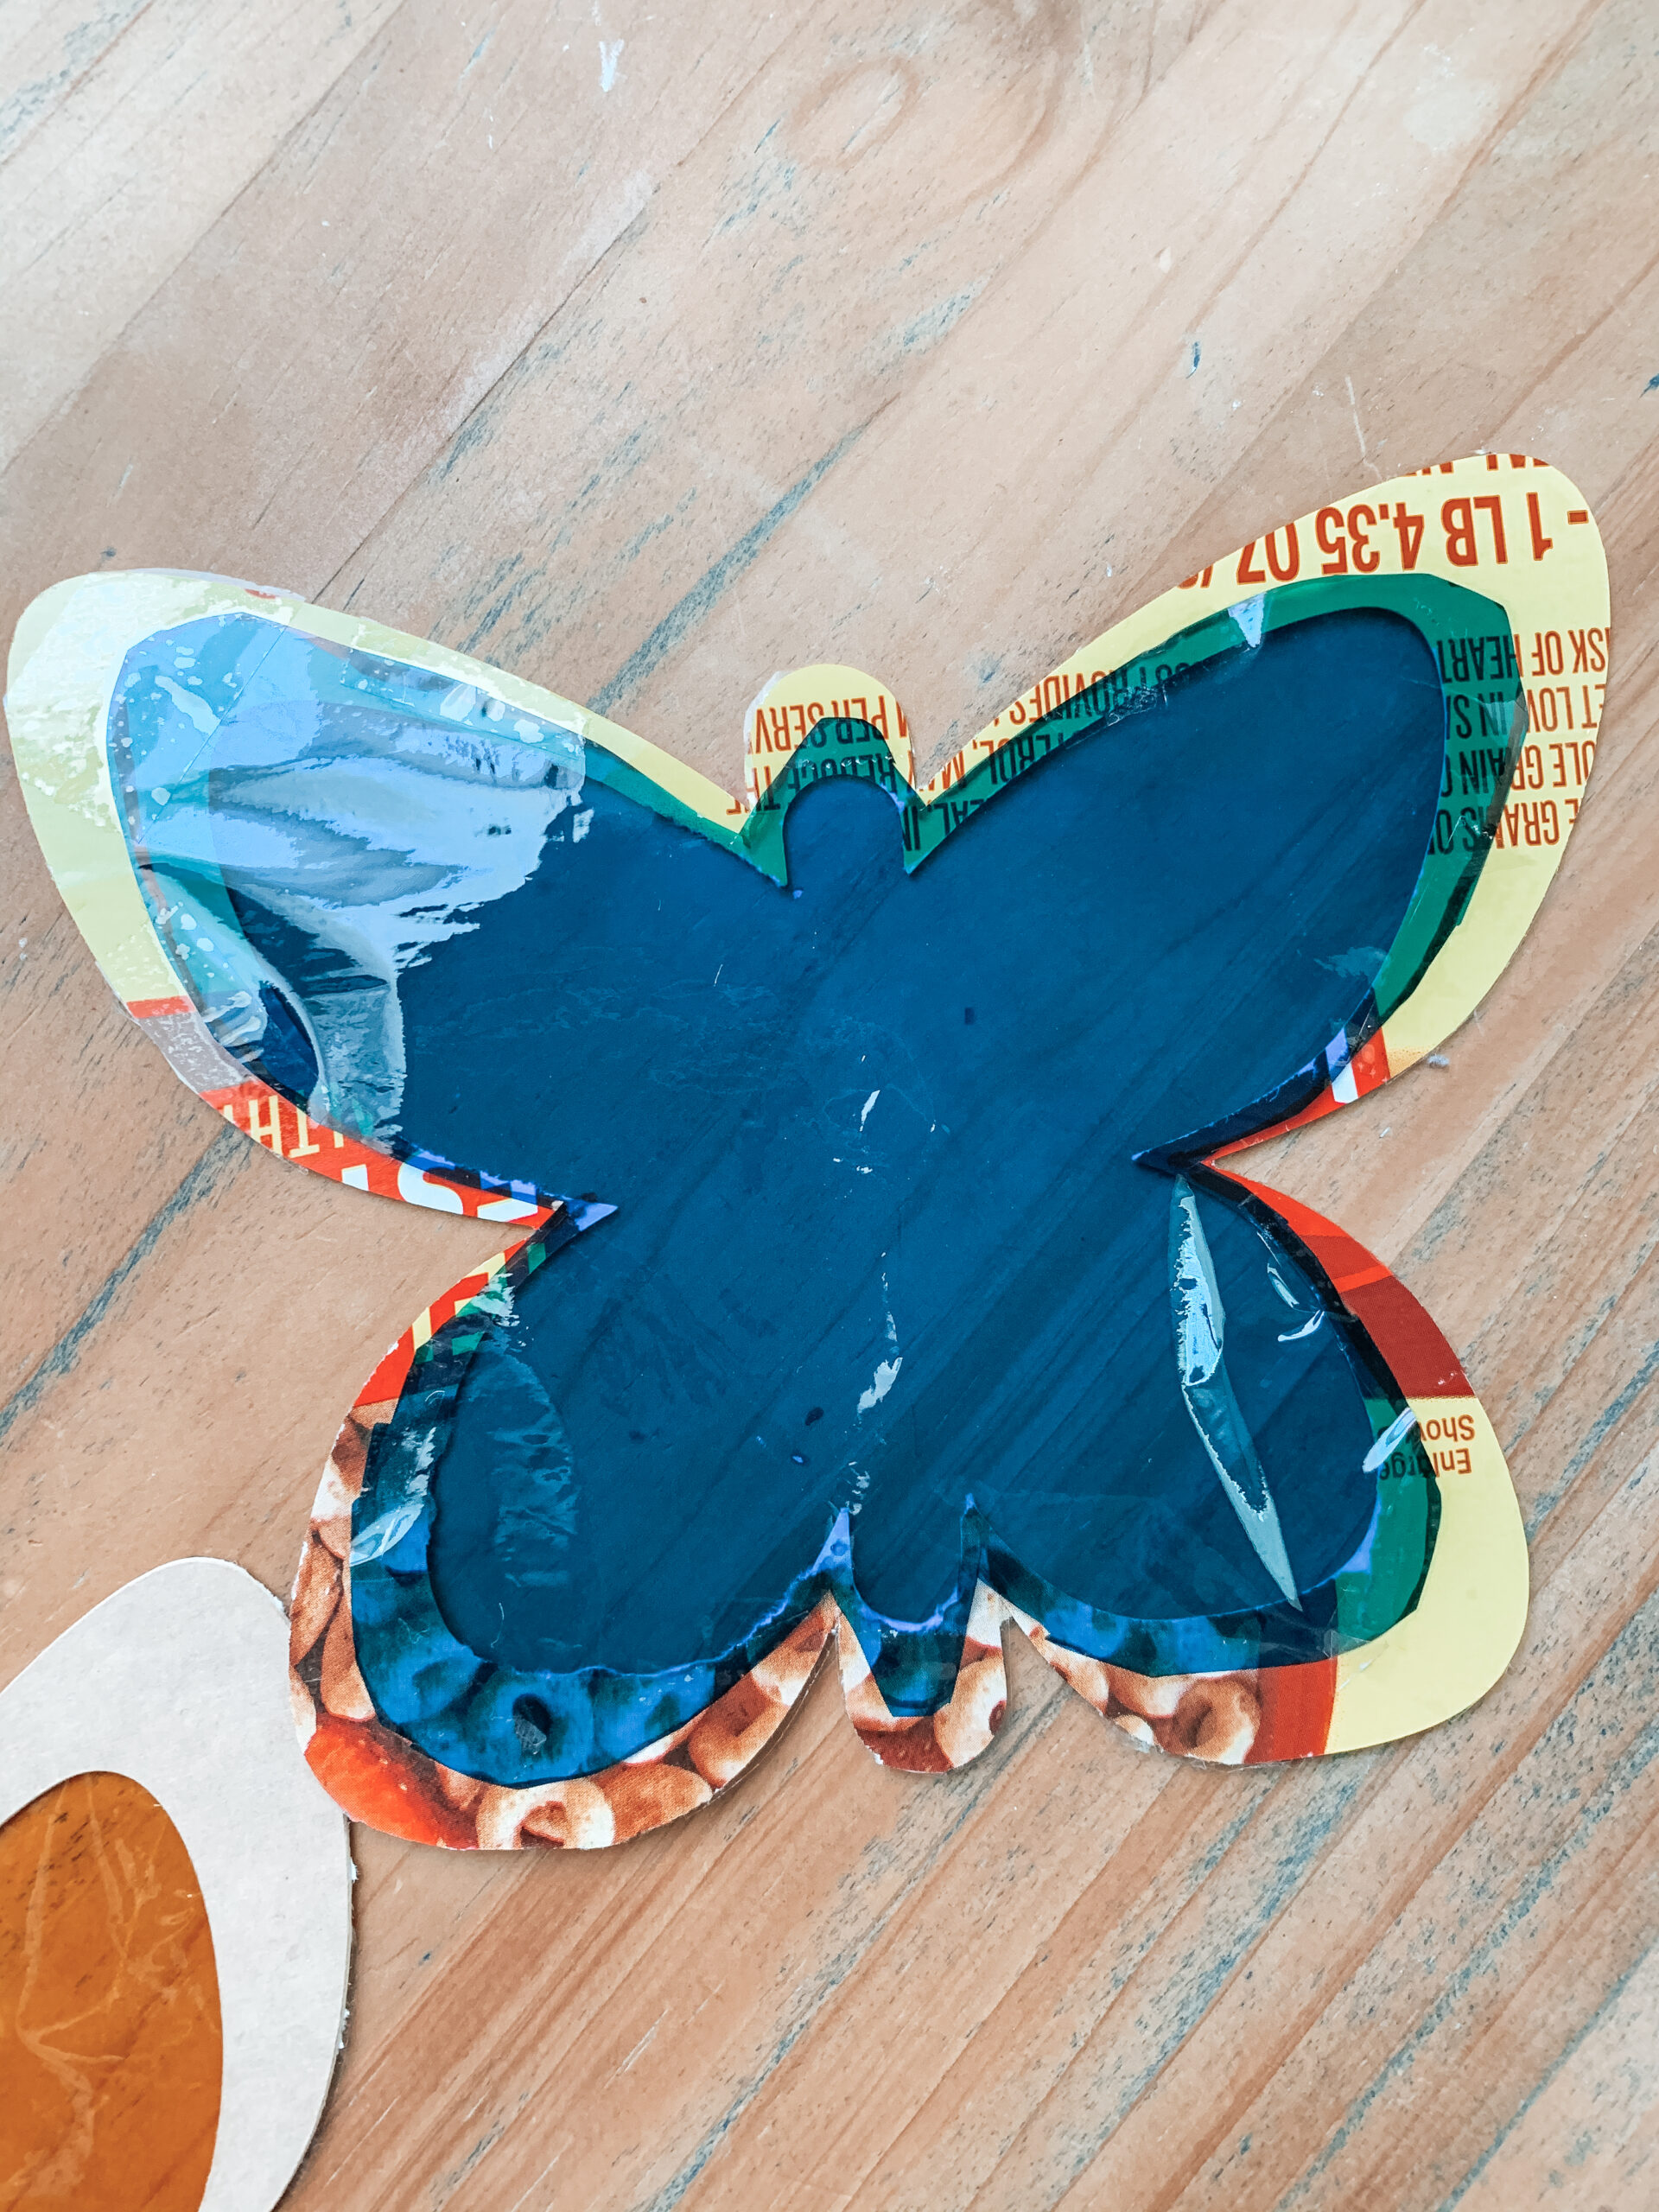
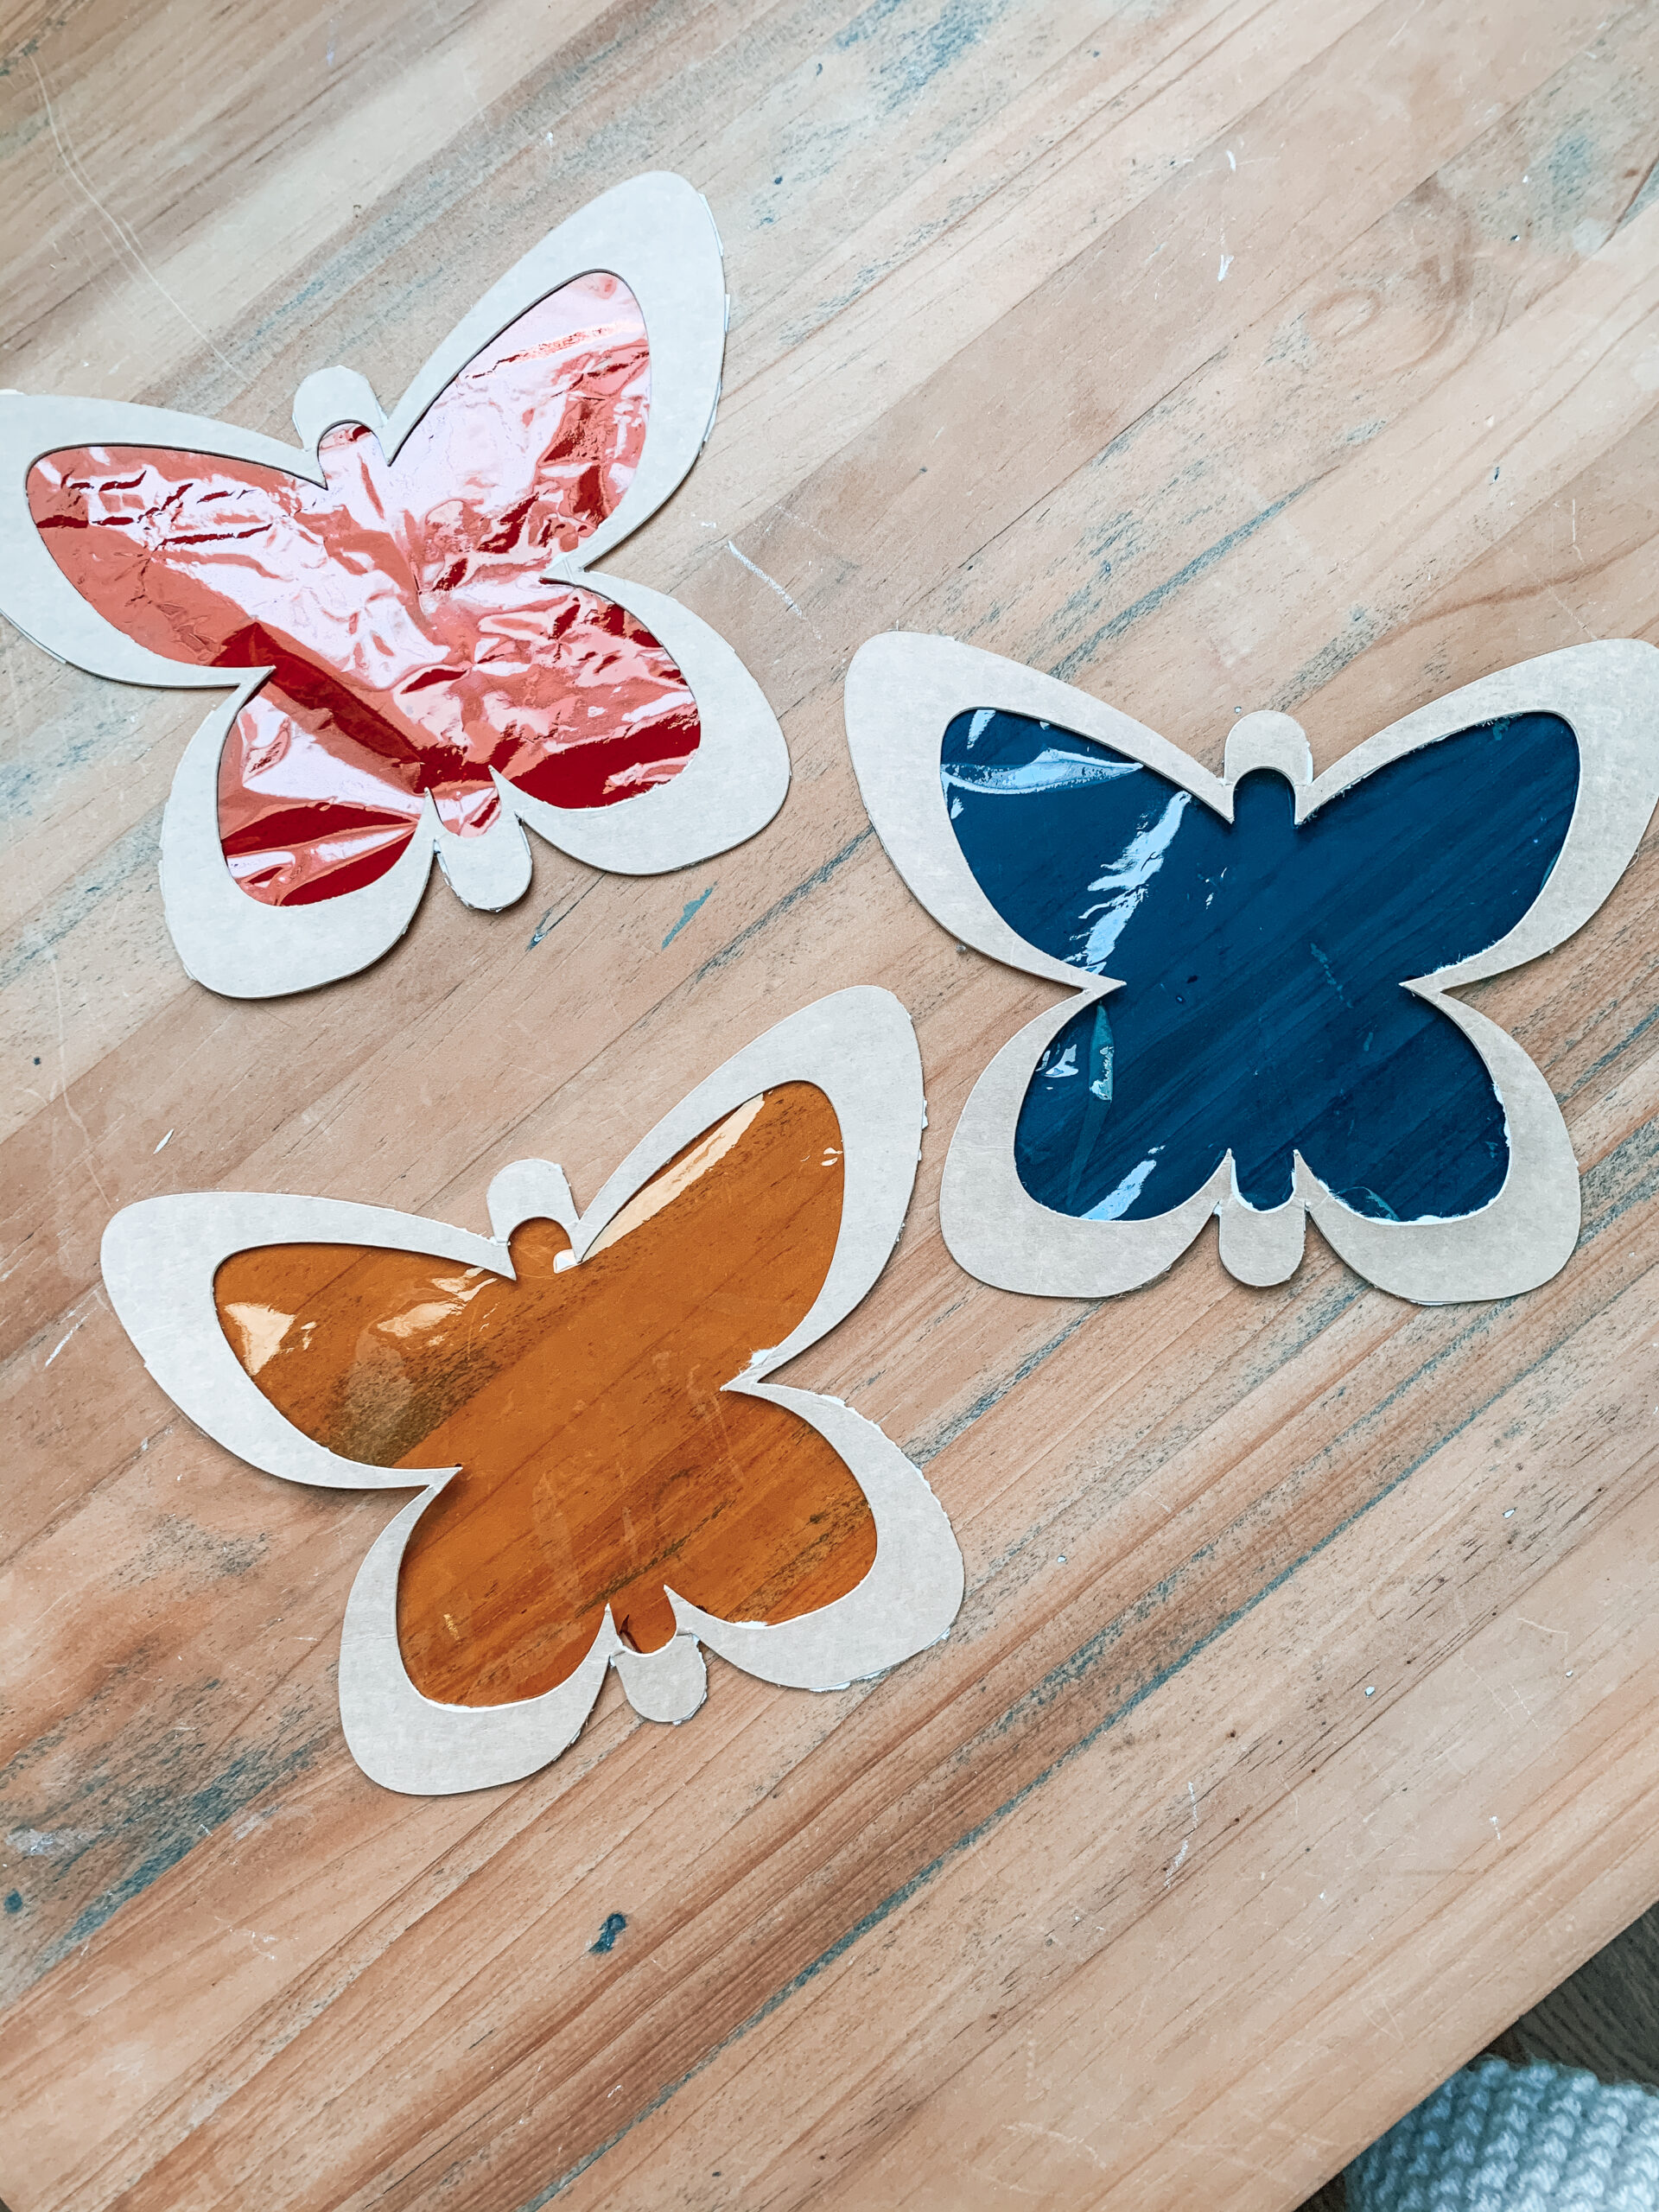
I created the color “mixing” butterflies by cutting butterfly shapes out of a cereal box. I used my Cricut to do this (I used Cricut’s free butterfly cutout and layered one smaller butterfly over top of one larger one to create this butterfly shape) but you can also cut it out by hand using an exacto knife
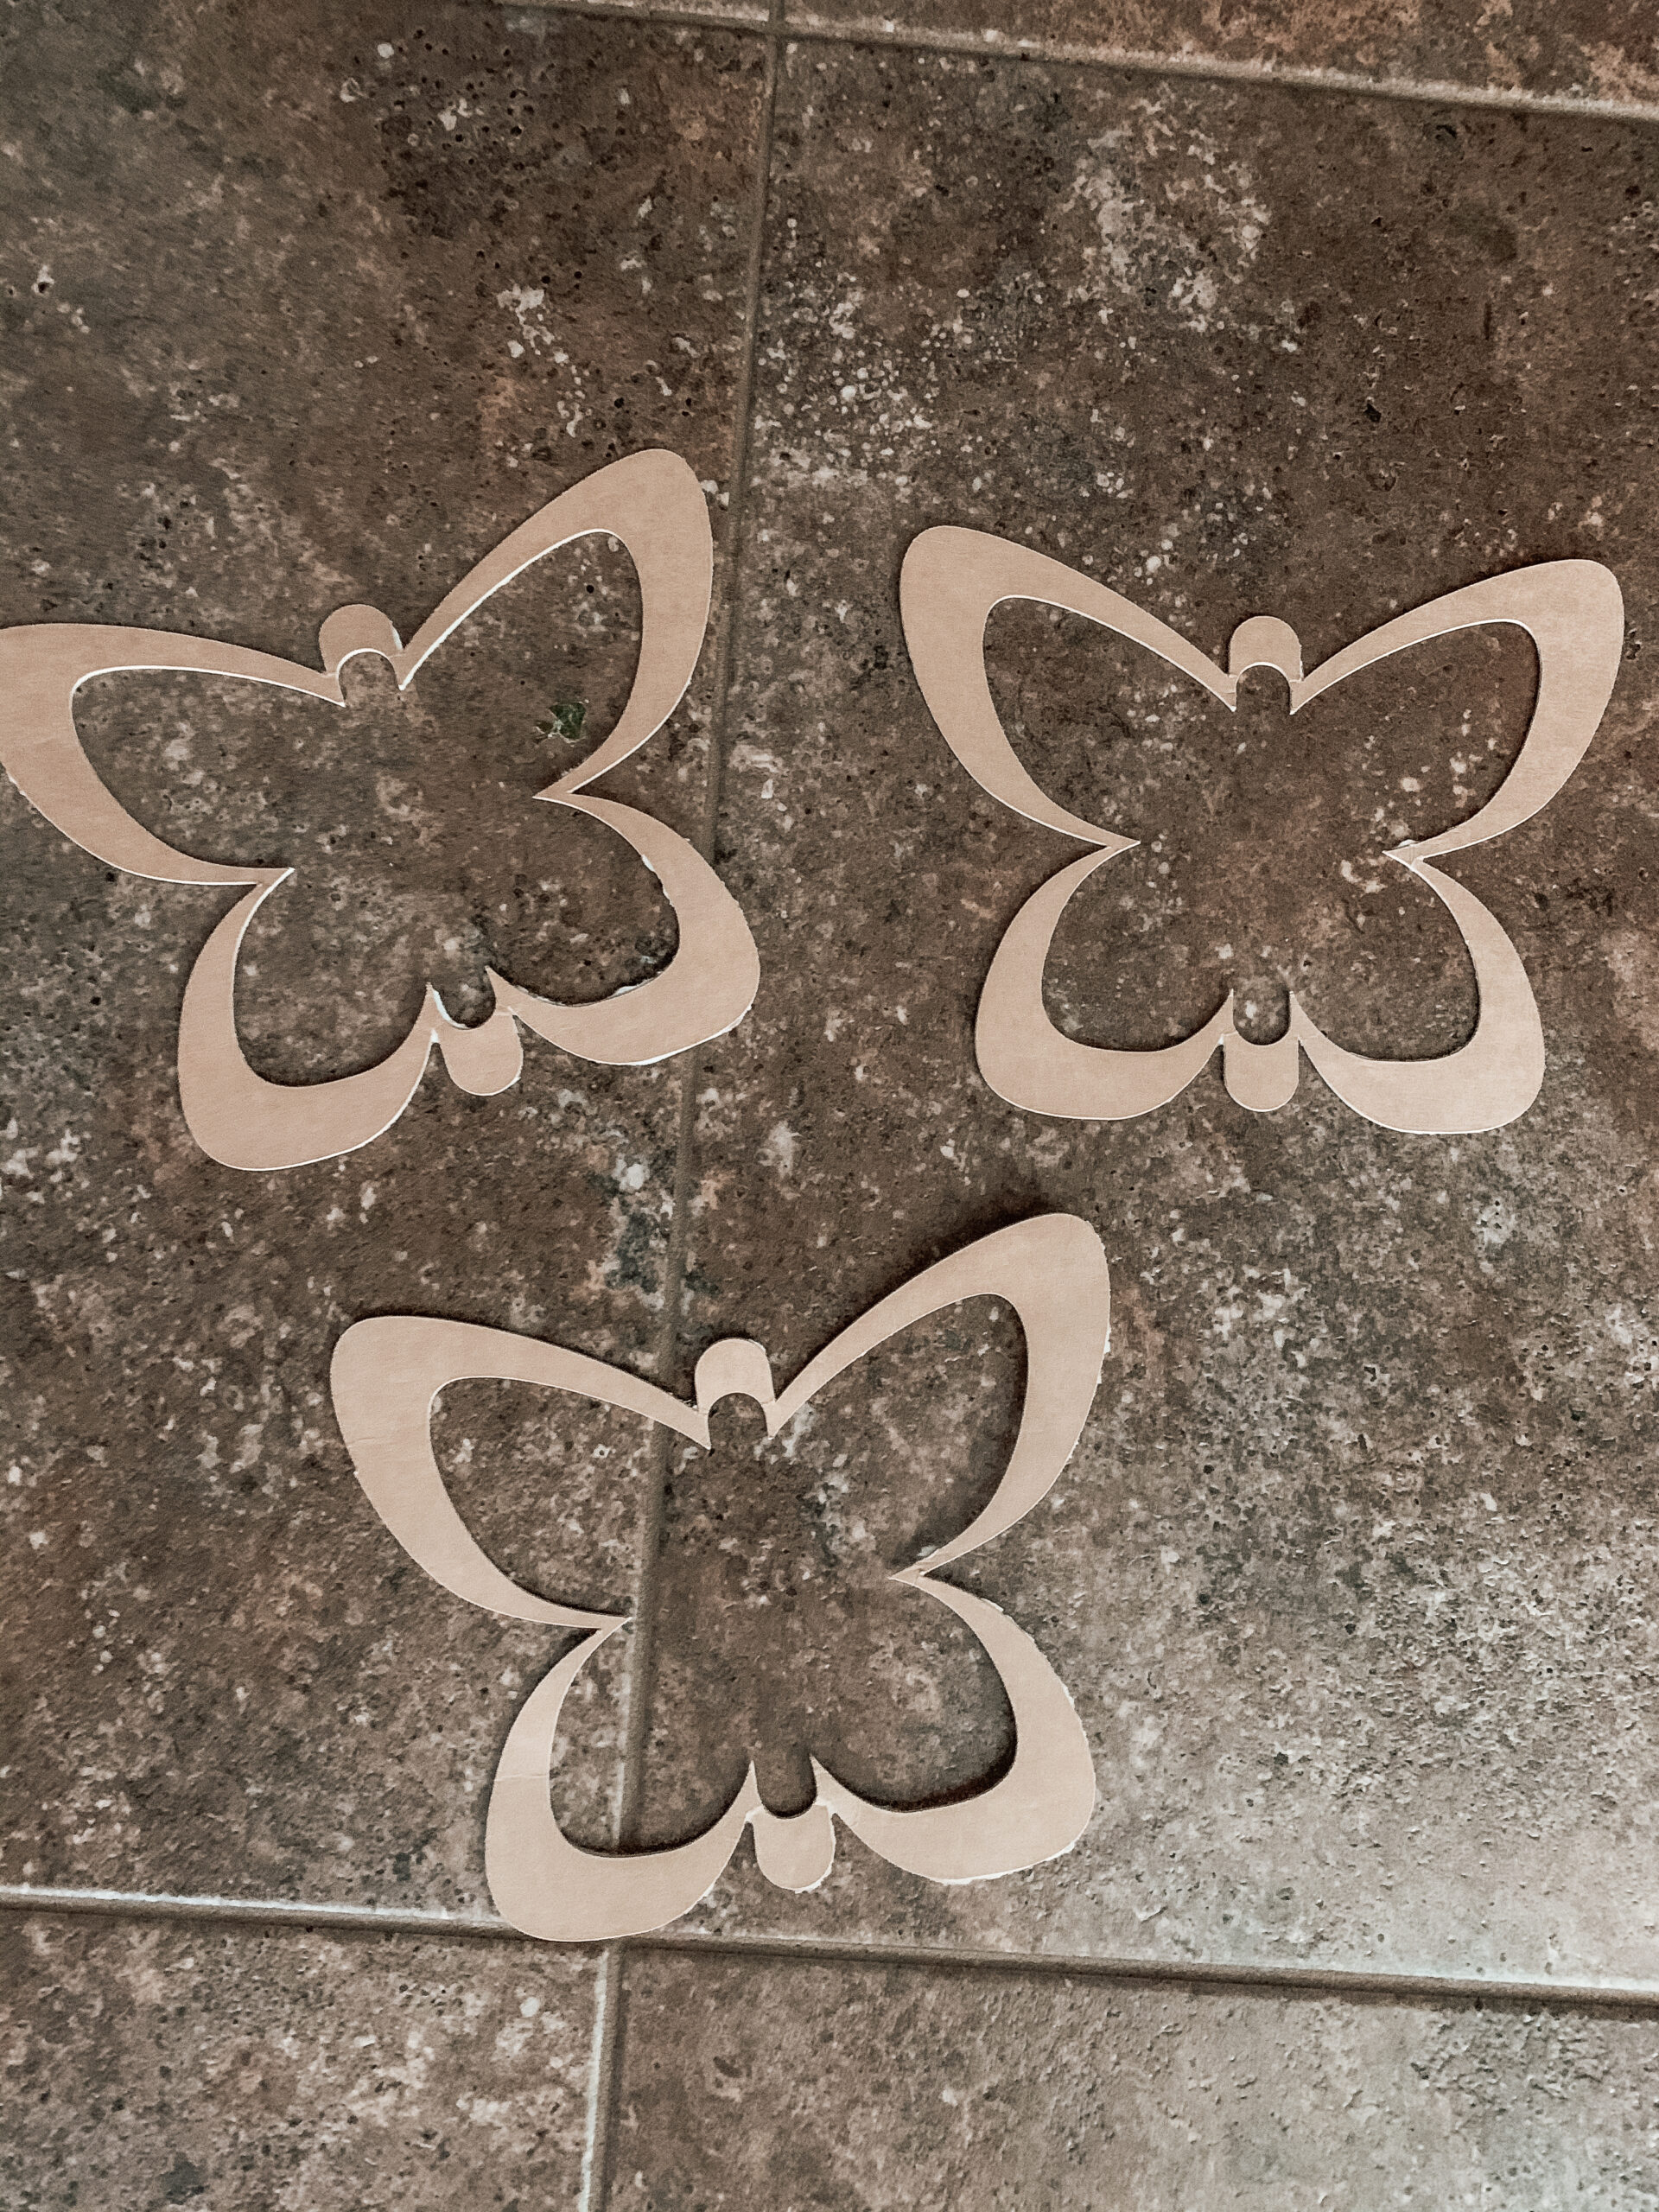
Once the cutouts were created, I traced and cut out pieces of cellophane paper to fit the butterfly cutouts. I then taped the cellophane to the cardboard cutouts and the butterflies were complete.
Playing With Our DIY Light Table
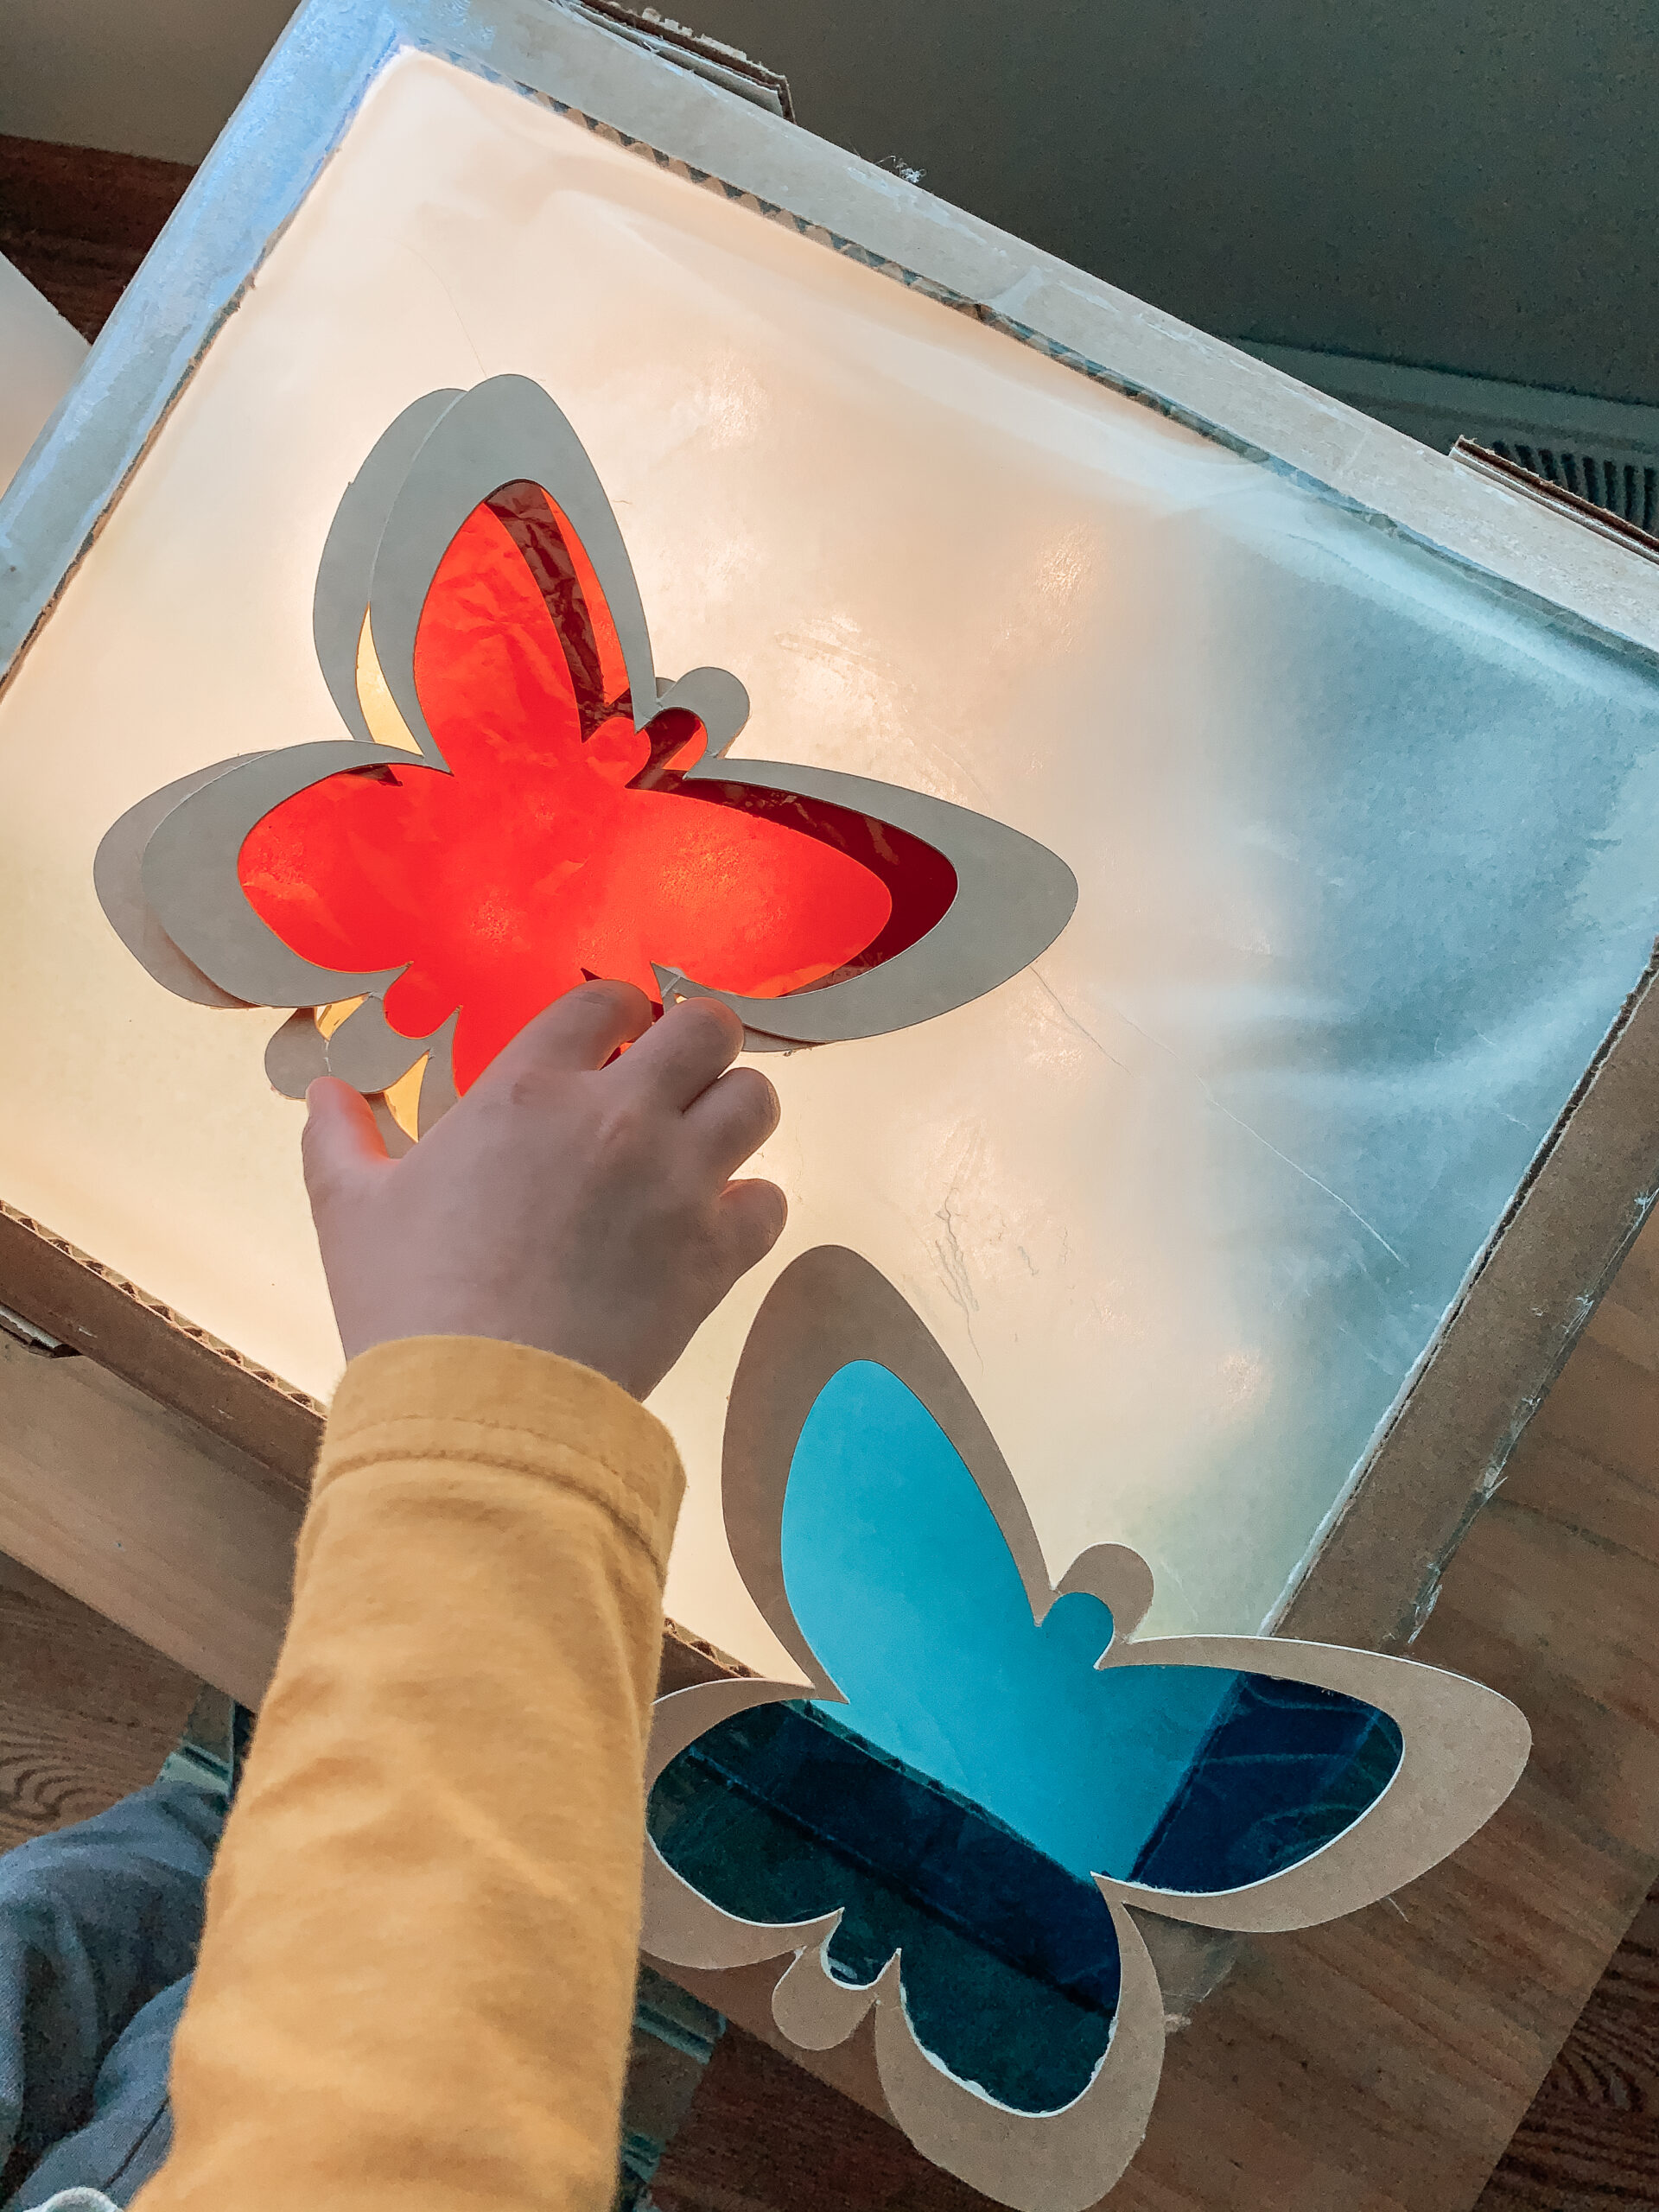
We have used cellophane in the past for color mixing activities but they always worked best on sunny days. In Michigan, we have a lot of not sunny days in the winter and early spring. I love that this light table can be turned on and that my sons can play with these any time they would like. I also love that they can learn how to mix colors without having to make a huge mess with paints or other things like that.
What You Will Need:
Cardboard box, contact paper, box cutter, exacto knife, cellophane, scissors, cereal box, tape
Directions:
- Begin flipping the box inside out (further instructions on how to do this can be found here)
- While the box is taken apart, cut out a section of what will be your top side of the box
- Cut wax paper out slightly larger than the cut out section of the box
- Cut contact paper out slightly larger than the wax paper
- Stick the contact paper that has the wax paper on it to the cut out section of the box. The wax paper should be facing up
- Cut out another piece of wax paper that is slightly larger than the cut out section of the box
- Stick the second piece of wax paper on the top of the box. The sticky part should be facing the wax paper
- String Christmas lights through a hole into the box. My box already had handle holes but you cut cut out your own hole if your box does not
- Create “color mixing butterflies”
- Cut butterfly shape out of a cereal box. You can use an exacto knife or Cricut to do this
- Trace and cut out cellophane to fit the butterfly cutout
- Tape the cellophane to the cardboard butterfly cutout
- Plug in your new light table and let your kids explore different color combinations with their new color mixing butterflies

What a cute DIY for the kids!
This is such a nice project and I am pretty sure that my kids will be happy having it this weekend. I love it!
This is such a fun idea! Definitely need to do this with my girls!
I love this, what a great idea!
love, love, love this cool STEM activity/craft..
I love this. It reminds me of Chinese shadow theater play. Great idea.
What a fun idea. My kids love utilizing and manipulating light. THey’d love this.
This looks so fun. We love playing with lights.
What a neat craft. Such a unique idea for kids! It is nice to have so many different things to do with kids.