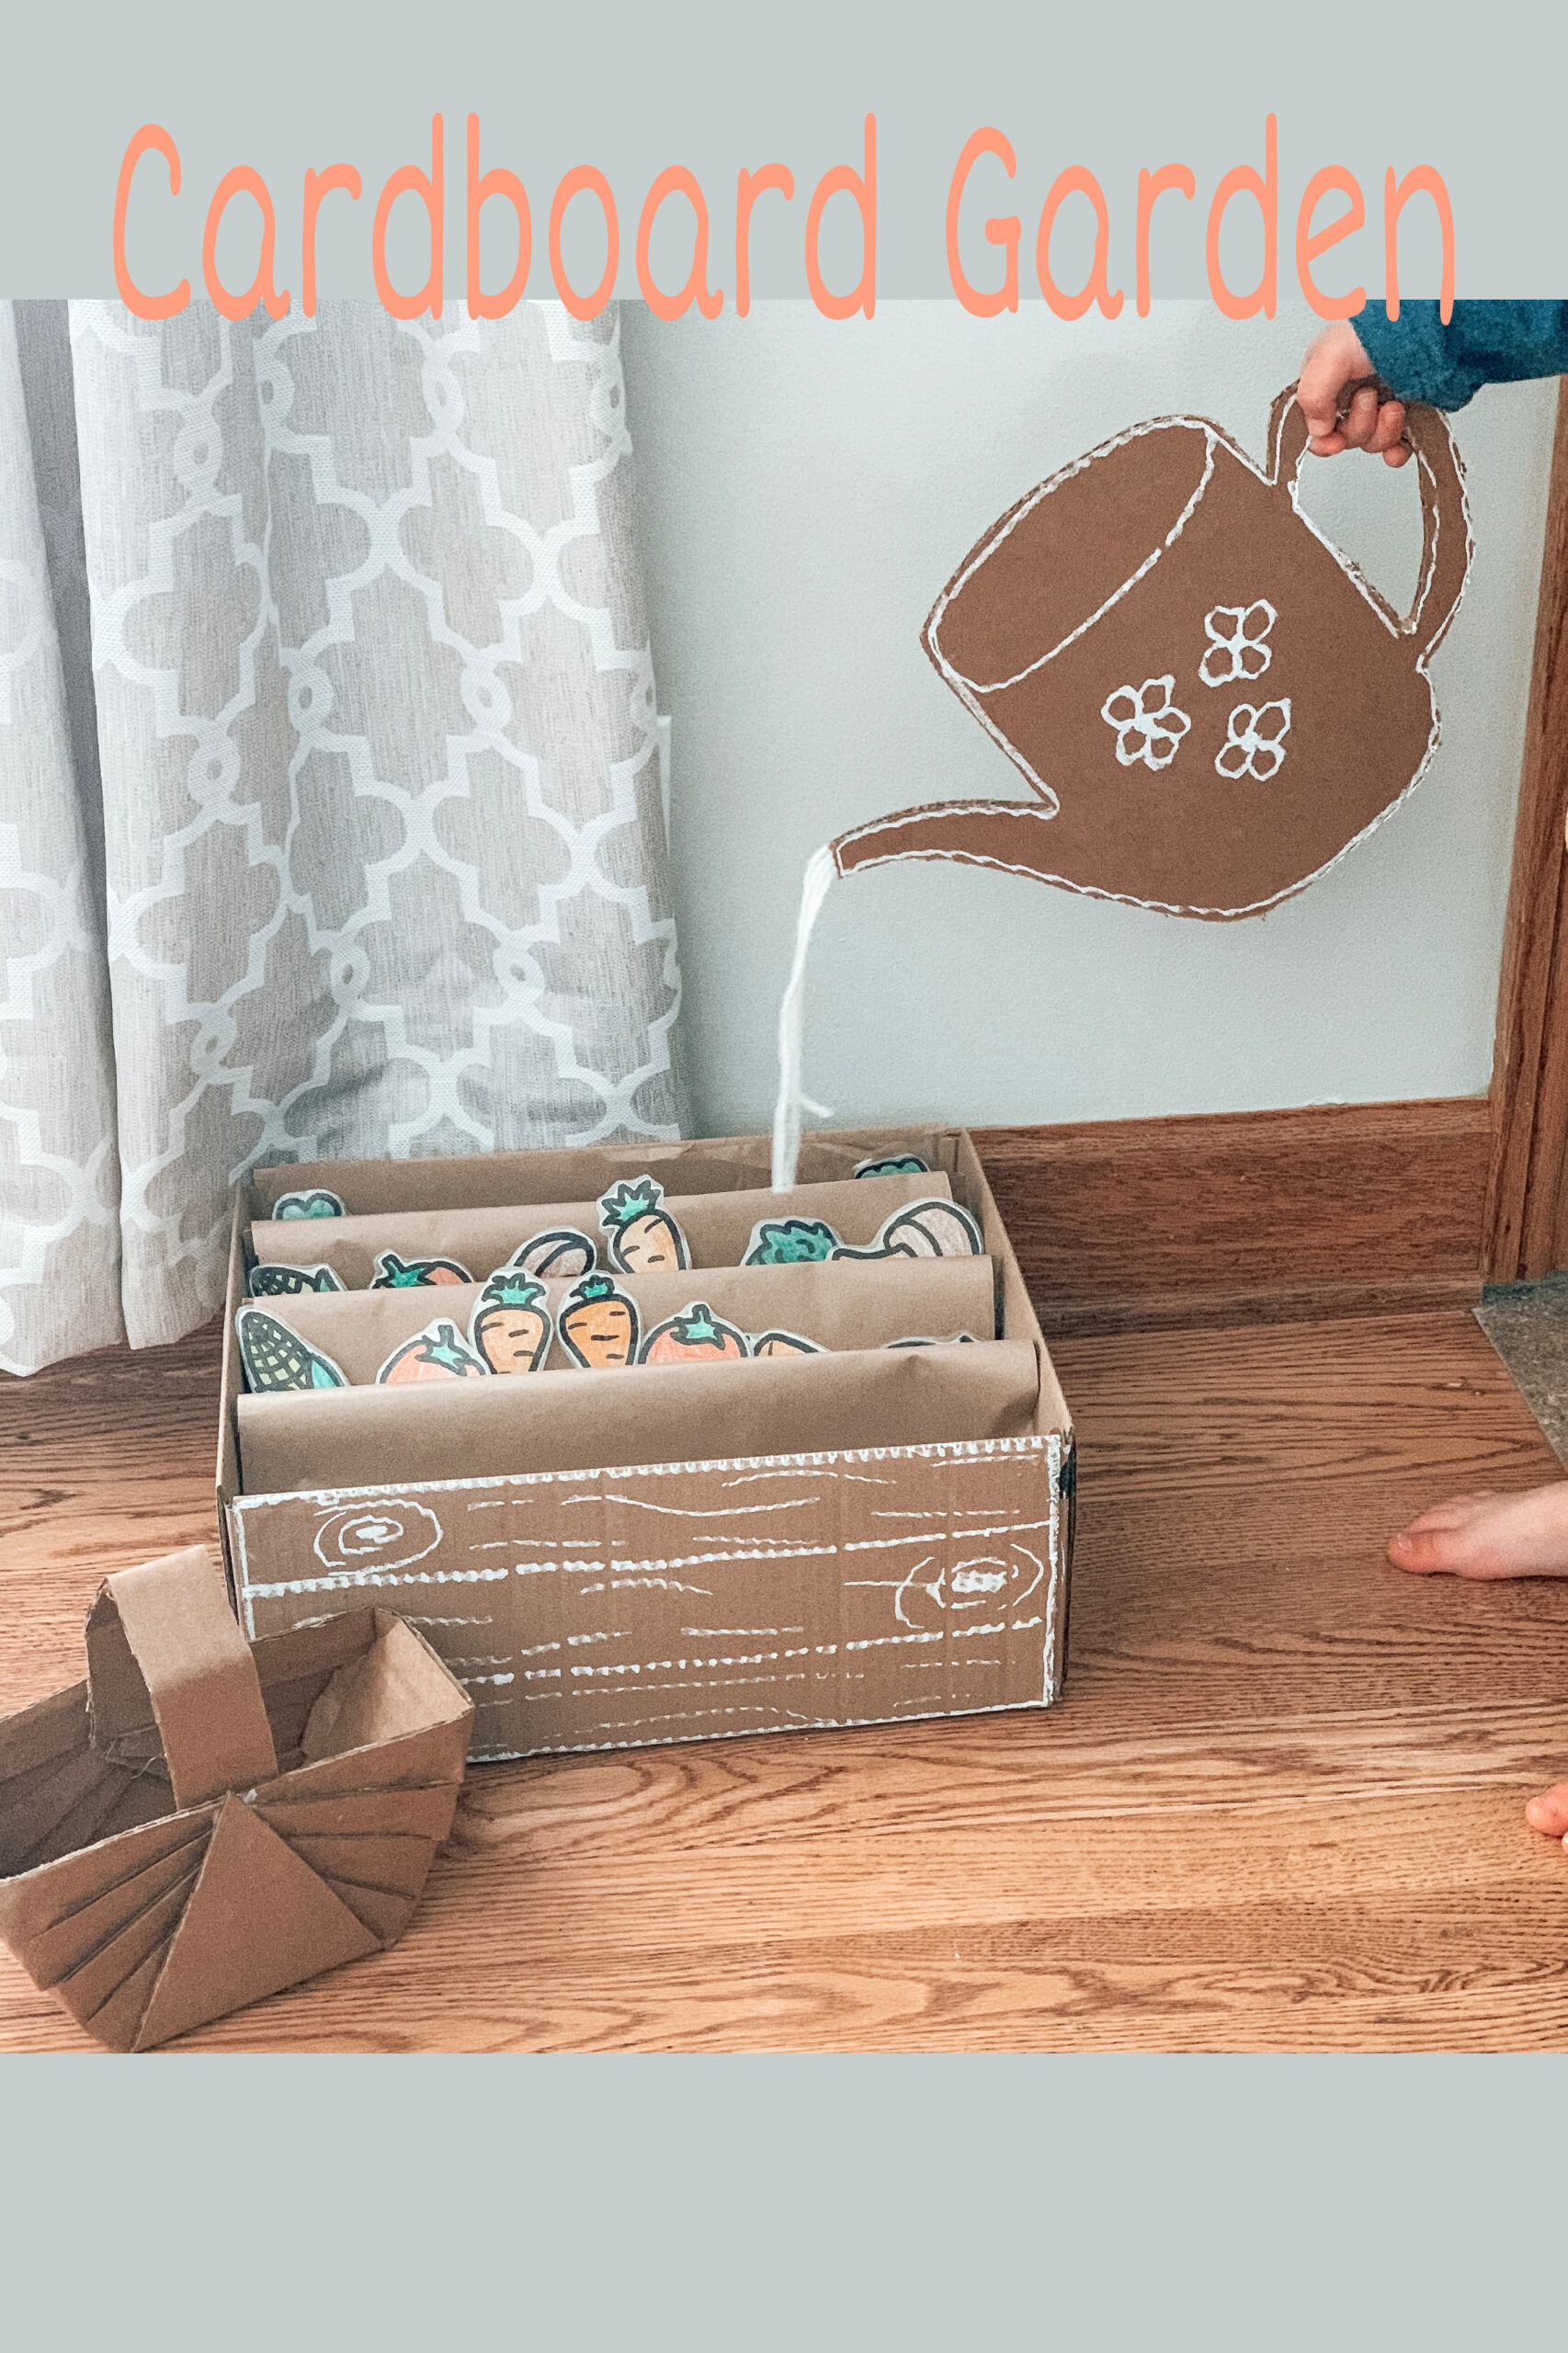
I say it all of the time, but I absolutely love cardboard. The imagination is the limit when it comes to cardboard especially with this cardboard garden.
I can feel spring creeping closer and closer and I am so excited. To celebrate the coming of spring I made my boys a little garden made out of cardboard.
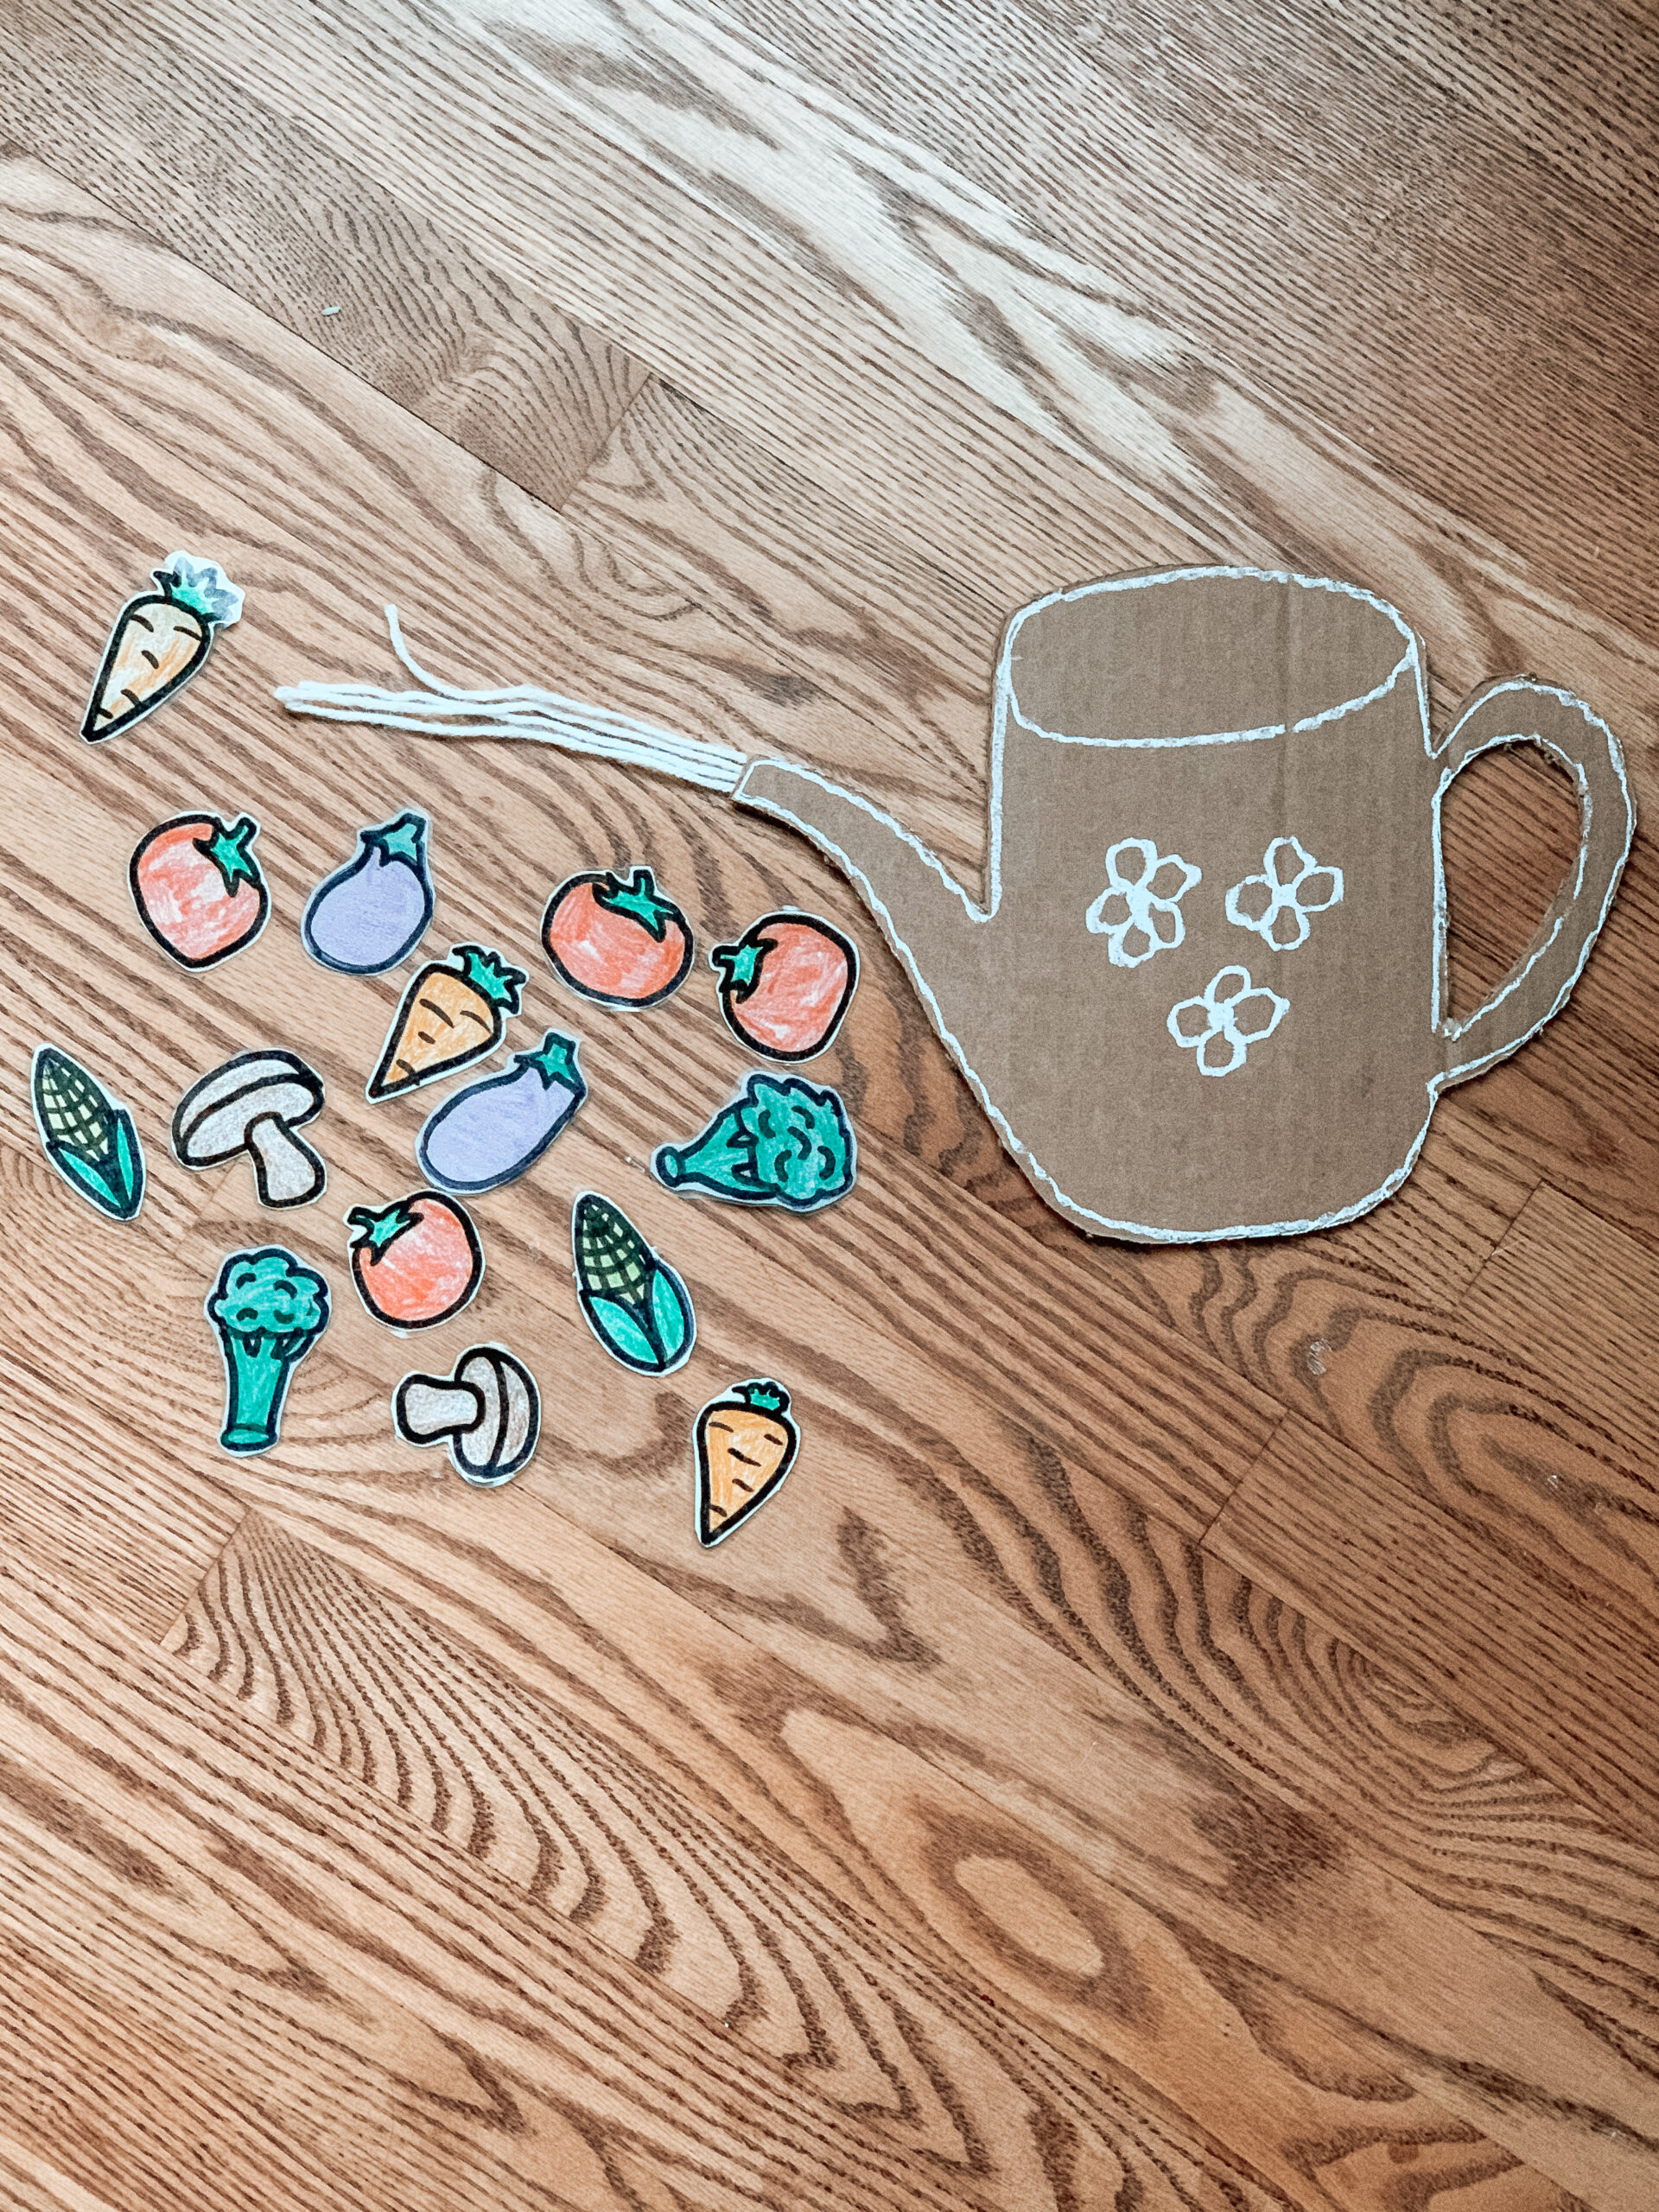
First, I made the little vegetables by drawing, coloring, and cutting them out. I covered them with contact paper to make them reusable and to make them last longer. You could also use packaging tape to do this.
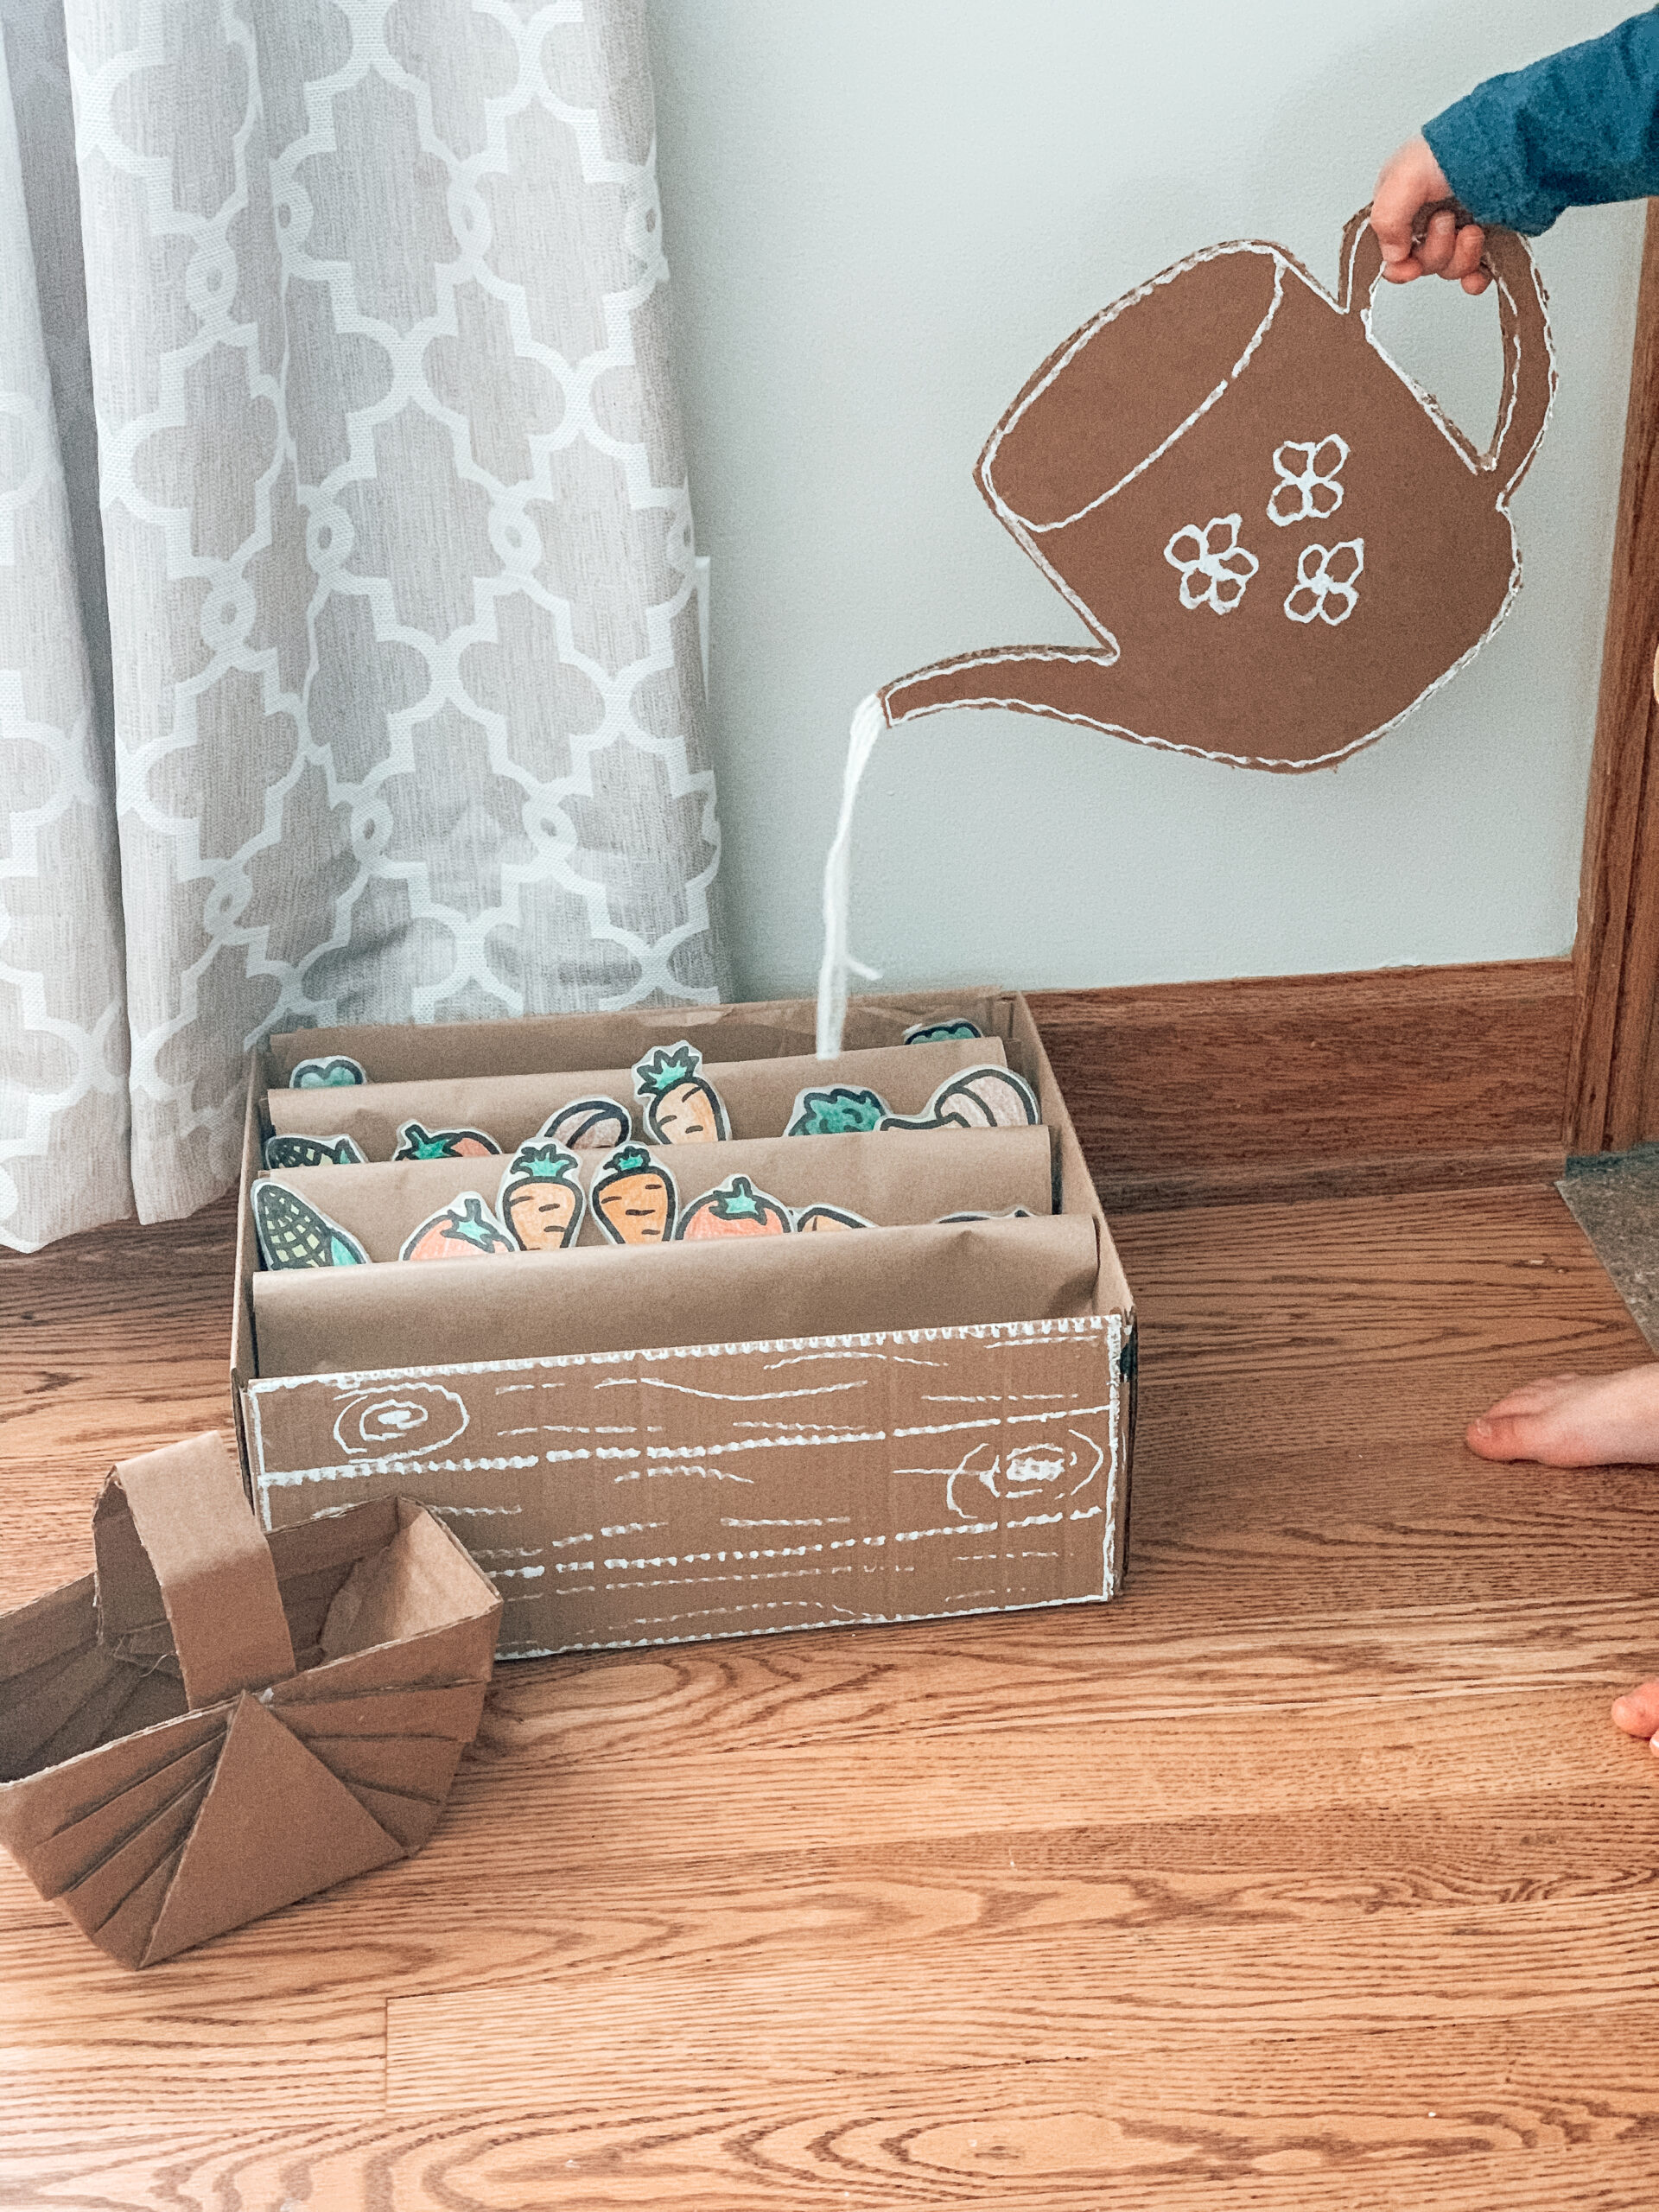
Second, I made a garden box for the vegetables. The box that I was using had a lot of writing on it. I found that the flaps on this box were actually the same size as the box so I just folded them down and hot glued them to stay that way. Then I placed 3 pieces of cardboard inside the box to separate it into 4 sections. I measured them so they fit snugly so I didn’t hot glue them but you could if you wanted to. Once the separators were in place, I covered them with craft paper. I let the craft paper drape a bit, creating little pockets for the vegetables to rest in. Finally, I decorated the outside of the garden box. I decorated it using a white chalk marker. (I bought the chalk marker at a local dollar store but you could find them at any craft store).
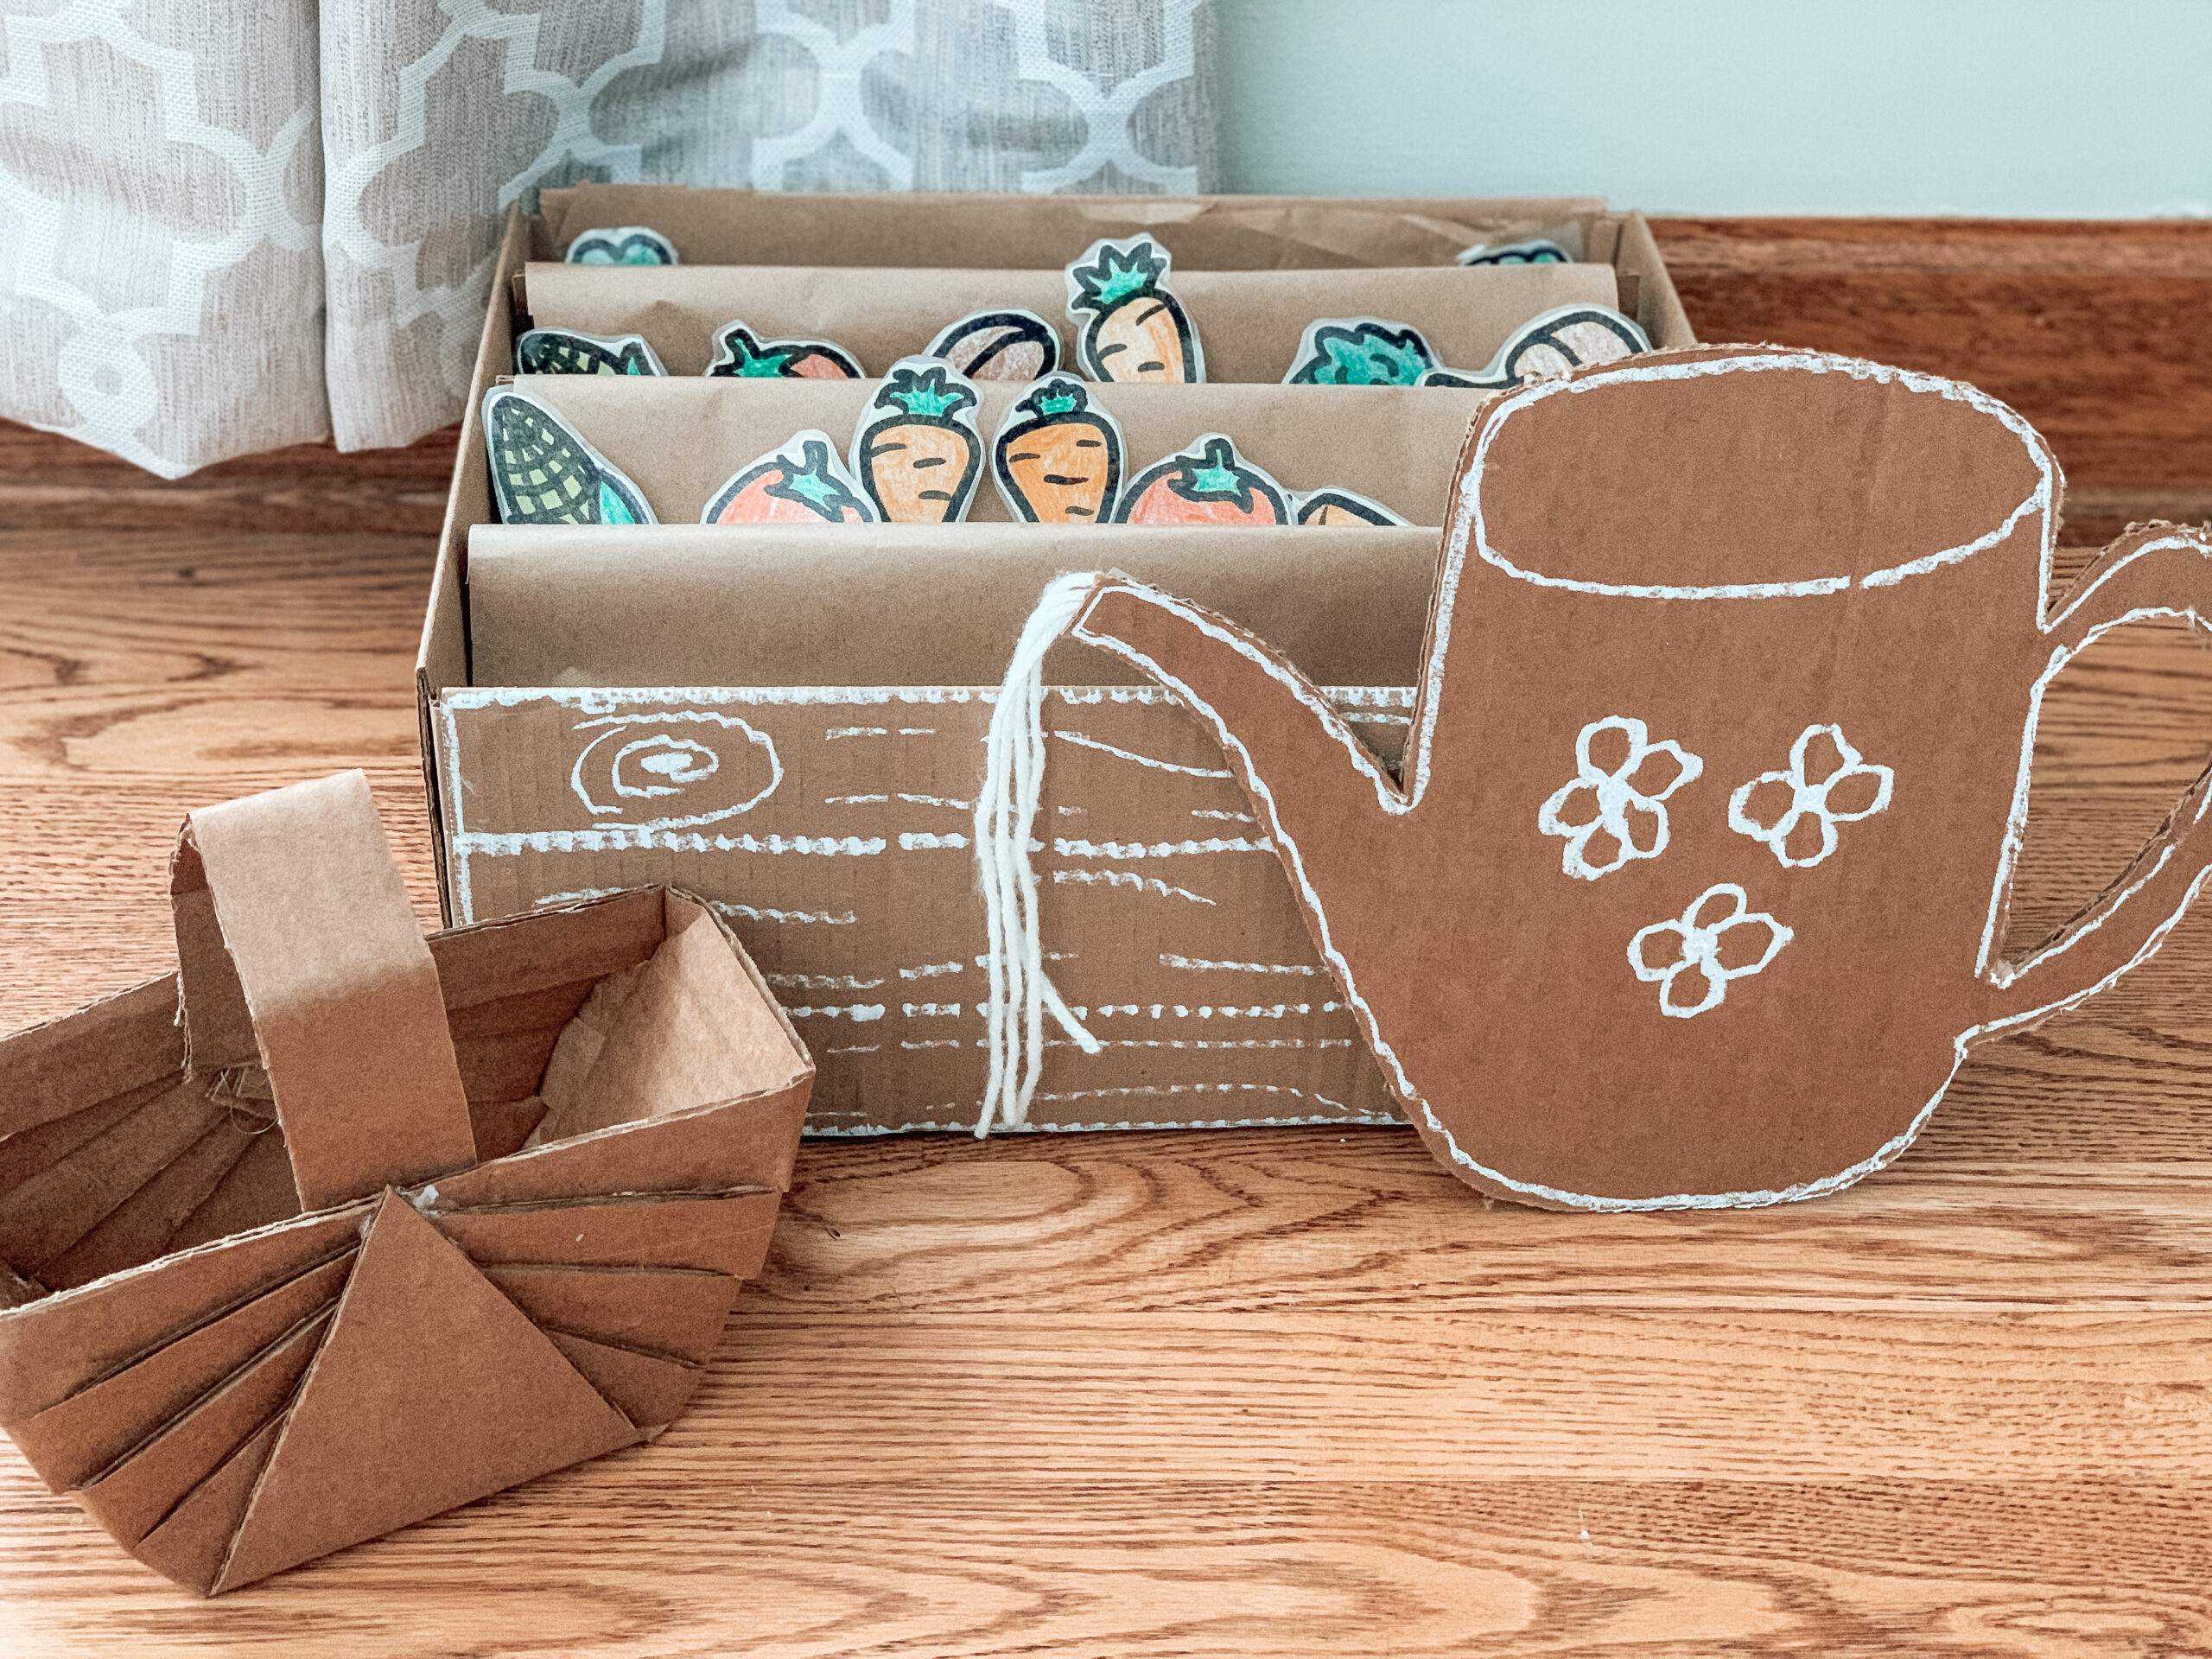
Next, I made the watering can. I drew it and cut it out of cardboard. Then decorated it using the same white chalk marker. Lastly, I taped yarn to the spout to represent the pouring water.
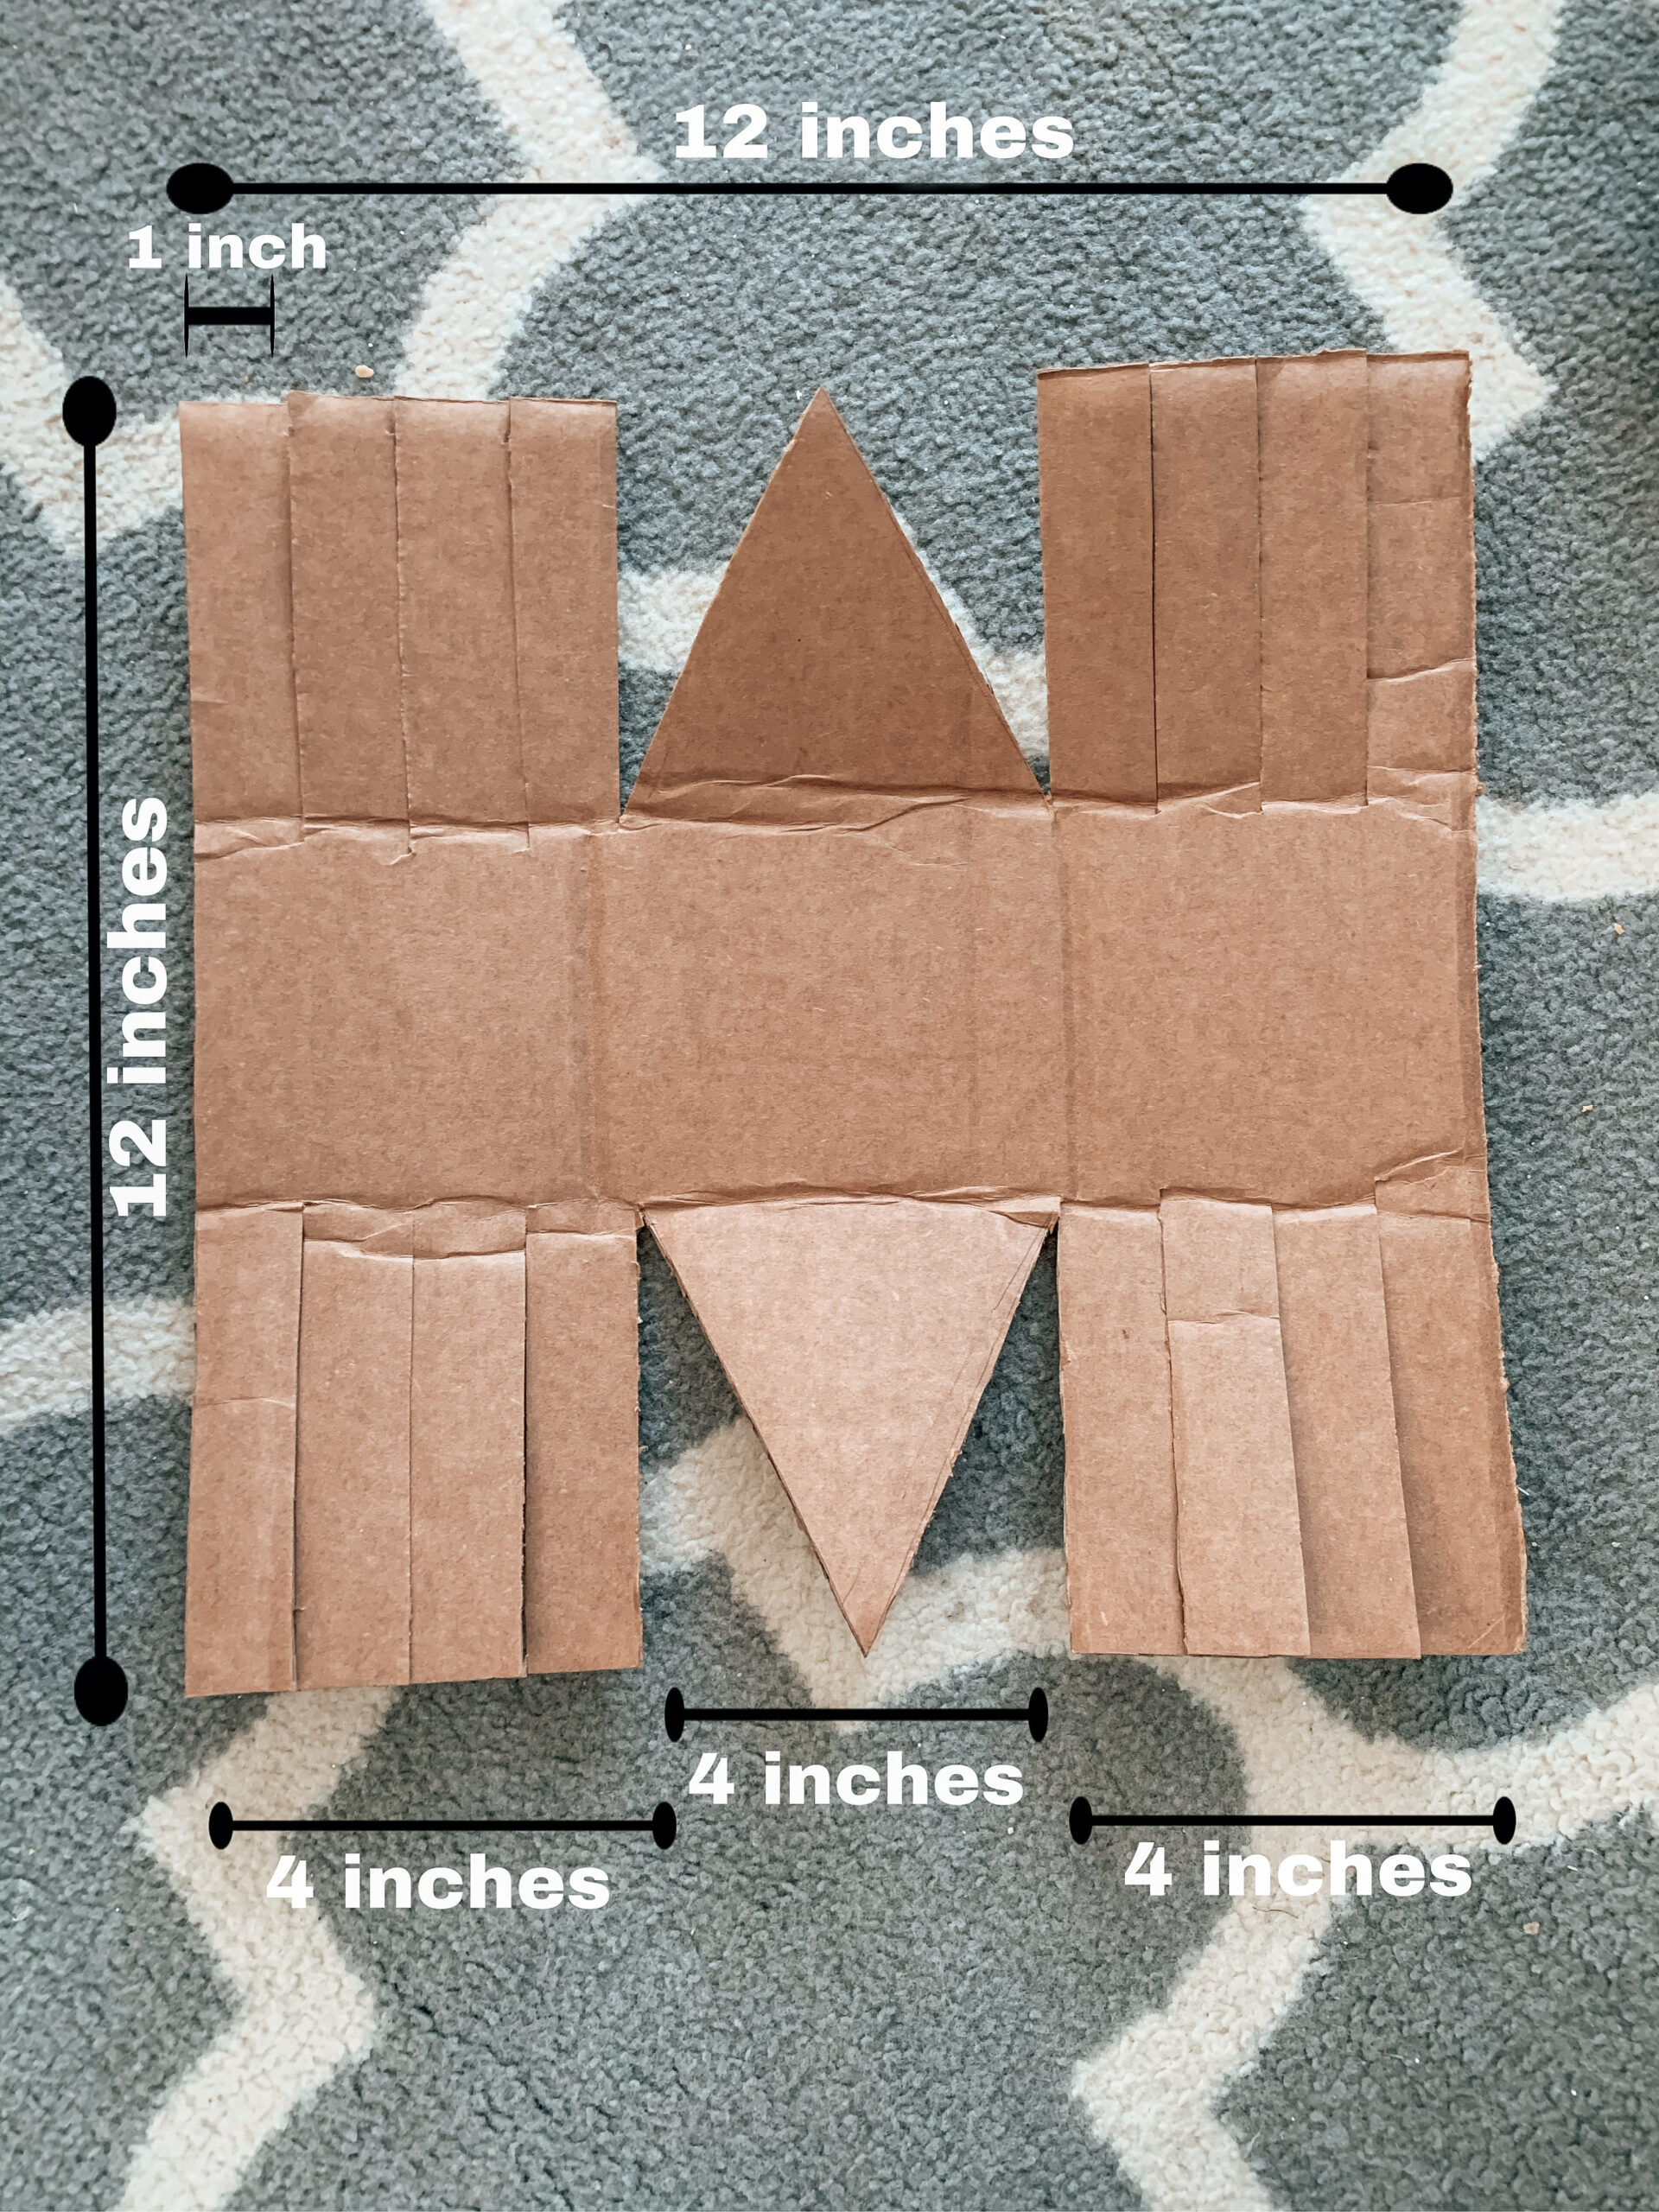
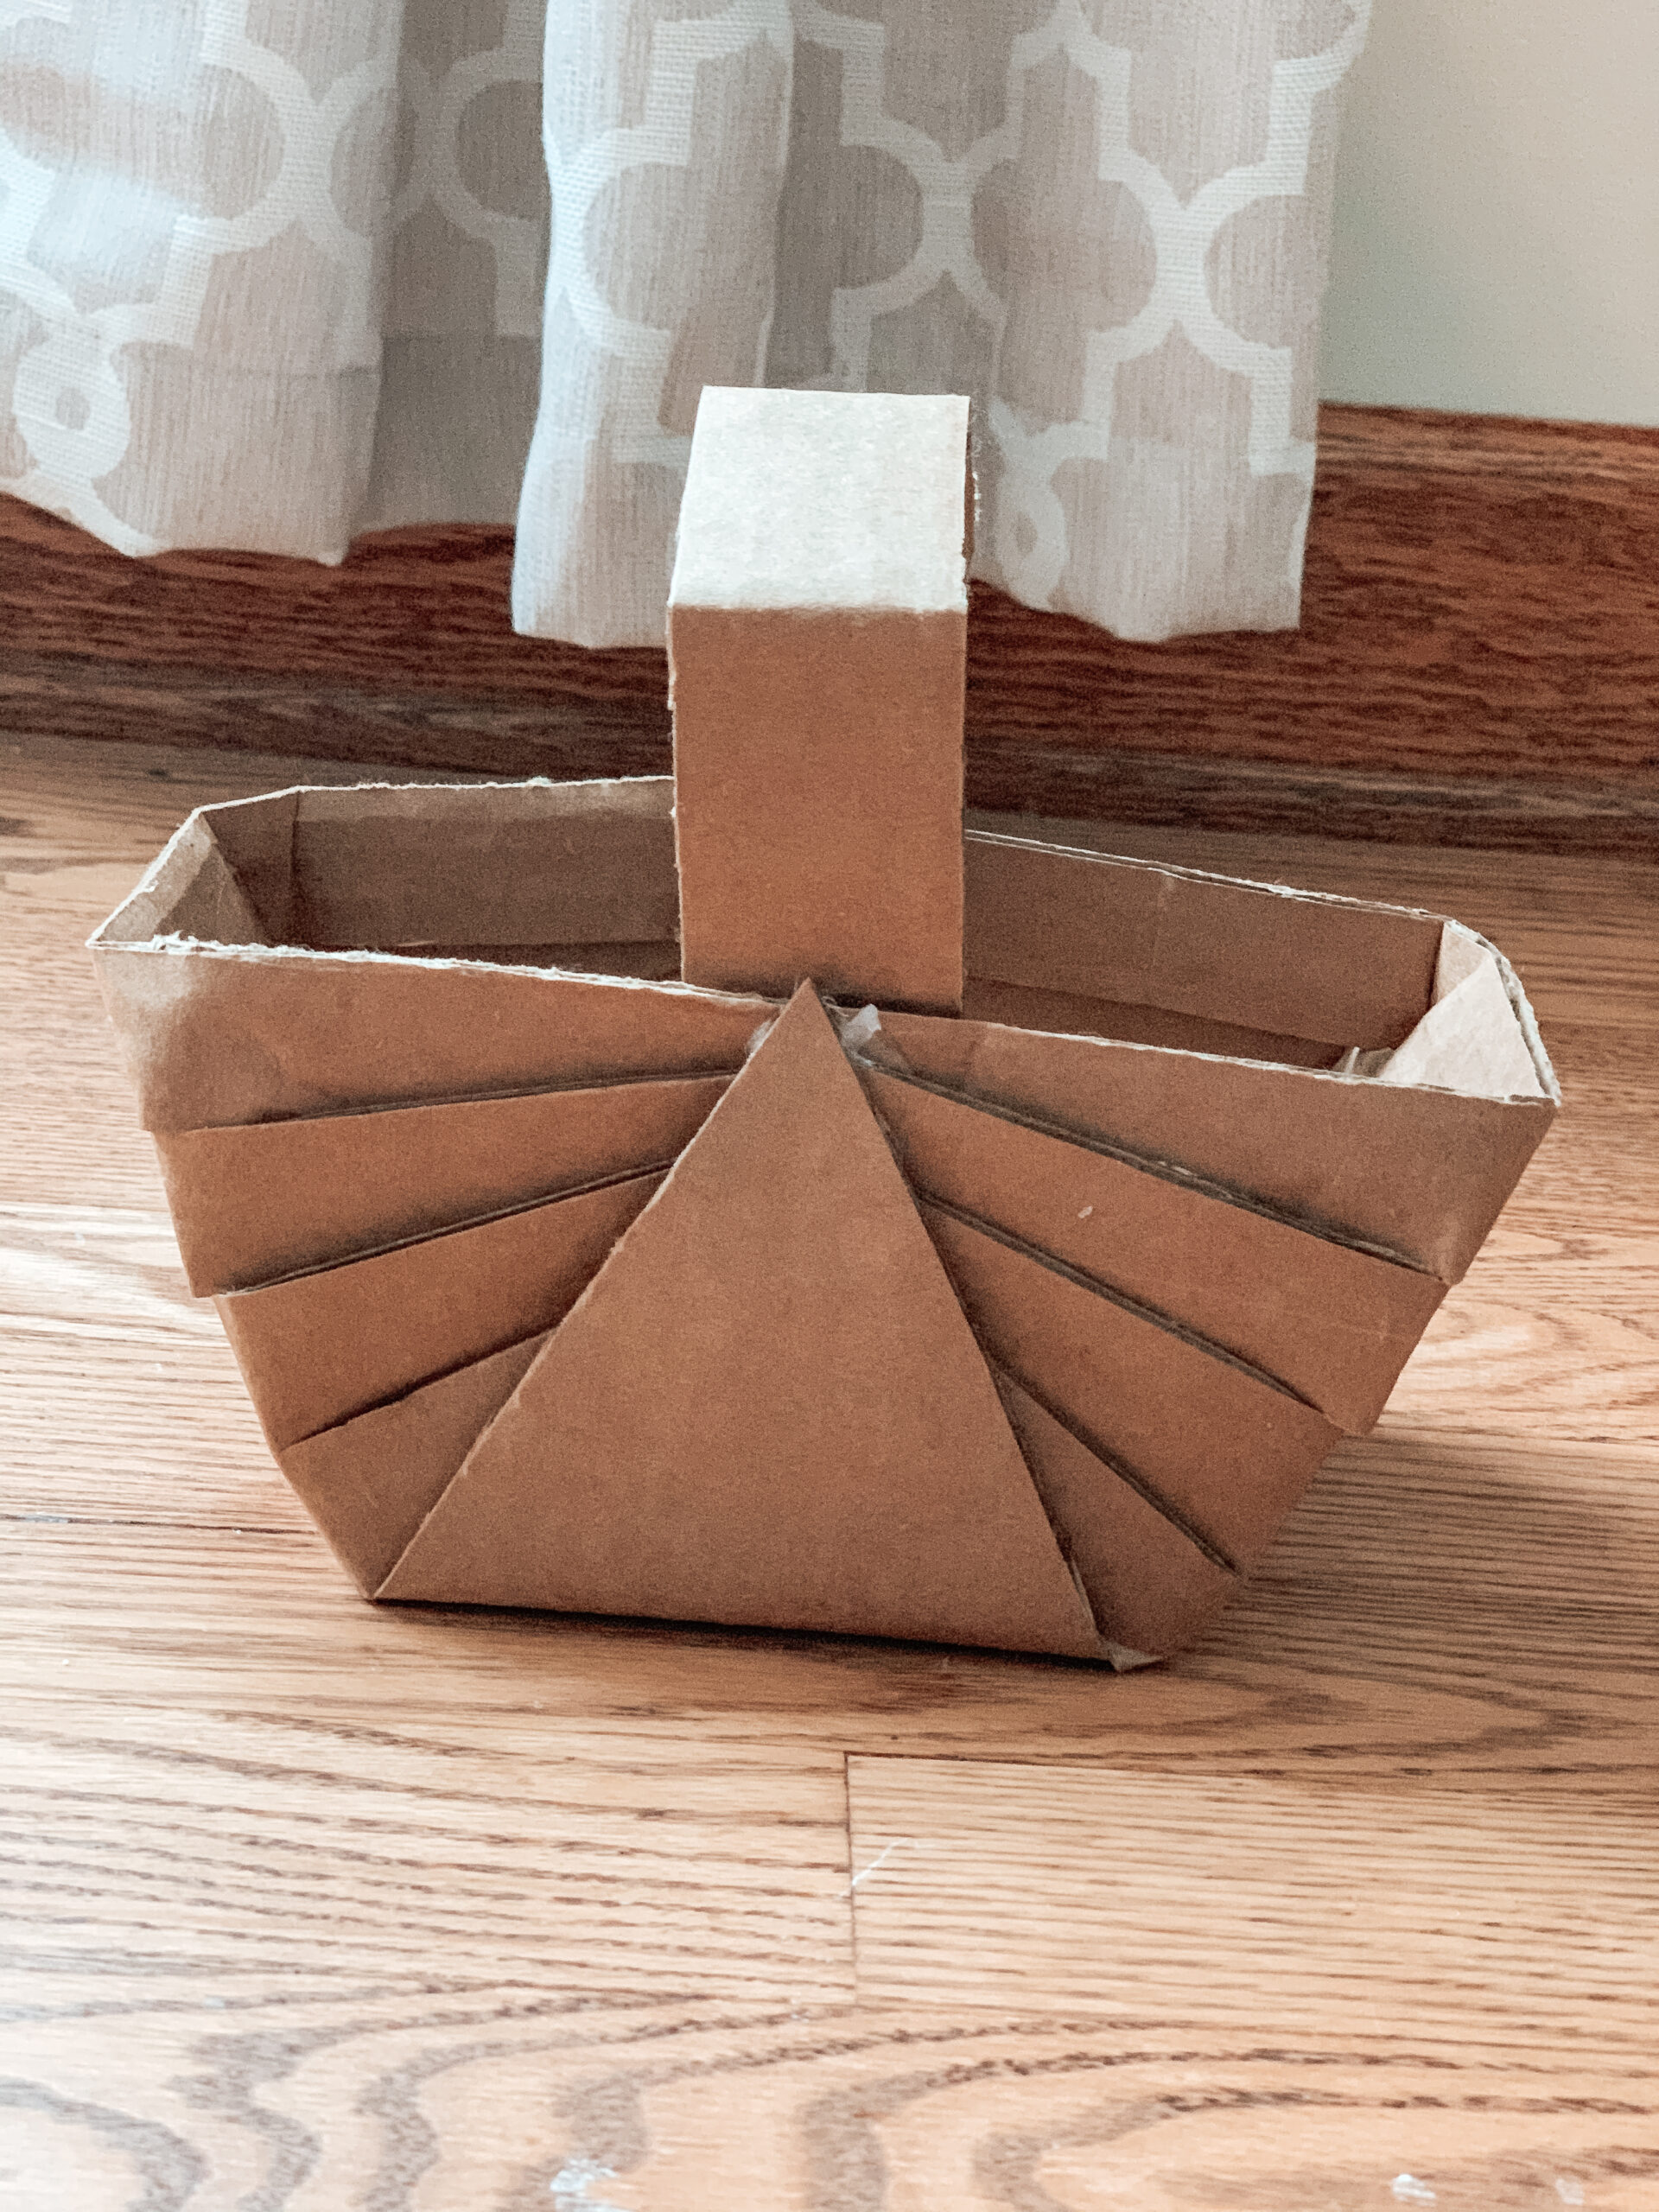
Lastly, I made a little basket to collect the vegetables with. To make this, I drew and cut out the design shown below. I cut about ½ inch off of the 1 inch flaps to make them slightly shorter than the triangle. Then, I folded each flap towards the triangle and hot glued them together. Lastly, I cut out and hot glued on a handle.
What you will need:
2 cardboard boxes, hot glue gun, yarn, scissors, coloring supplies (crayons/markers/colored pencils. Whatever you prefer), paper, white chalk marker, tape, contact paper, craft paper
Directions:
1. Draw, color, and cut out vegetables out of paper. Cover both sides with contact paper
2. Decorate one box (I used a white chalk marker) to look like a garden box. Cut out 3 pieces of cardboard that fit snugly inside the box. Place the three pieces you just cut out inside the box. Drape craft paper over the cardboard pieces creating little pockets for the vegetables to sit in.
3. Draw and cut out a watering can shape out of cardboard. Tape yarn to spout. Decorate.
4. Draw and cut out the design shown above. Cut about ½ inch off of the 1 inch flaps to make them slightly shorter than the triangle. Then, fold each flap towards the triangle and hot glued them together. Lastly, cut out and hot glued on a handle.
Inspired by: eco_play_ideas

[…] paper and place some Easter eggs in a basket. (You can find how we made our own basket at our Cardboard Gardening activity). Then have your child match the Easter eggs with the paper […]
I am going to get some cardboard so that I can do this with my daughter.
I hope she enjoys it!
This is darling! I love imagination play and know how important it is for kids to learn and grow their problem-solving skills
Thank you! Yes, imaginative play is so important!
Your Cardboard Gardening craft is so cute, and I would love to make this too for my kids.
Thank you!
this looks super cool! and i am going to hunt up the cardboard at home to do this and the chicken coop one soon
Thank you! Cardboard boxes can be made into so many fun things!
This is so cute, my daughter will love it! And it gives us something to do with some of these boxes!
Thank you! So many fun possibilities with cardboard boxes.
Absolutely love this idea! Will be trying it out soon.
Thank you! I hope your little one enjoys it!