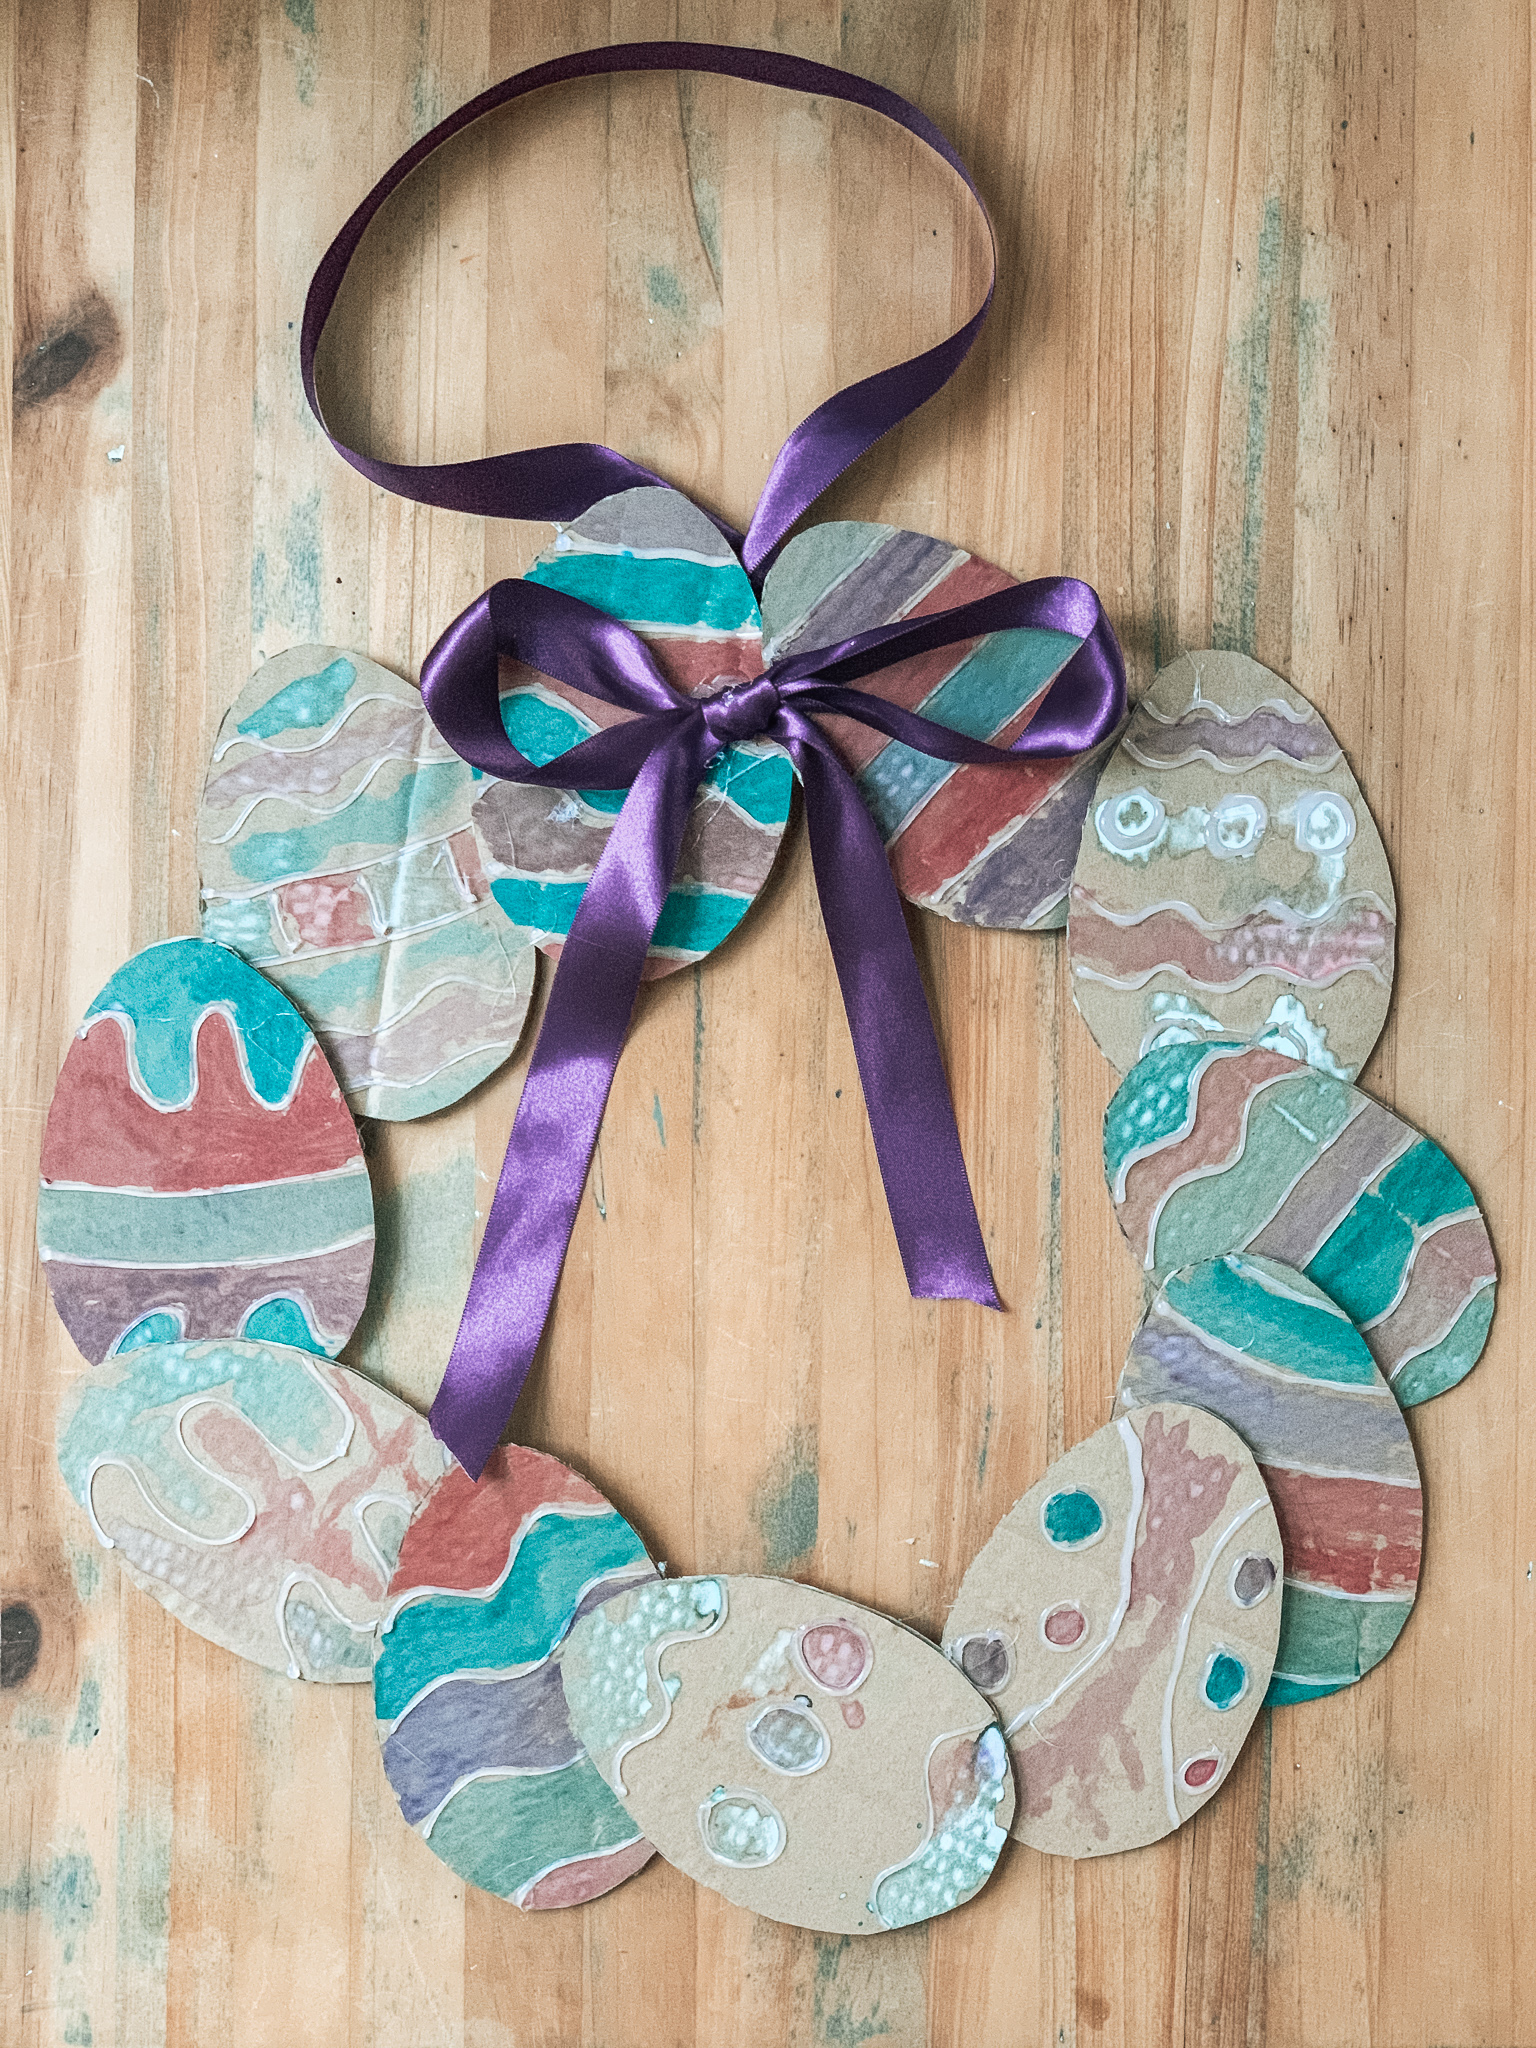
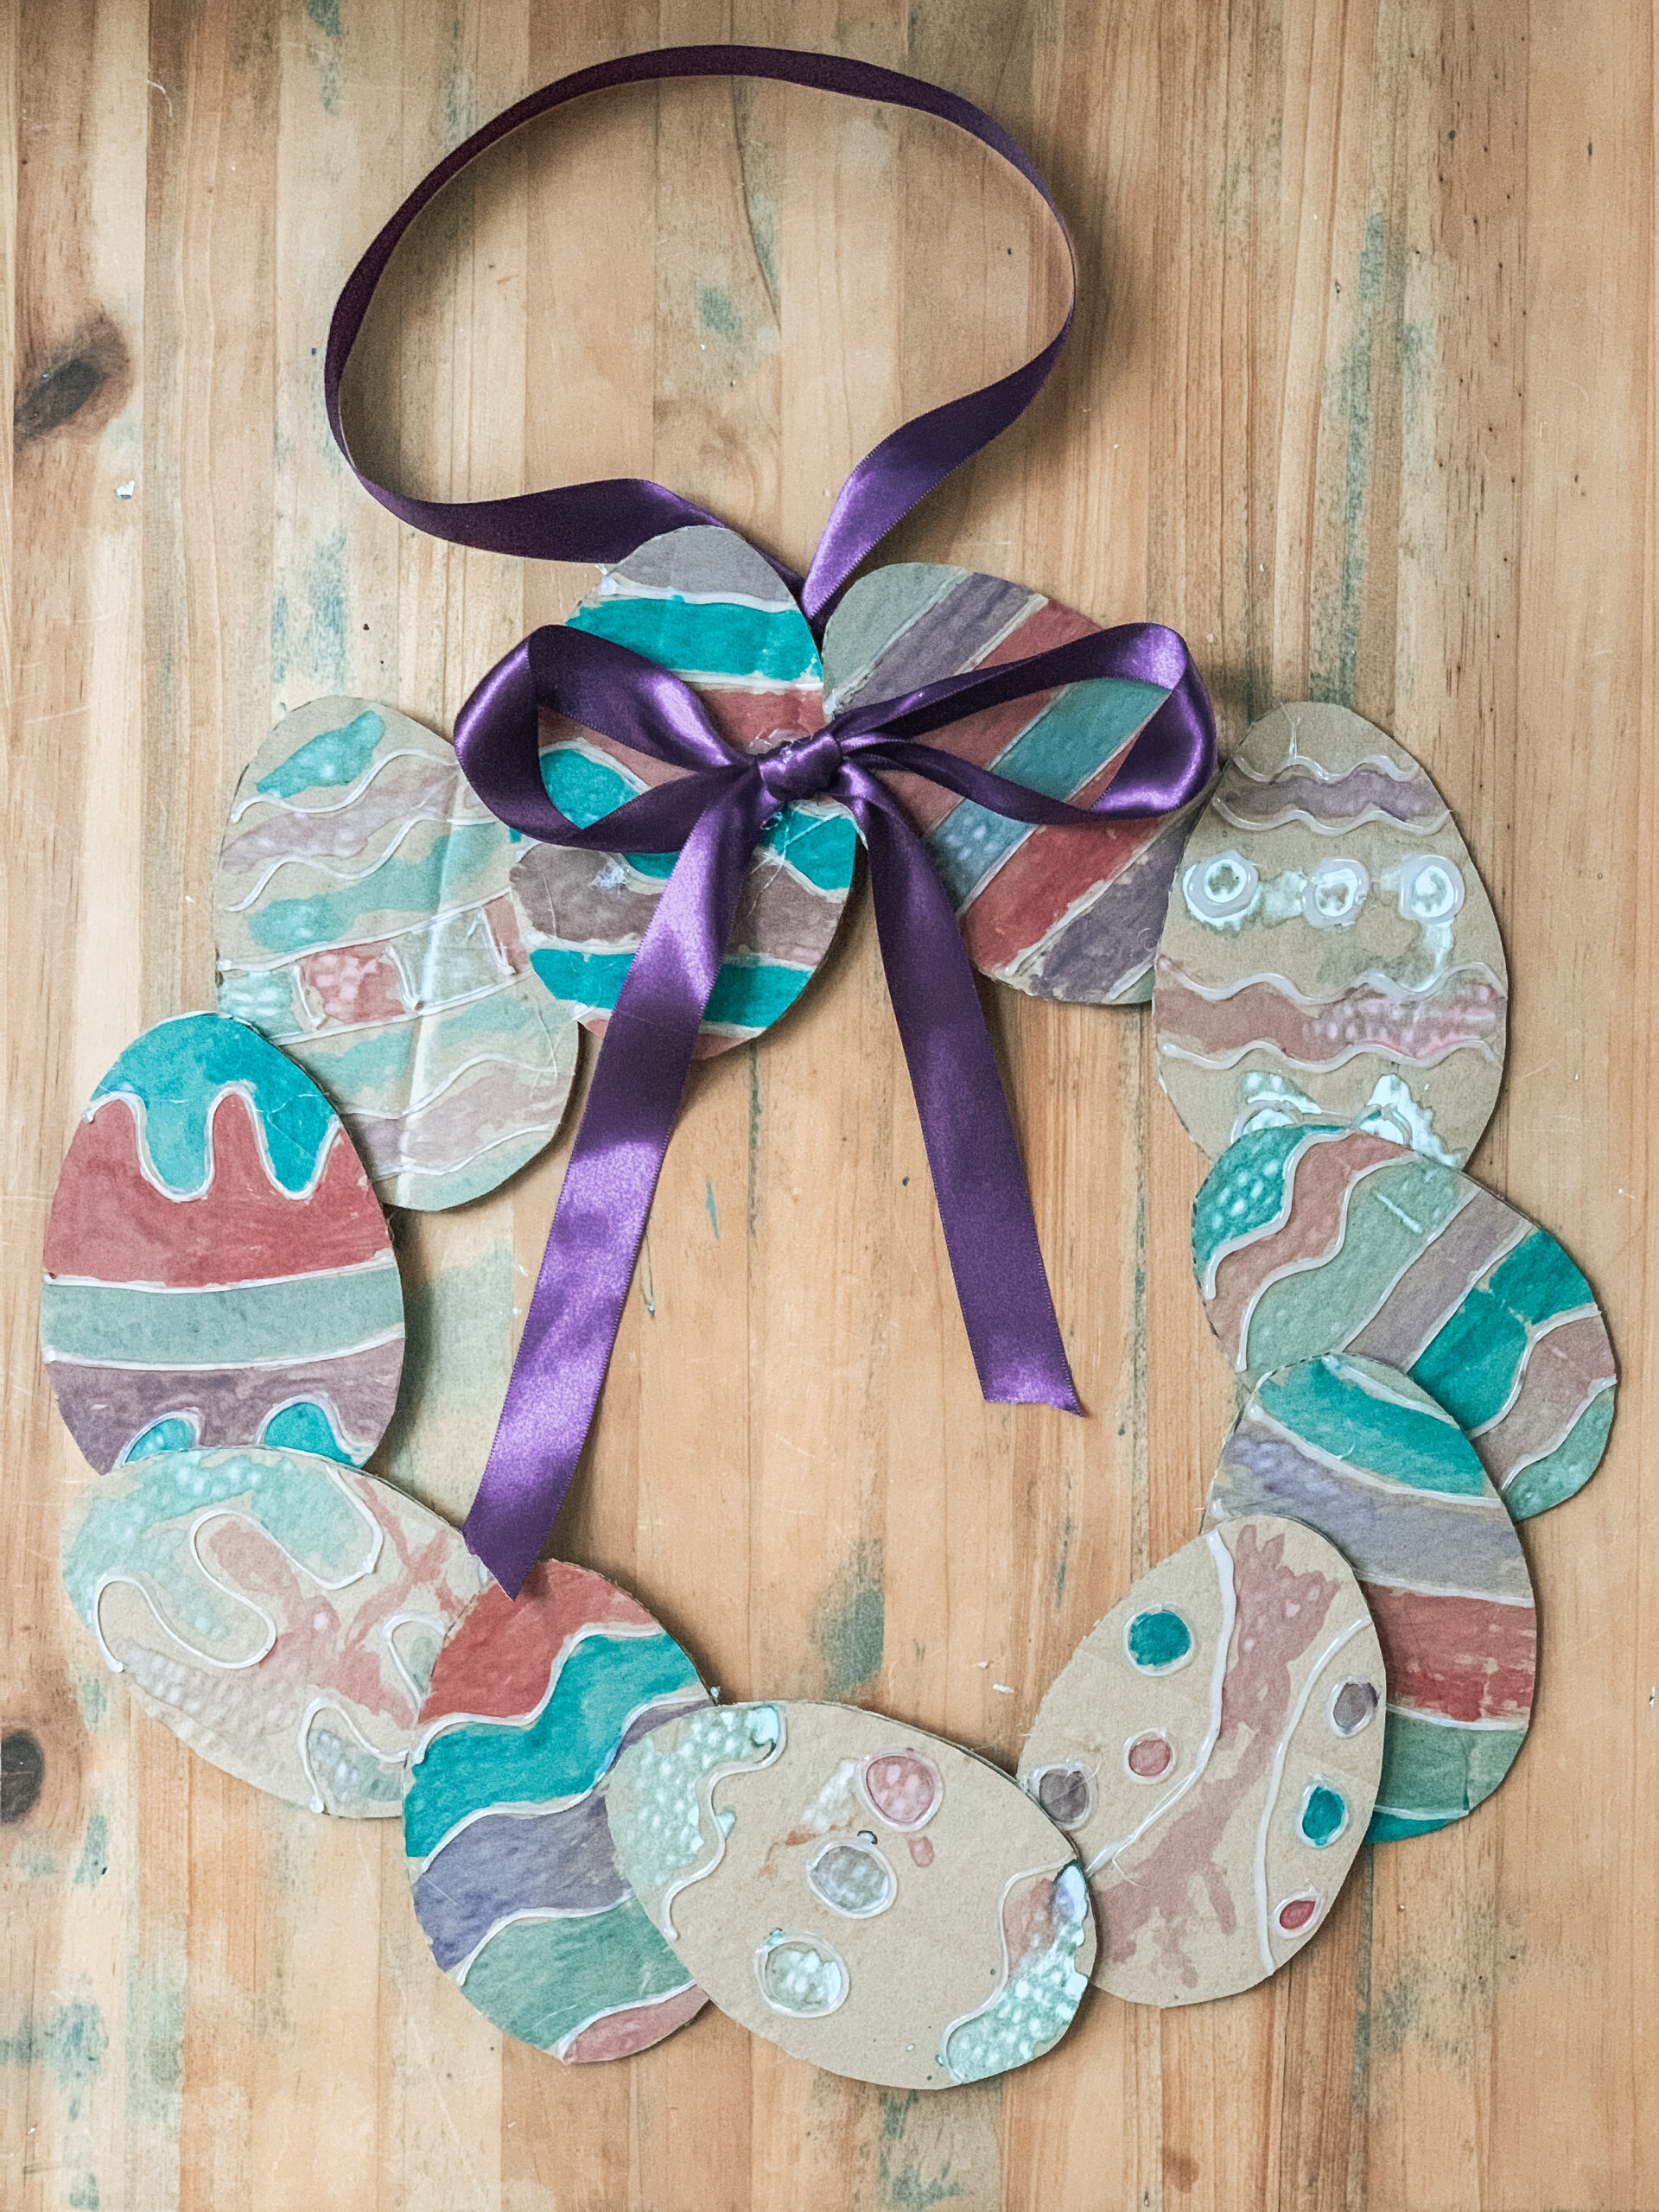
I am a big believer that kids crafts should be more about the process than the result. That being said, every once in a while, deep down, I would like their craft to turn out somewhat like I imagined in my head. This kids Easter wreath is the best of both worlds! Adding hot glue to a kids painting project helps them stay in the lines while still allowing them the freedom to paint all on their own and let their creativity shine.
How We Made This Kids Easter Wreath:
I started prepping this activity by cutting eggs (I created 11 eggs) and a circular base for the wreath out of cardboard
Next, I used a hot glue gun to create designs on the Easter eggs.
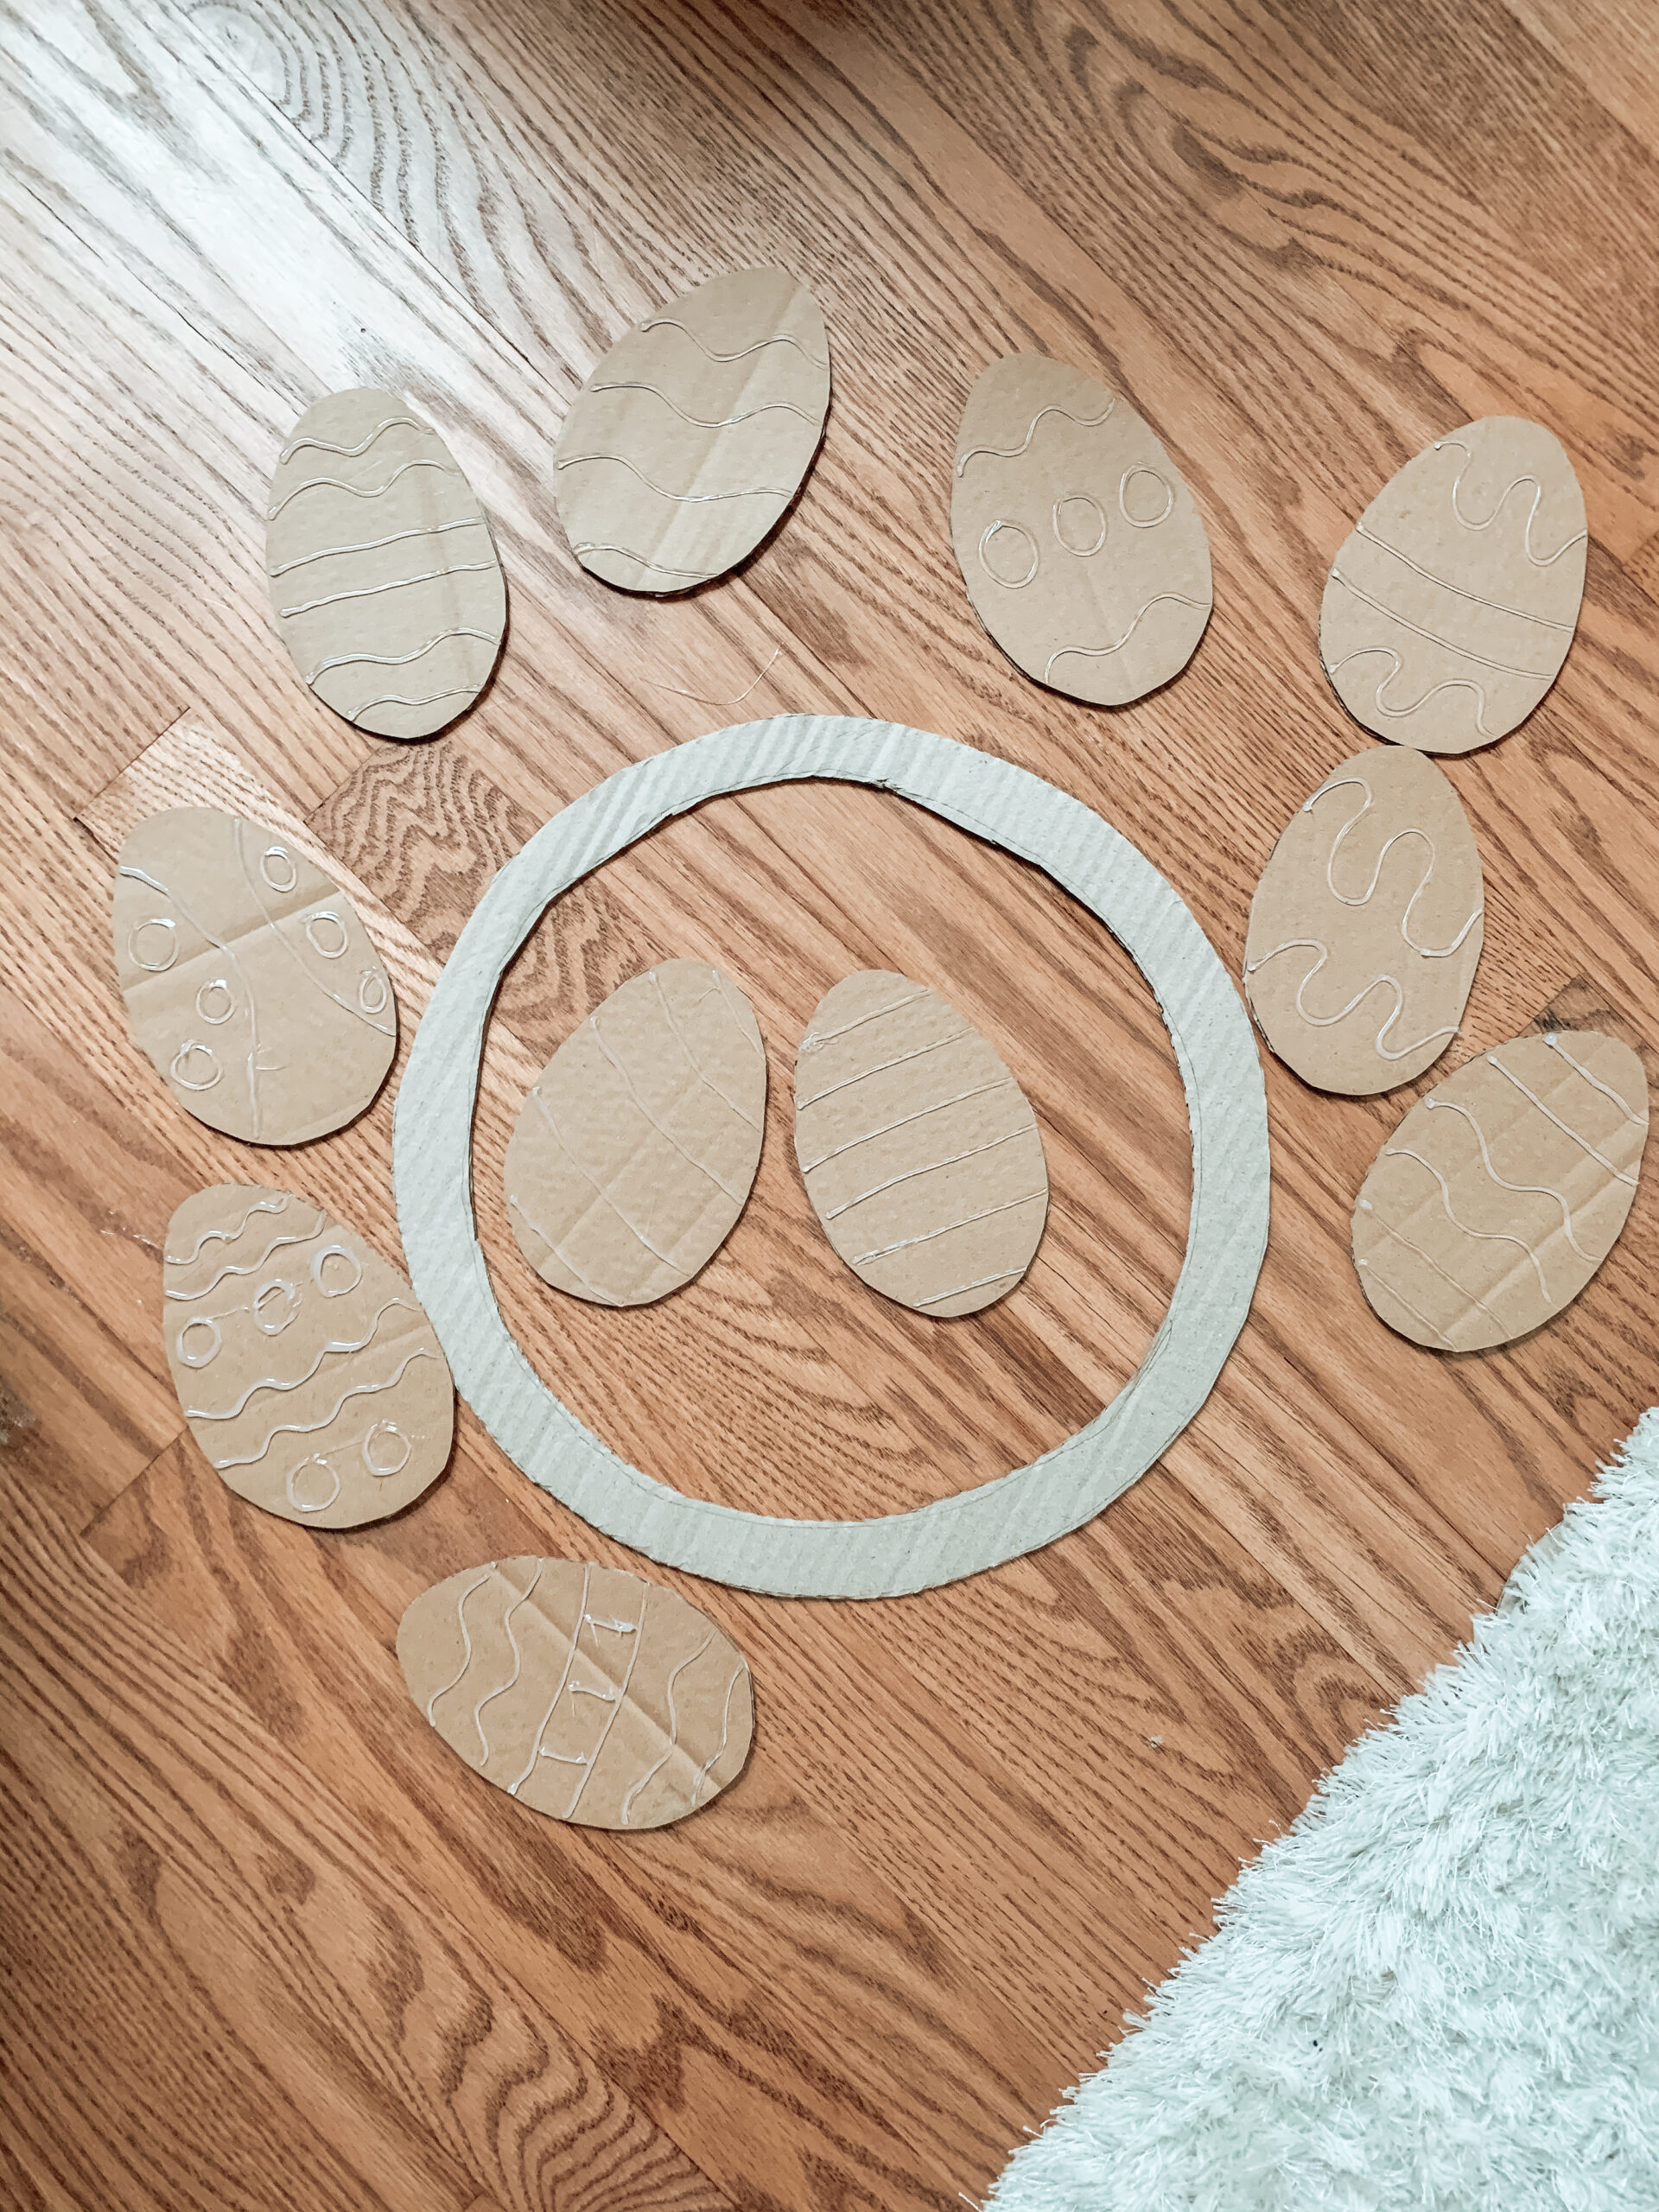
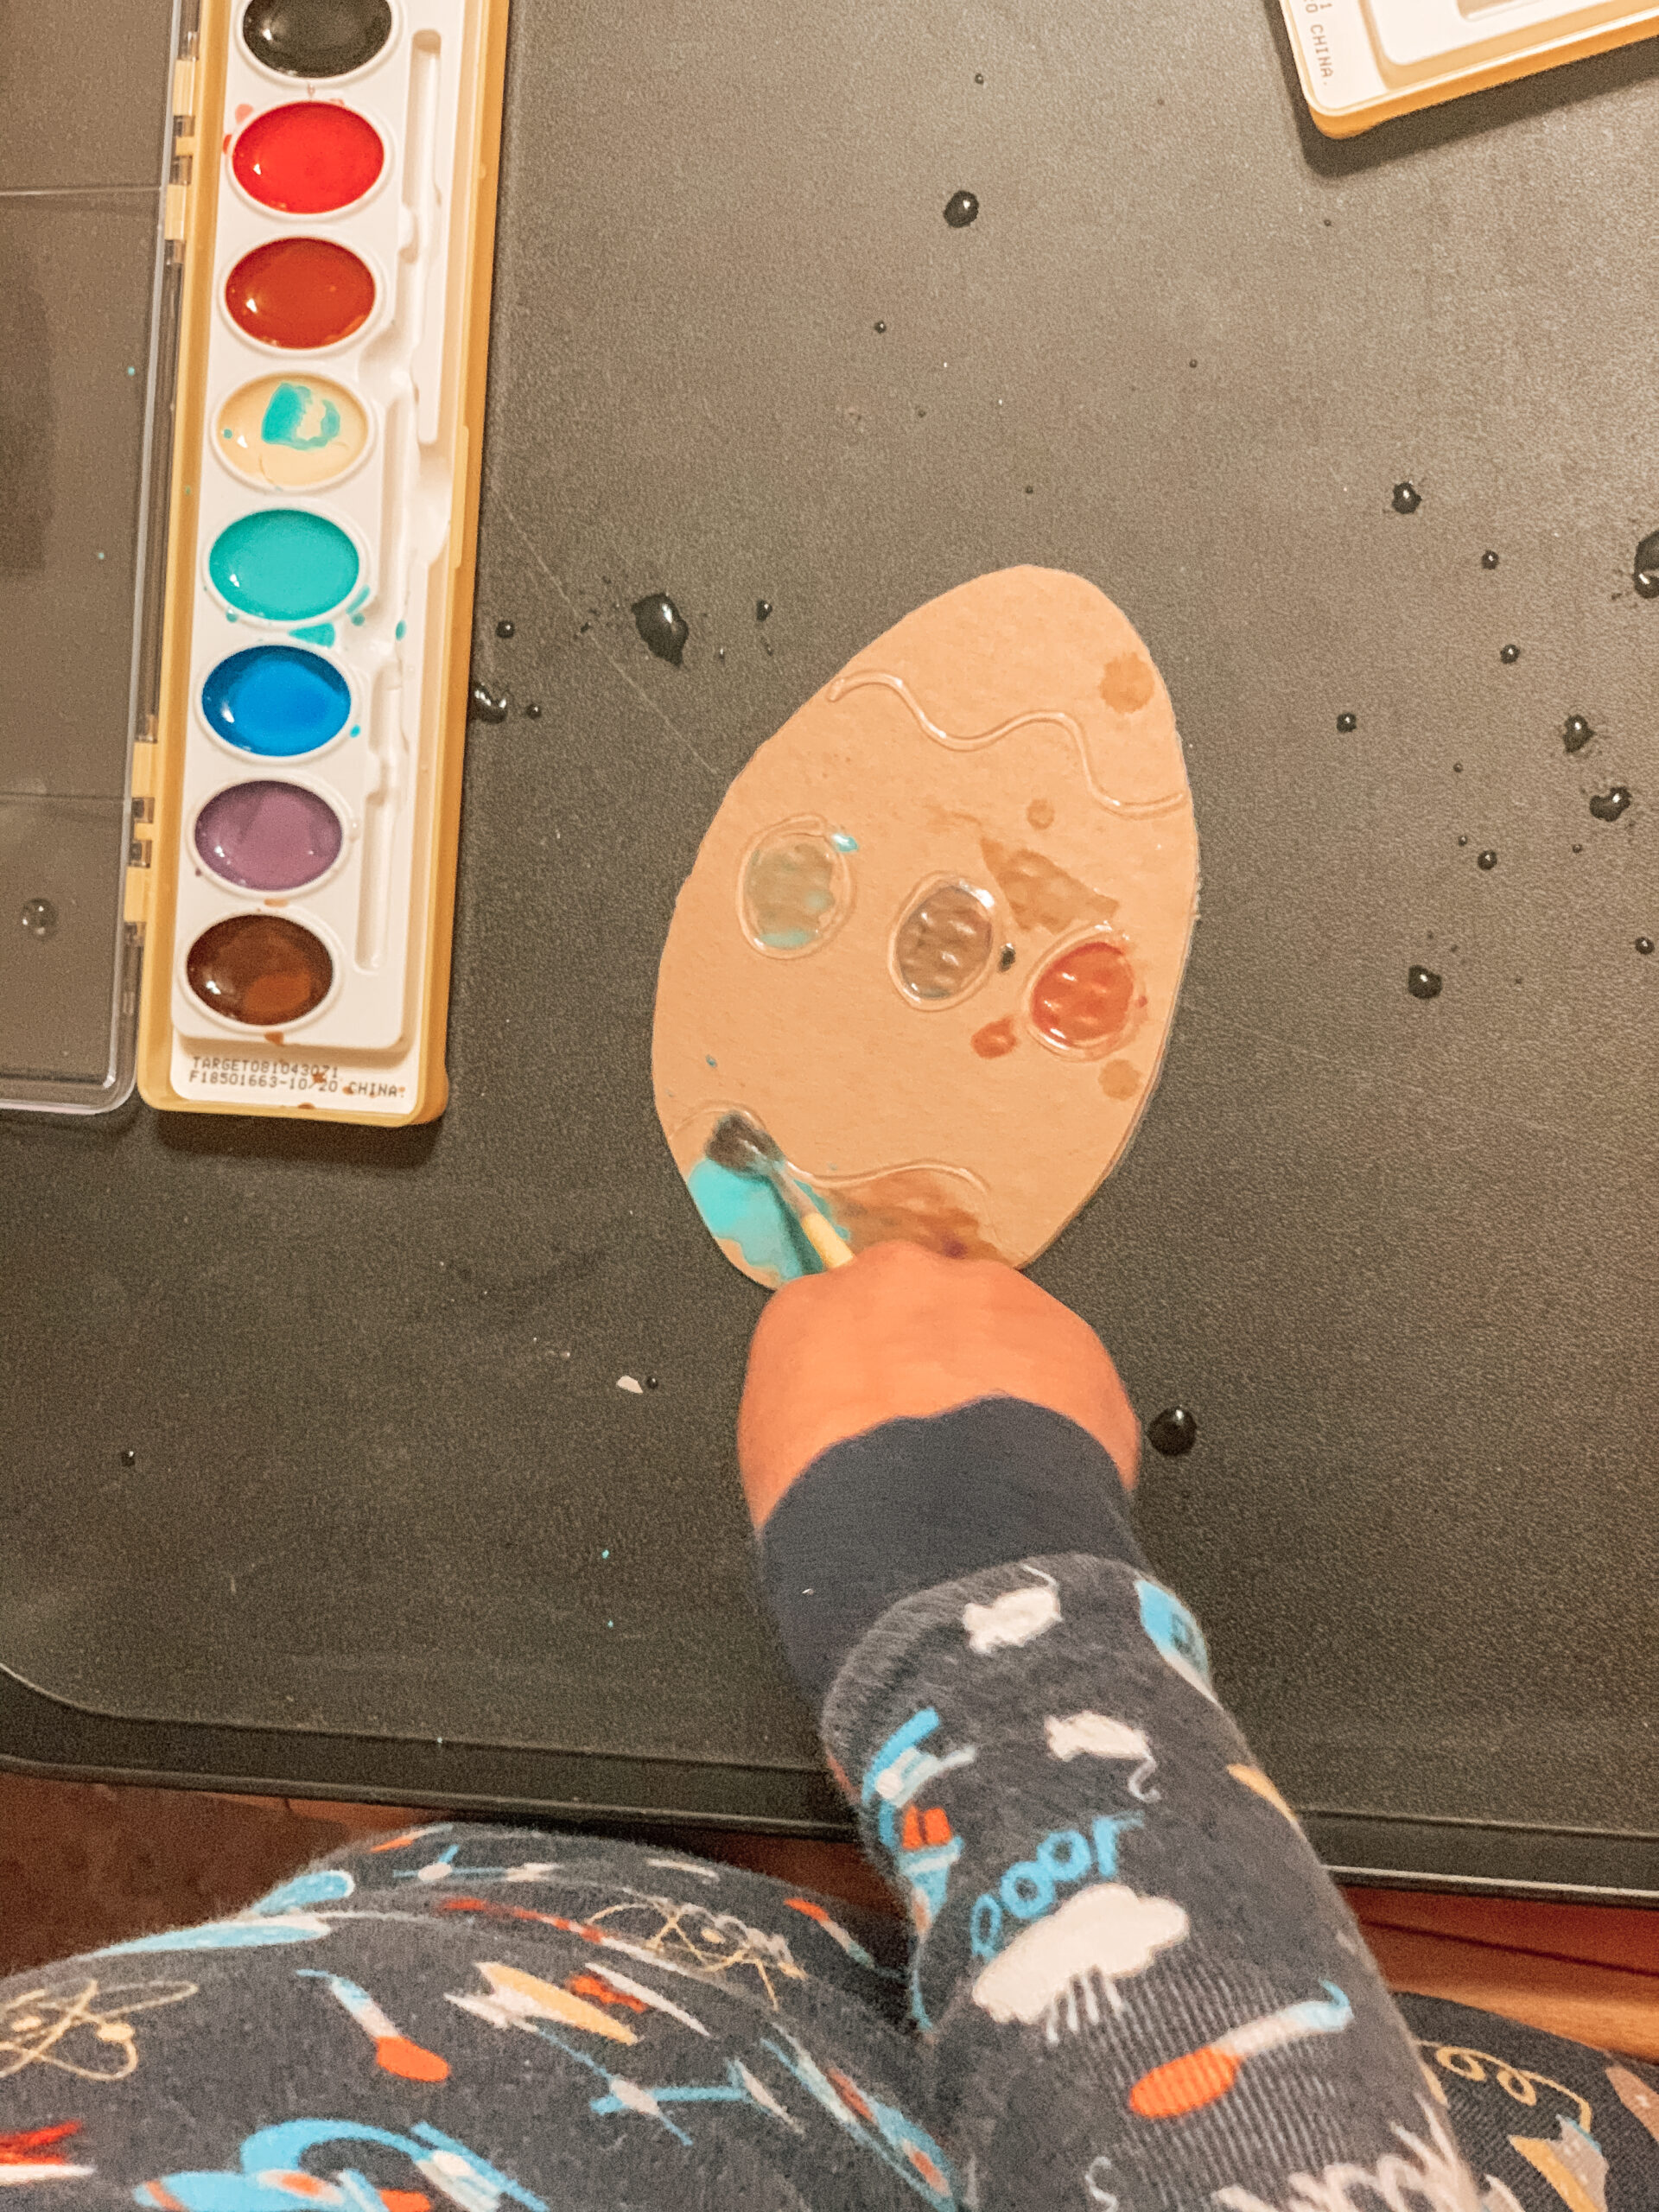
That was all of the prepping needed! They were ready for my son to paint with watercolor paints.
I had tried to keep the designs simple but when my son was actually painting, he preferred the ones with circles and extra details. If I were to do this activity again, I would have added more fun patterns and details to keep his interest longer.
After all of the eggs were painted and dried, I hot glued the eggs to the circular wreath base. Then, I found some ribbon and hot glued a bow onto the front of the wreath and a ribbon onto the back of the wreath. The ribbon on the back of the wreath allows it to be hung.
What You Will Need:
Cardboard, watercolor paints, scissors, hot glue gun, cup of water (for the watercolor paints), ribbon
Directions:
- Cut a circular ring out of cardboard
- Cut eggs out of cardboard. You will need enough eggs to cover the circular ring (I cut out 11 eggs)
- Draw designs with the hot glue gun on the eggs
- Have your child use watercolor paints to paint the eggs
- Let dry
- Hot glue the painted eggs to the circular ring
- Create a bow out of ribbon and hot glue it to the front of the wreath
- Create a loop to hang the wreath with and hot glue it to the back of the wreath
