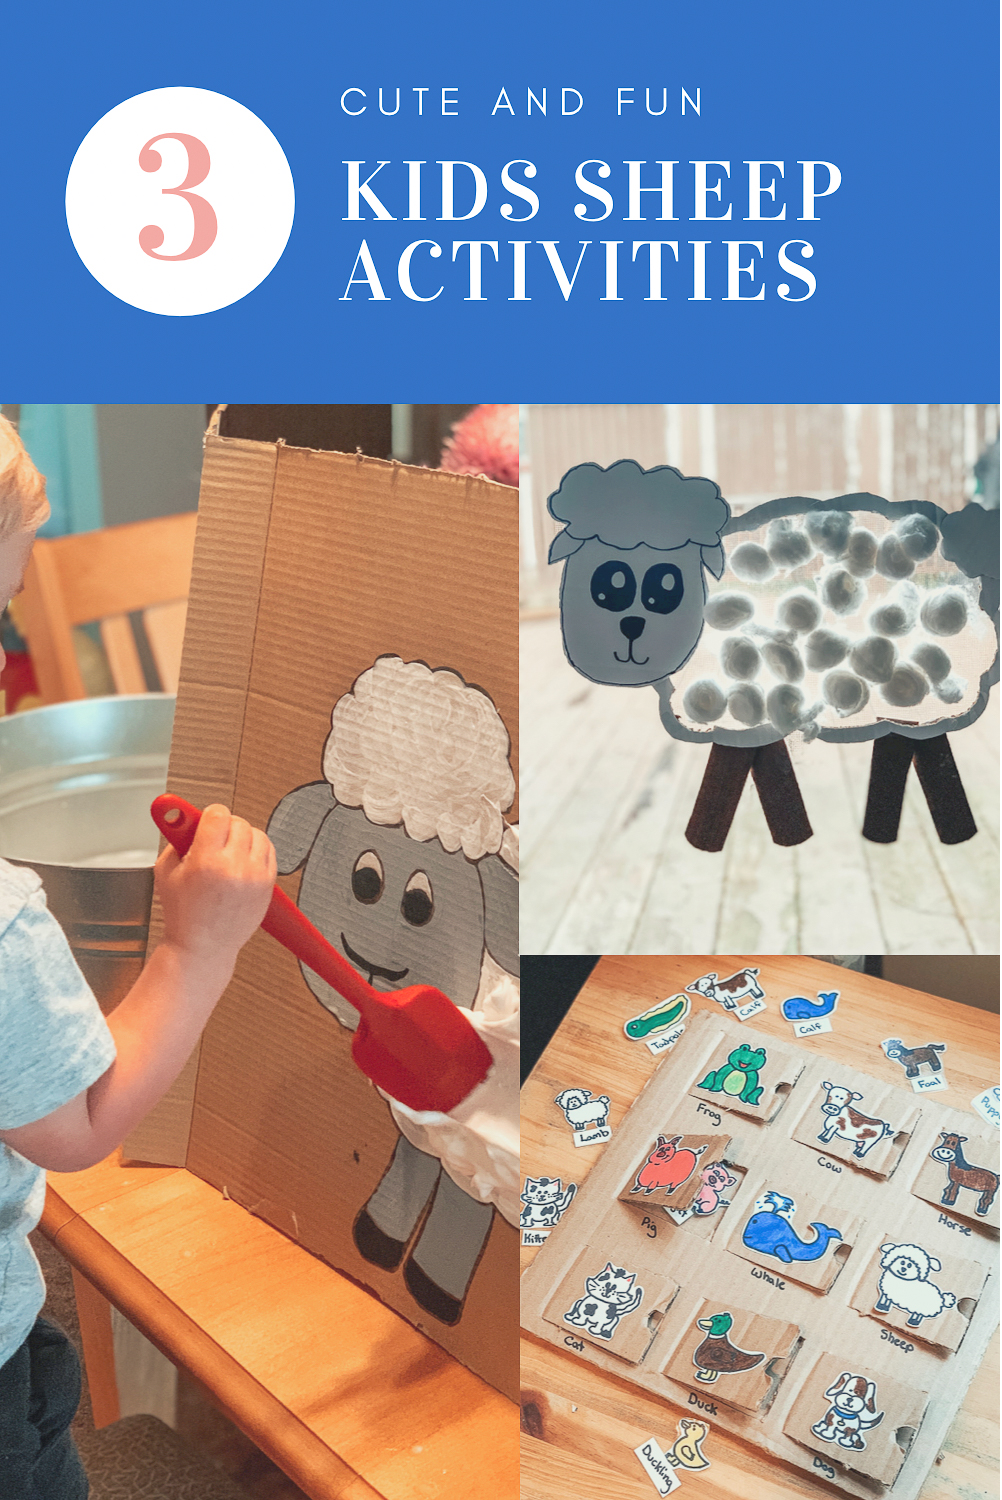
For Easter, my boys received stuffed animal sheep from the “Easter Bunny.” In honor of their new friends, I am going to share some of our favorite sheep activities. They are cute, fluffy, and fun!

Shearing The Sheep
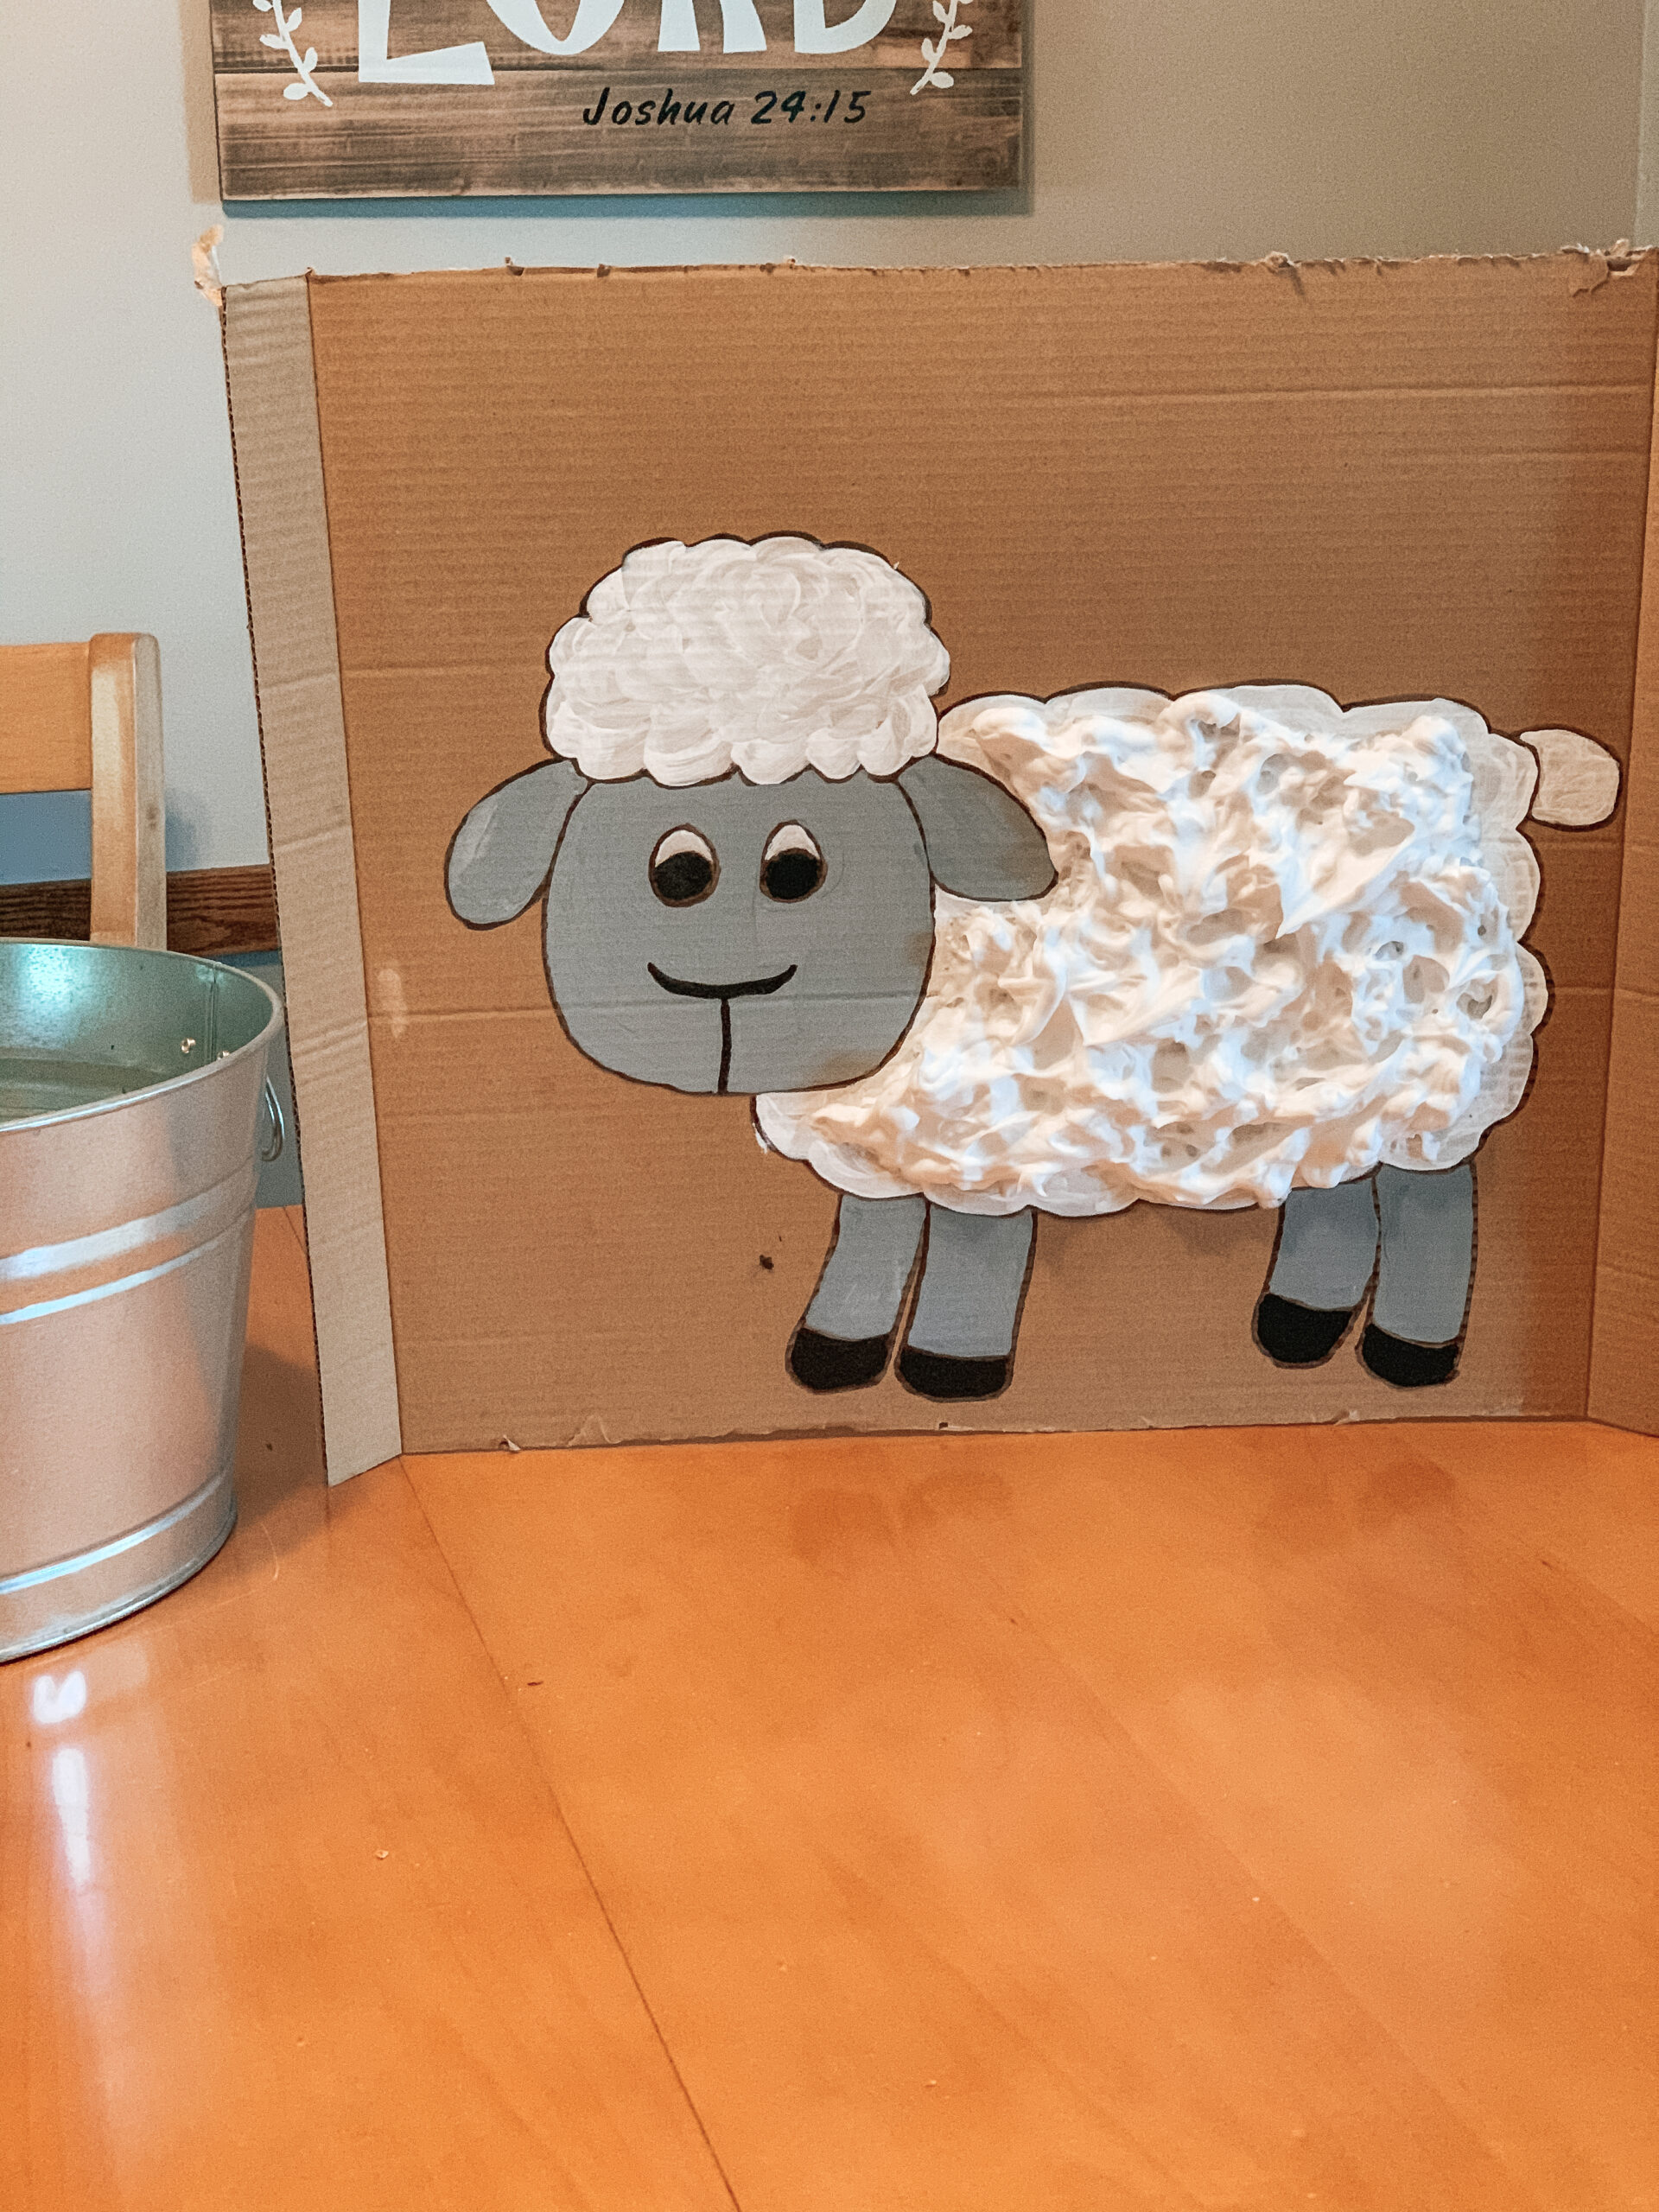
Messy play is always a favorite of ours. I would definitely recommend doing this activity outside, but the weather didn’t cooperate for us so we made it work inside.
How I Set Up This Activity:
To create this activity, I began by painting a sheep on a piece of cardboard.
Then I covered the sheep with shaving cream. Before adding the shaving cream, you could cover the cardboard with contact paper or packaging tape to make it reusable.

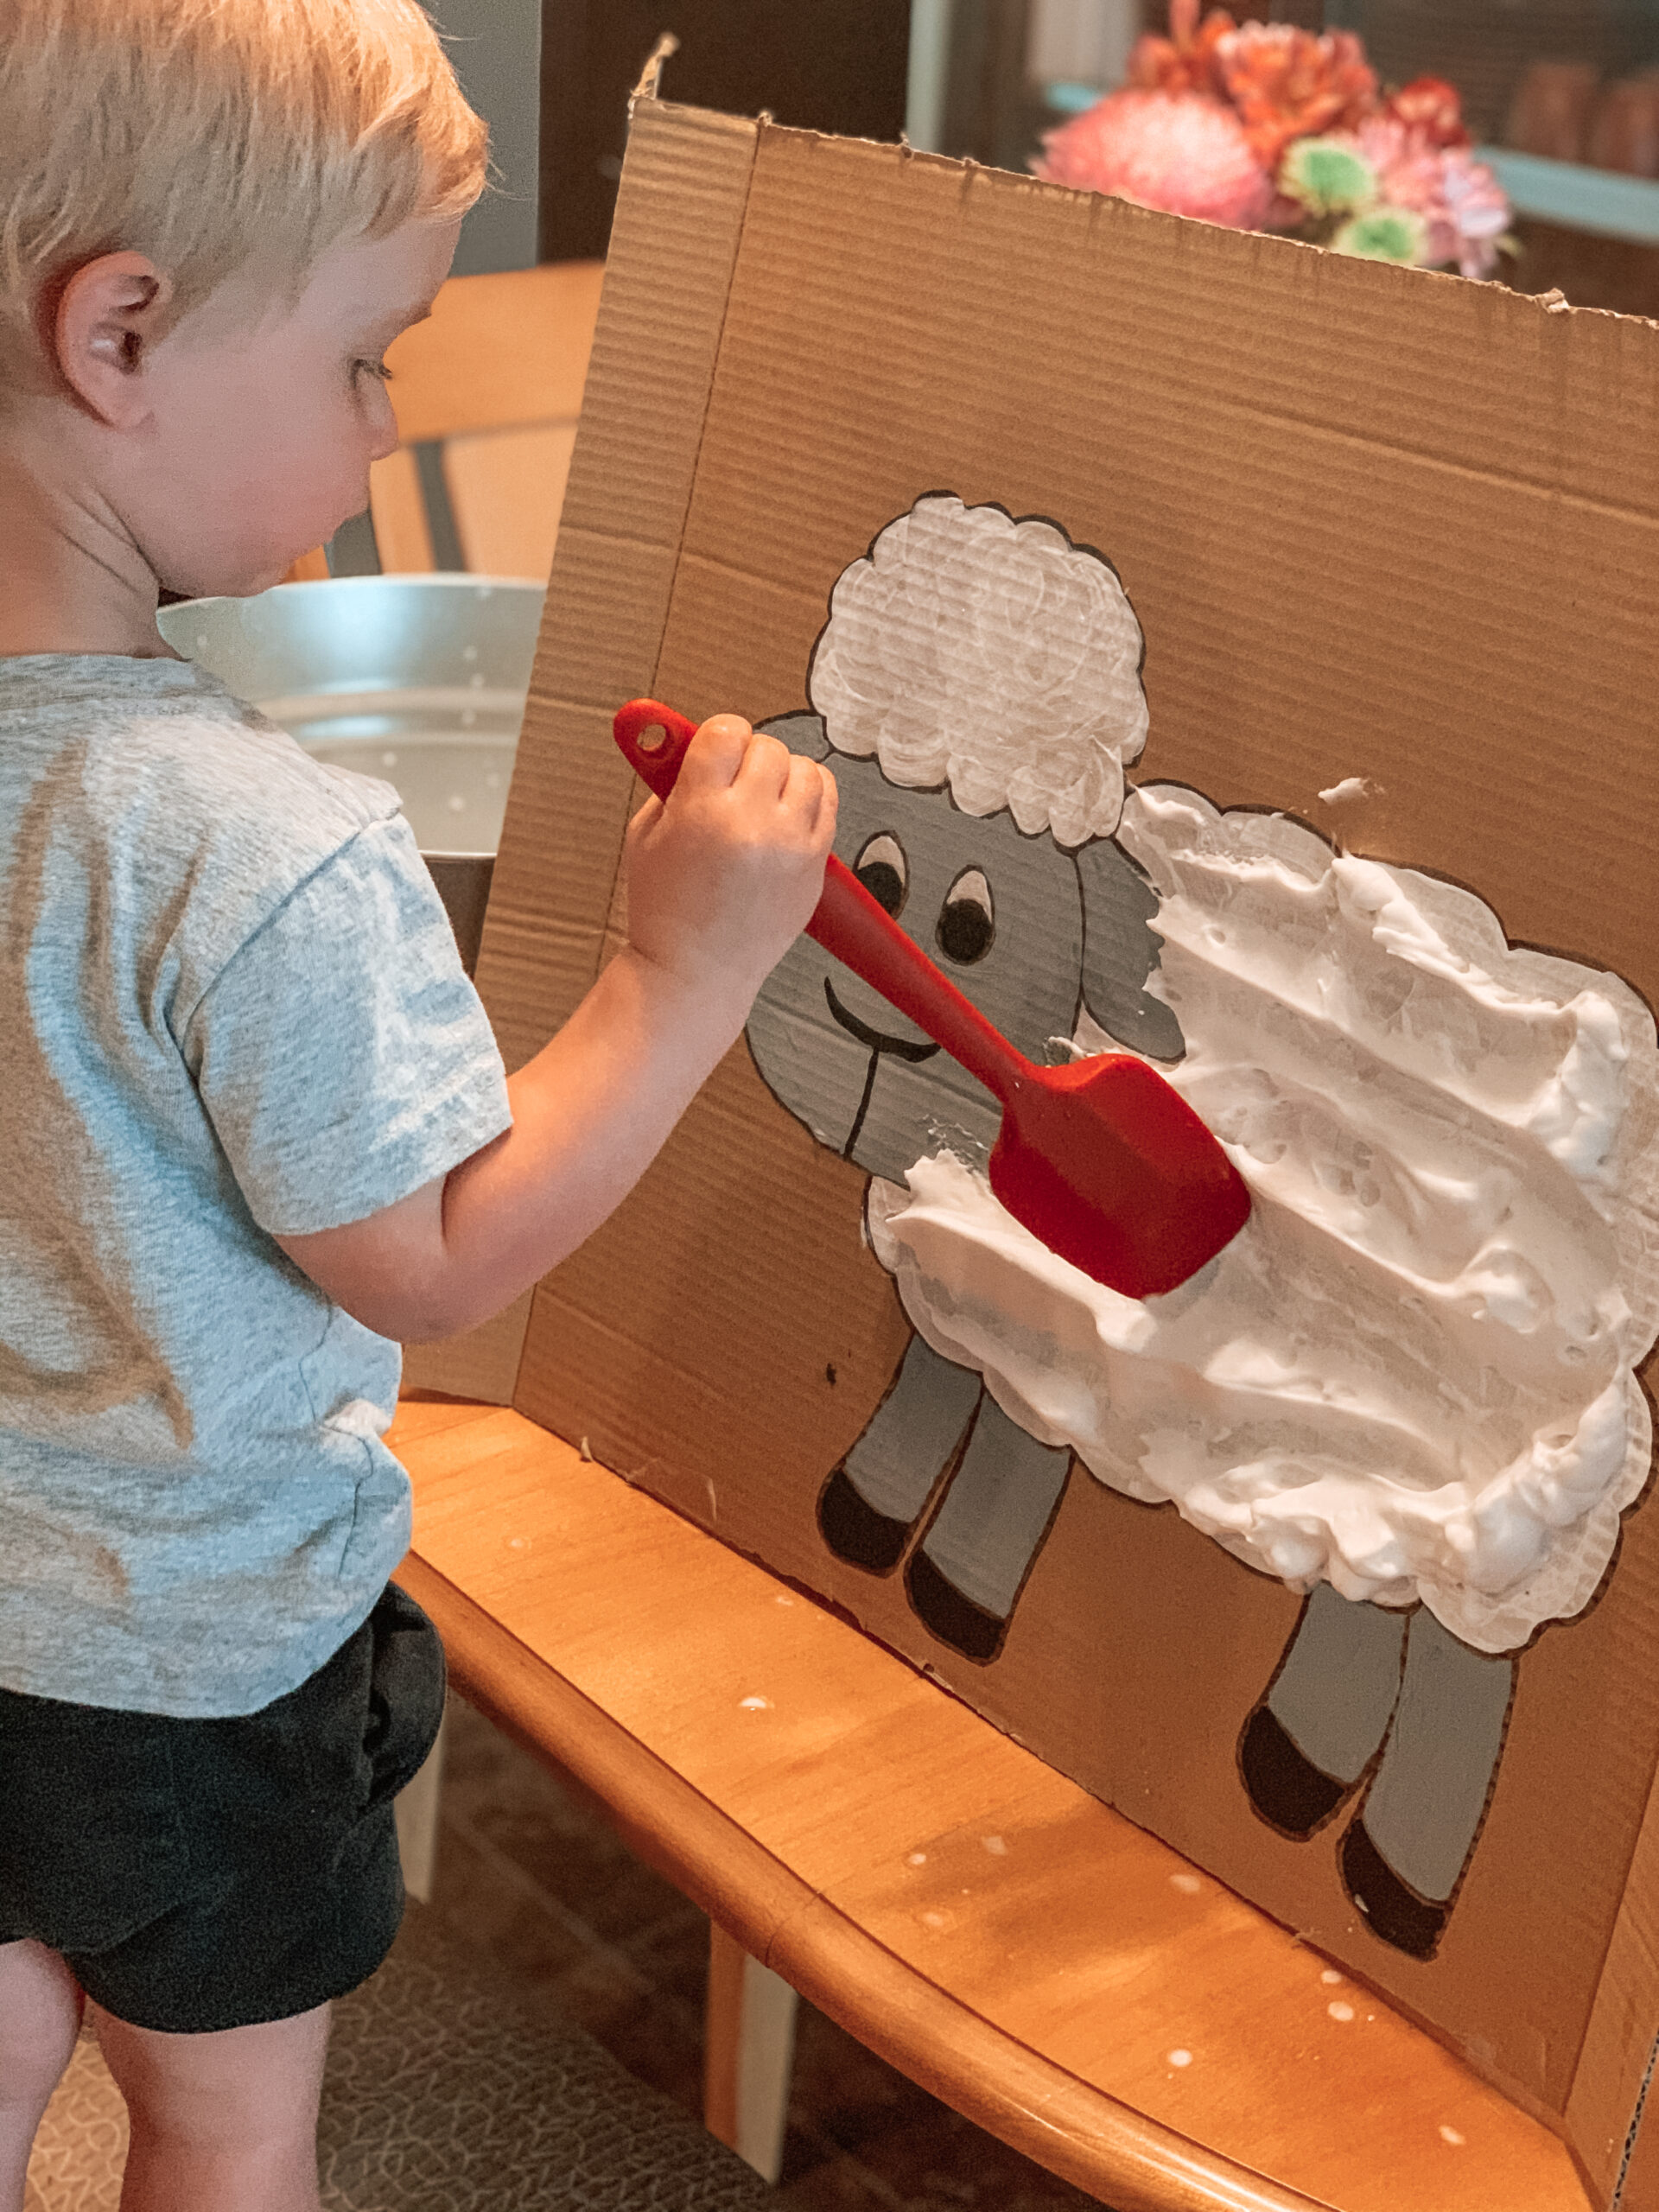
Next, I filled a bucket with water so my son could clean his “shears” (spatula)
Finally, I gave my son a spatula and had him “shear” the sheep by scraping the shaving cream off the cardboard sheep.
What You Will Need:
Bucket of water, cardboard, paint, shaving cream, “shears” (we used a spatula)
Directions:
- Paint a sheep on a piece of cardboard
- Cover the sheep with shaving cream
- Have your child “shear” the sheep with a spatula
- Fill a bucket of water so your child can clean their “shears”
- Have fun and get messy!
Cotton Ball Sheep
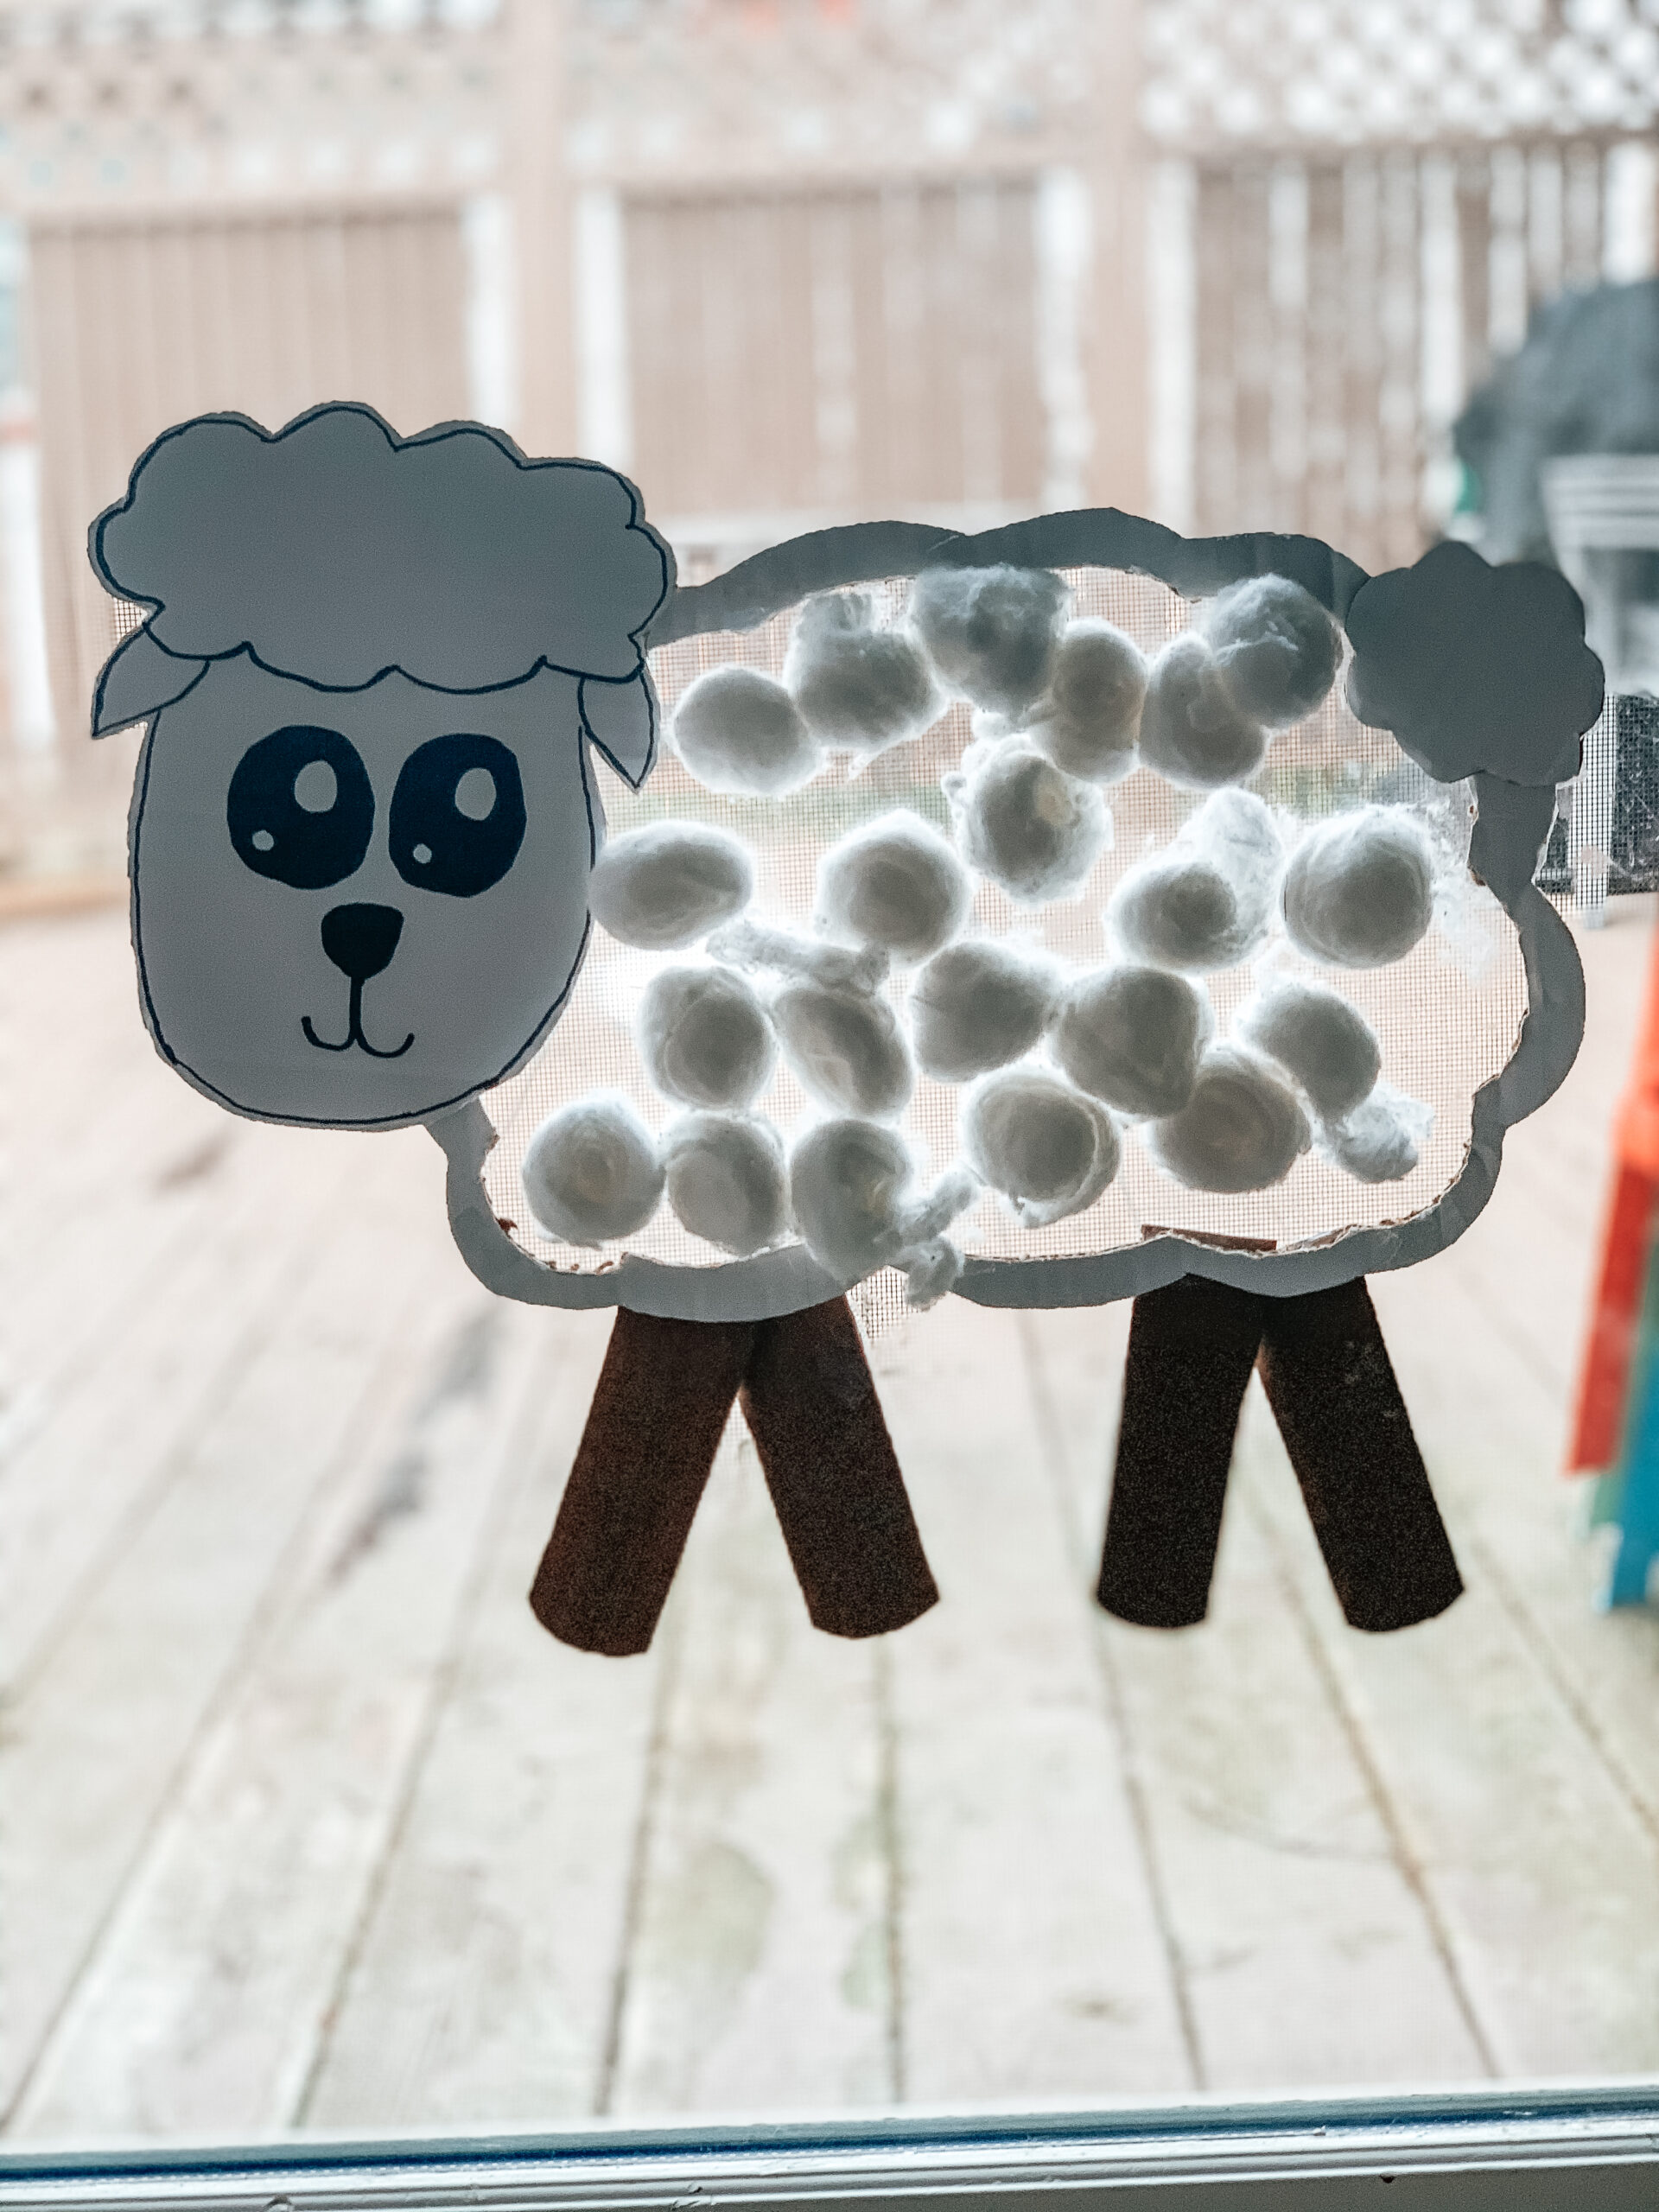
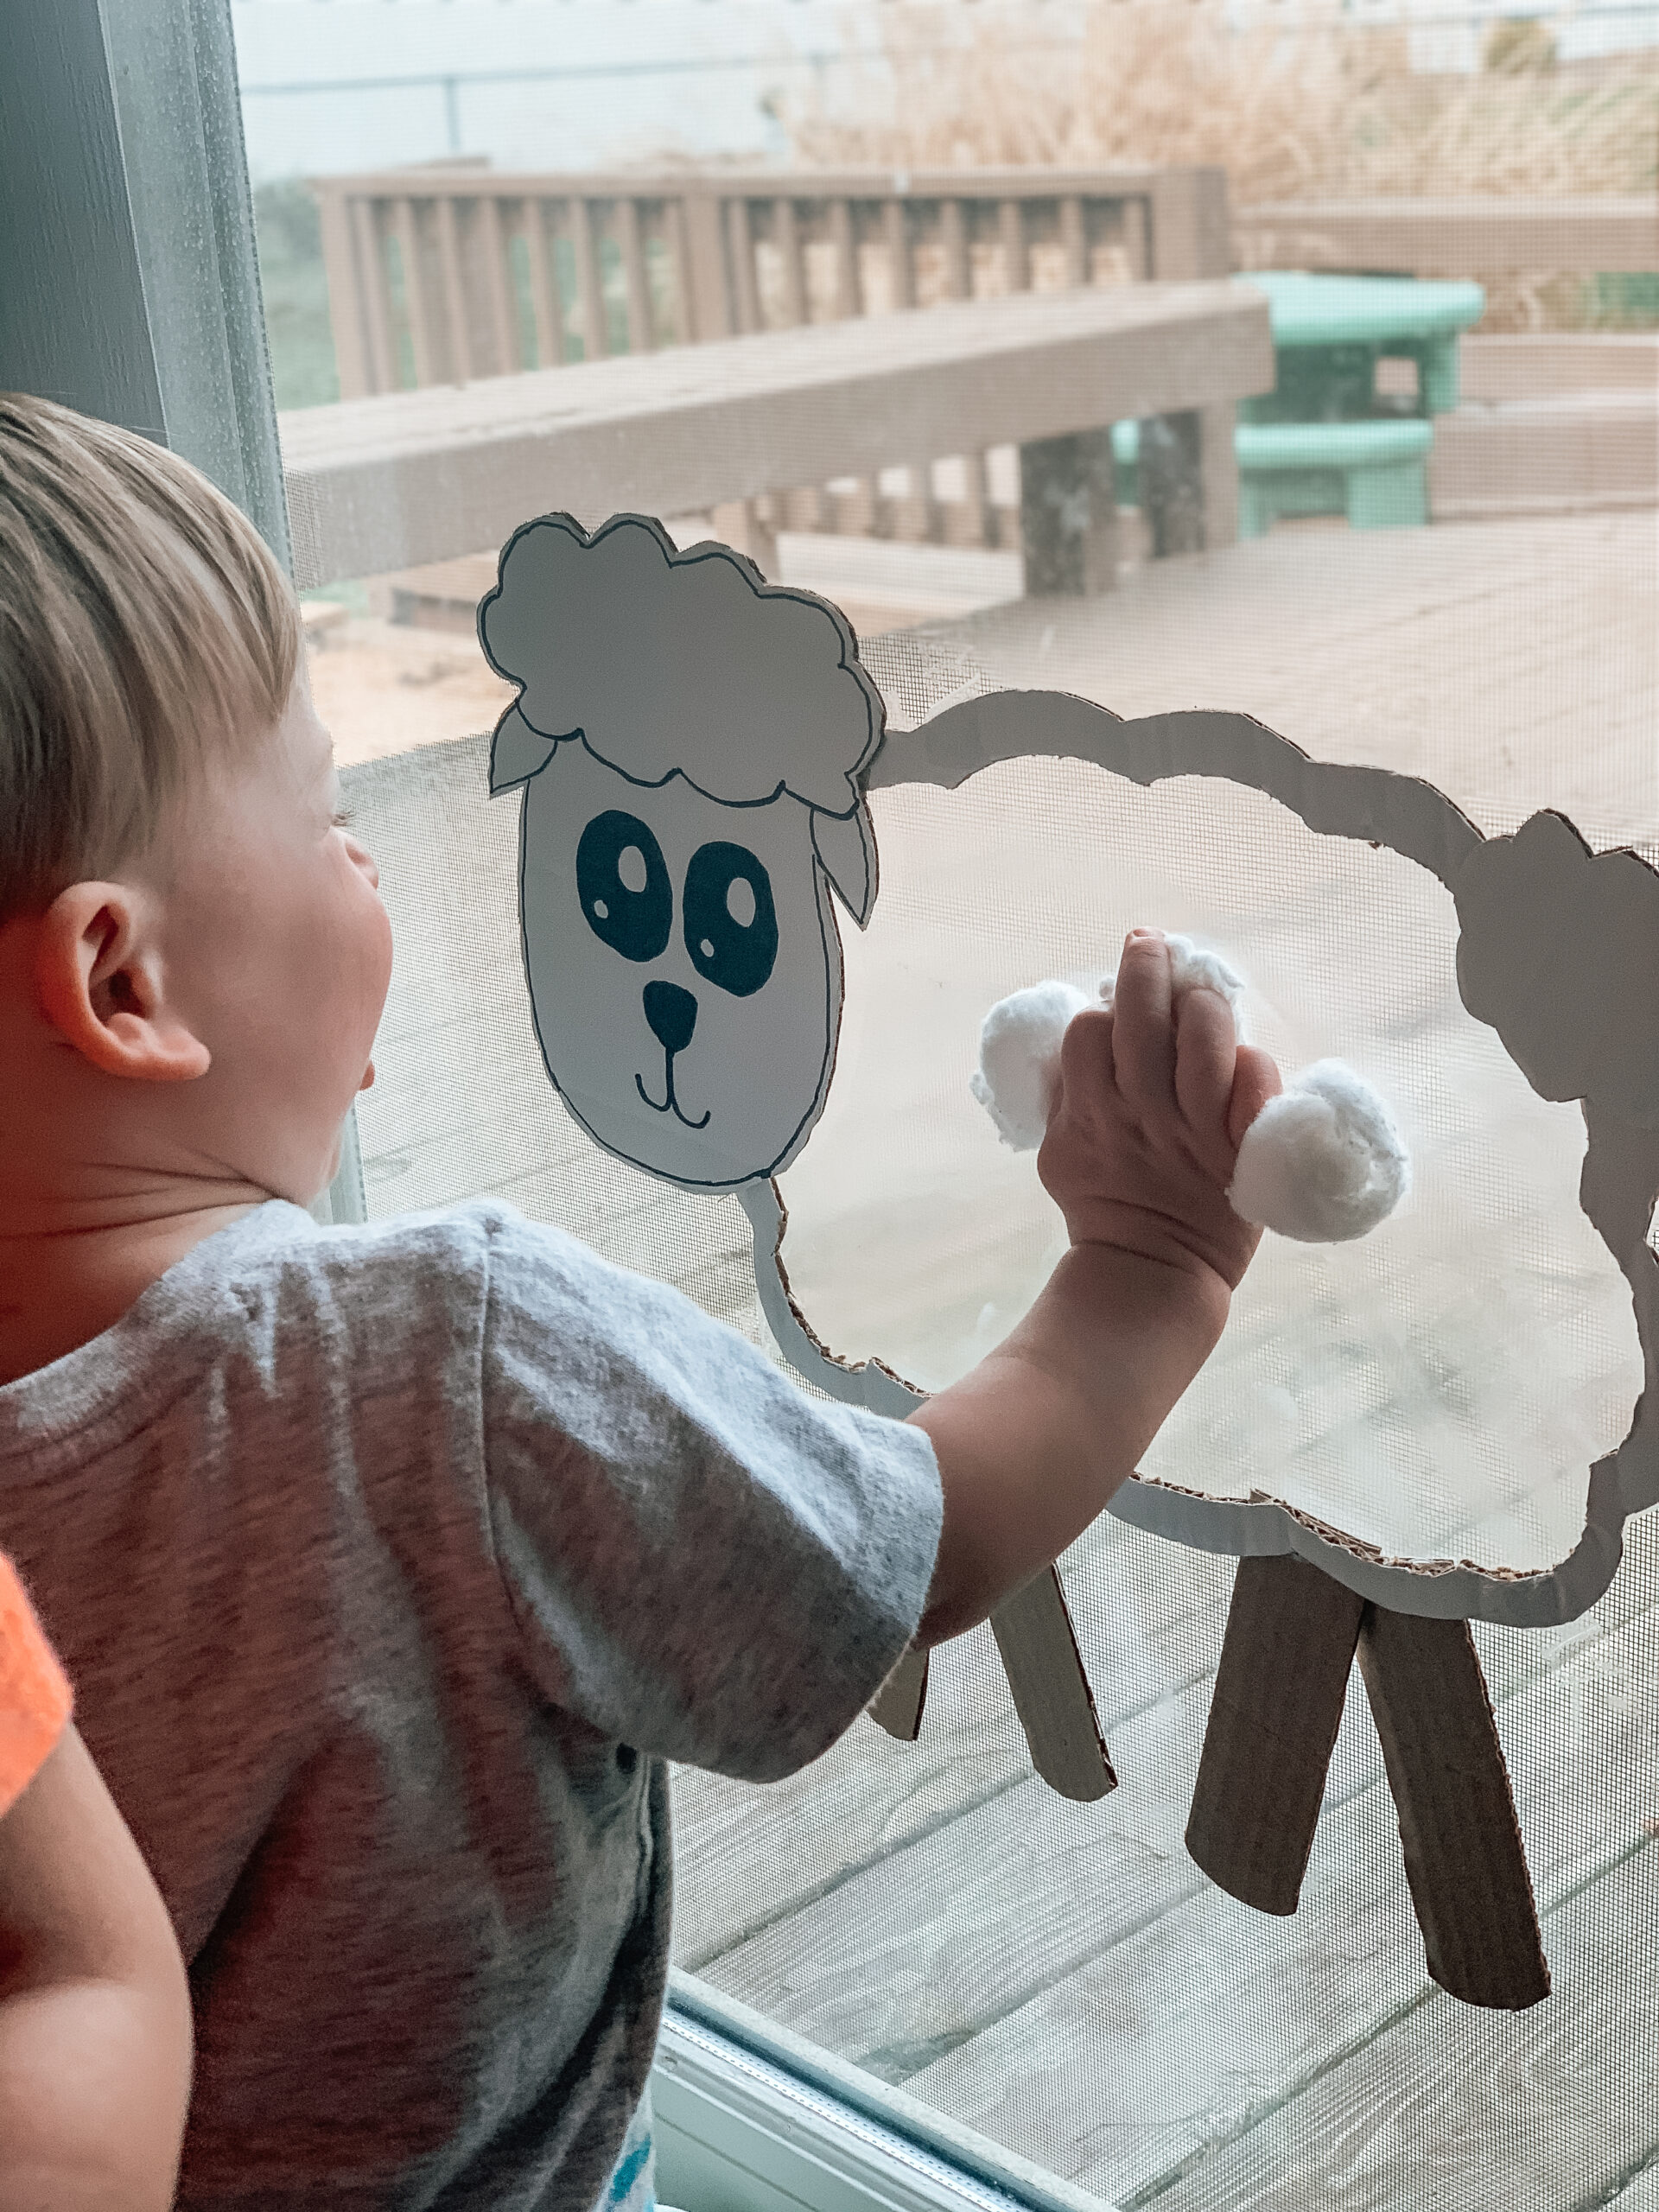
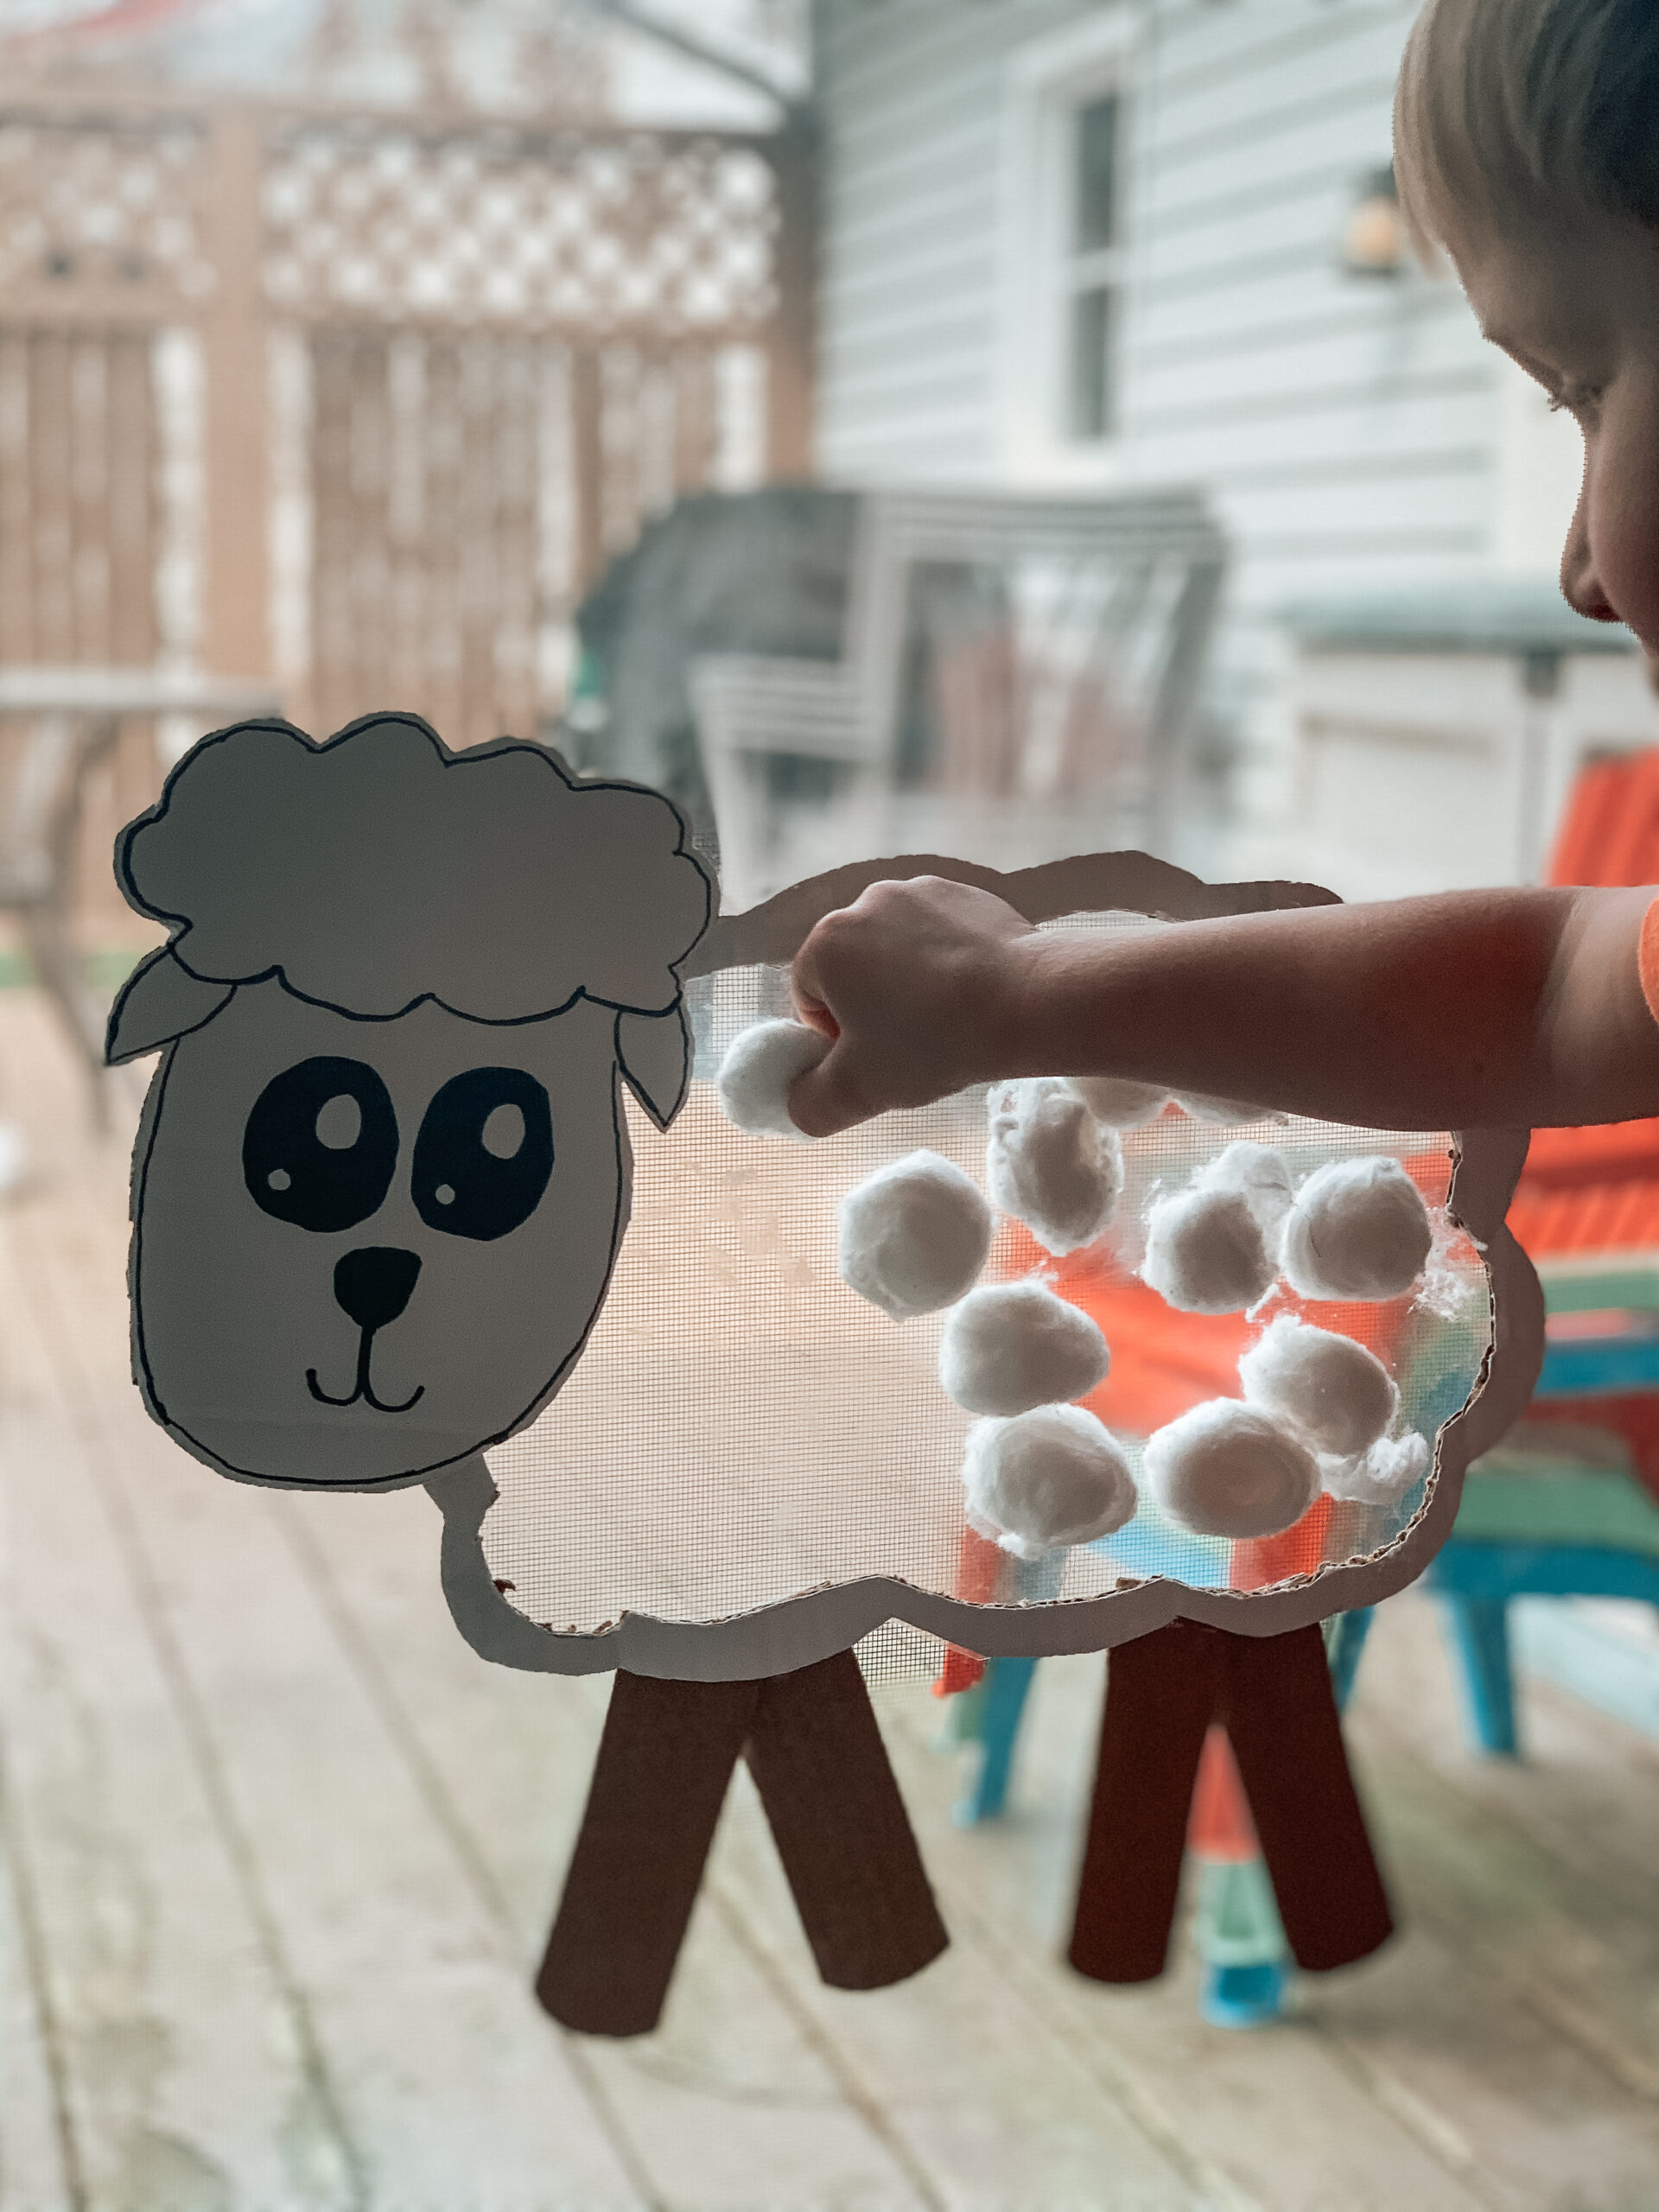
My boys had fun sticking the cotton balls (and any other objects they could find, including their own heads) to this sheep.
How I Created This Sheep:
I started by cutting a sheep body, head, tail and legs out of a cardboard box. I used a white box but otherwise I would have painted the cardboard white.
Next, I used a hot glue gun to glue the sheep tail, legs and head to the body.
Then, I stuck contact paper to the back of the sheep with the sticky side facing up.

Lastly, I filled a small bucket with cotton balls and had my sons stick the cotton balls to the contact paper.
What You Will Need:
Cardboard, paint, hot glue gun, contact paper, cotton balls.
Directions:
- Cut a sheep body, head, tail, and legs out of cardboard
- Paint the cardboard white and decorate the sheep’s face
- Hot glue the tail, head, and legs to the body
- Stick contact paper to the back of the sheep’s body with the sticky side facing up
- Fill a small bucket with cotton balls
- Have your child stik cotton balls to the contact paper
Are You My Mommy? Baby/Adult Animal Matching Activity
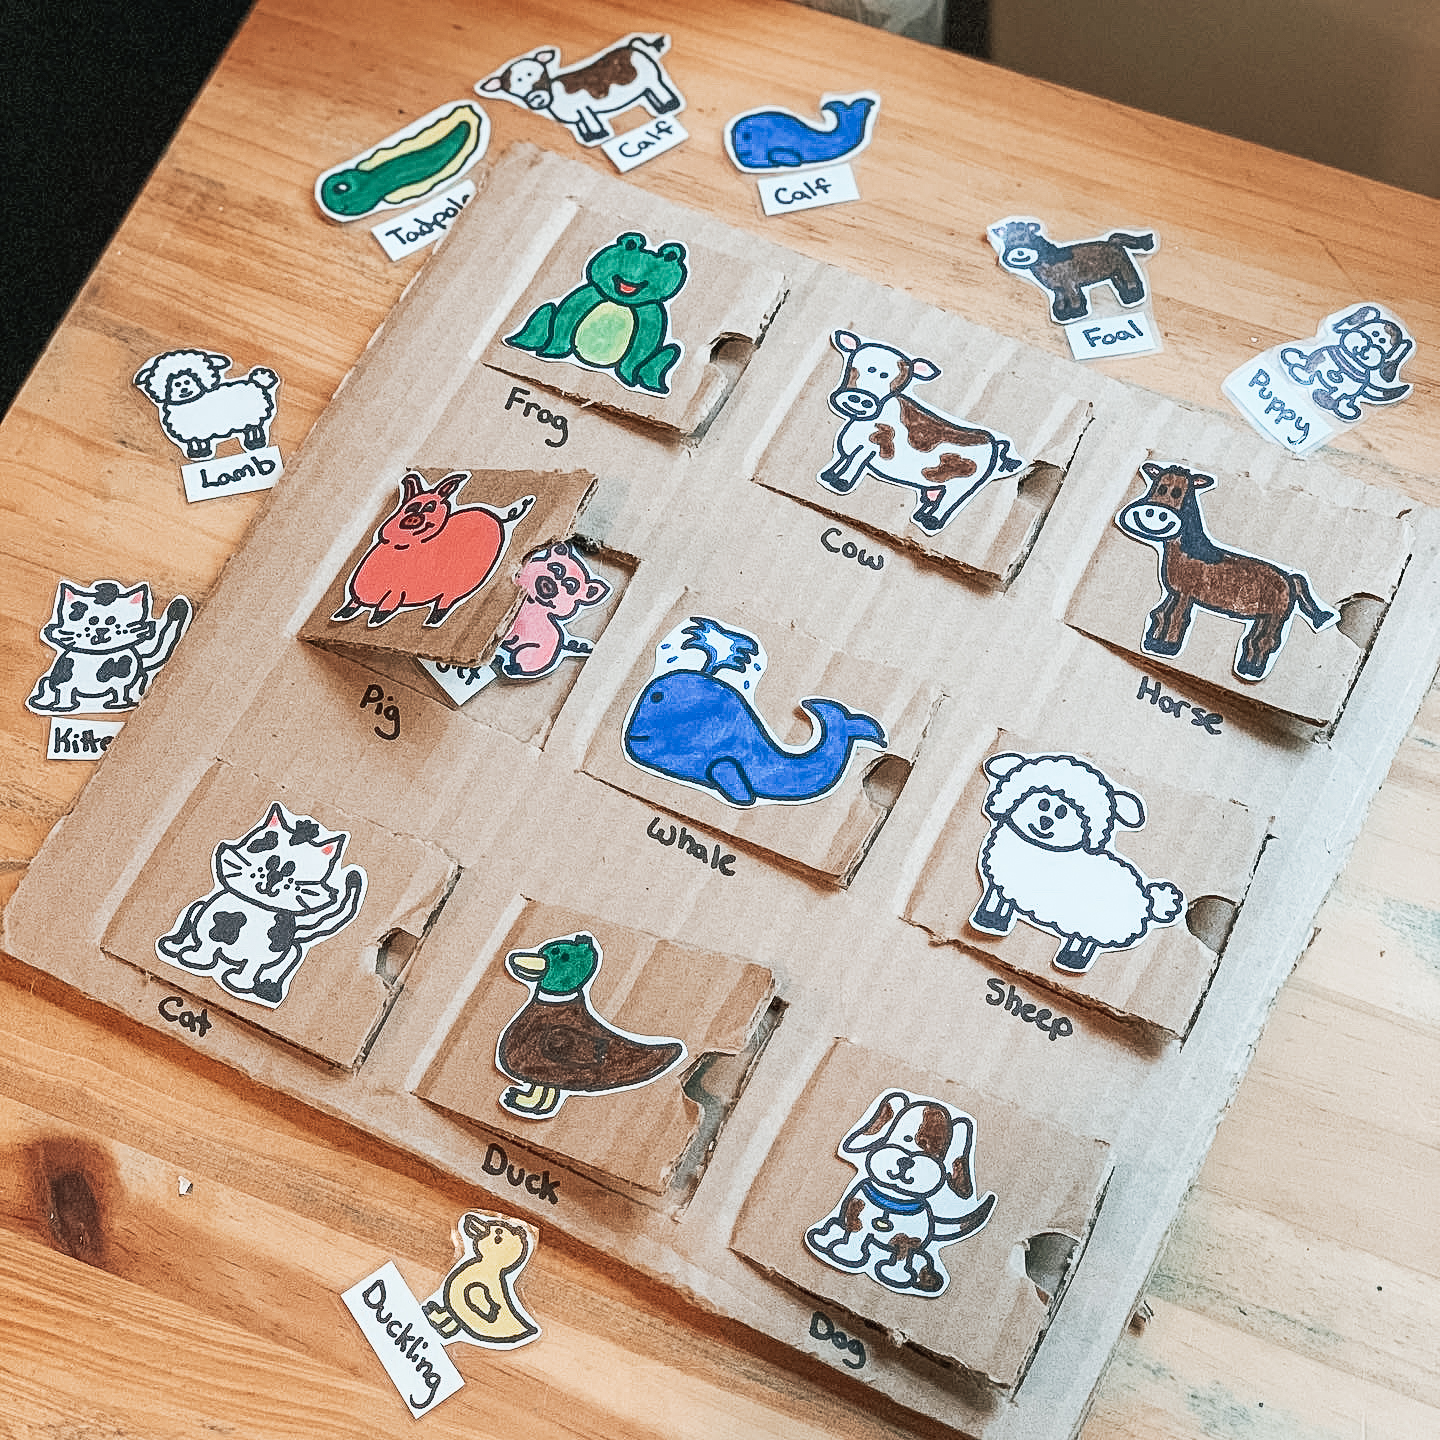
This activity isn’t just about sheep but it is still one of my favorites. I will admit I may have overestimated my animal drawing skills when I made this, but it was still a great activity for talking about adult and baby animals.
How I Created This Matching Activity:
I began making this activity by cutting out two pieces of cardboard to be the same size.
Next, I cut nine flaps into one of the pieces of cardboard. I then cut finger holes onto each flap.
Then, I hot glued the two pieces of cardboard together. I did not put any glue on the flaps.
Next, I drew and cut out baby and adult animals and labeled them. I glued the adult animals to the flaps and laminated the baby animals with contact paper.
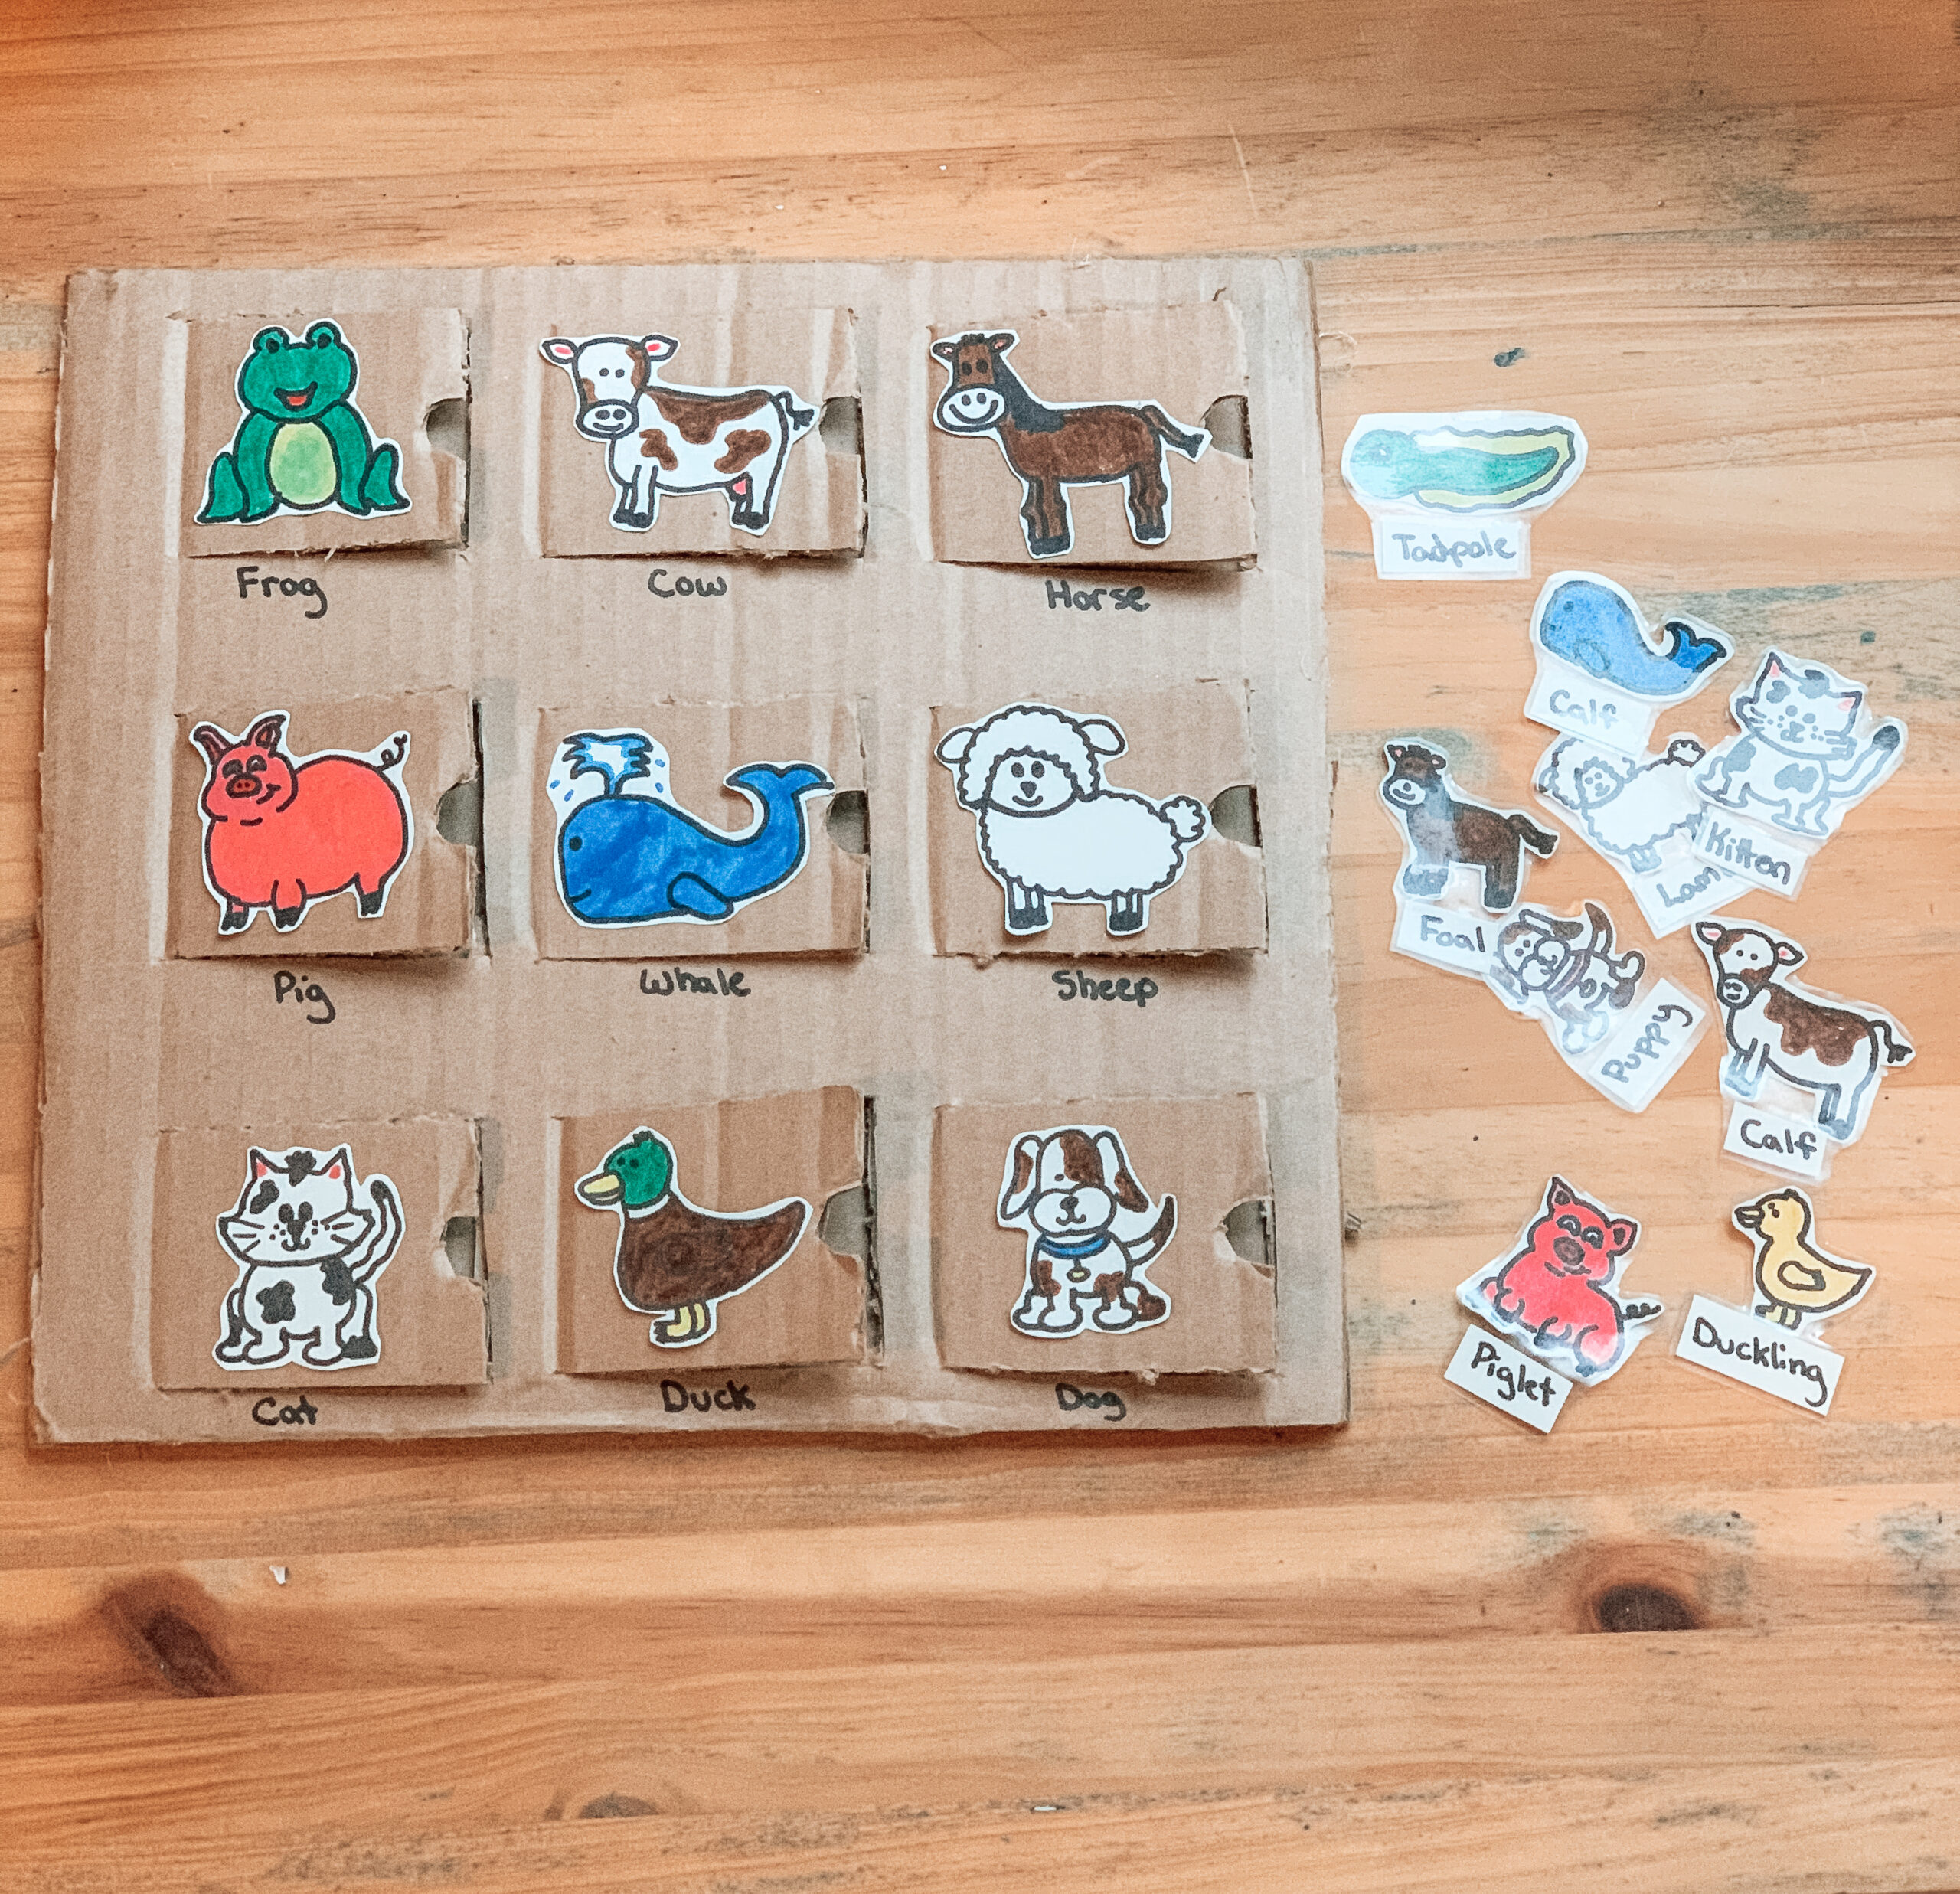
Finally, I had my son match the baby animals with the adult animals by placing the babies underneath the corresponding adult animals.


What You Will Need:
Cardboard box, markers, paper, scissors, hot glue gun, box cutter, sticky contact paper (Optional)
Directions:
- Use a box cutter to cut off two sides of a cardboard box
- Cut flaps into one piece of cardboard
- Cut finger holes onto each flap
- Hot glue both pieces of cardboard together (do not put any glue on the flaps)
- Draw and cut out the baby and adult animals
- Glue the adult animals to the flaps
- Label the animal names under each adult animal
- Optional: use contact paper to laminate the baby animals with their names
- Have your child match the baby animals with the adult animals by placing the baby animals under the corresponding adults animals’ flaps
I hope you and your little ones enjoy these sheep activities!

These are adorable!! Thanks for sharing!
Thank you!