
I have to say that I actually prefer homemade playdough over store bought play-doh. There are many recipes out there but this is by far my favorite. I learned of it from a “play and learn” class that I used to bring the boys I nannied (before ever being a mom) and I have never found a recipe that I have liked more. It is simple to make and has a great consistency. I am also OCD about store bought play-doh colors being mixed (I will only give my kids on color at a time) but I have no problem allowing my kids to go to town mixing homemade playdough colors together.
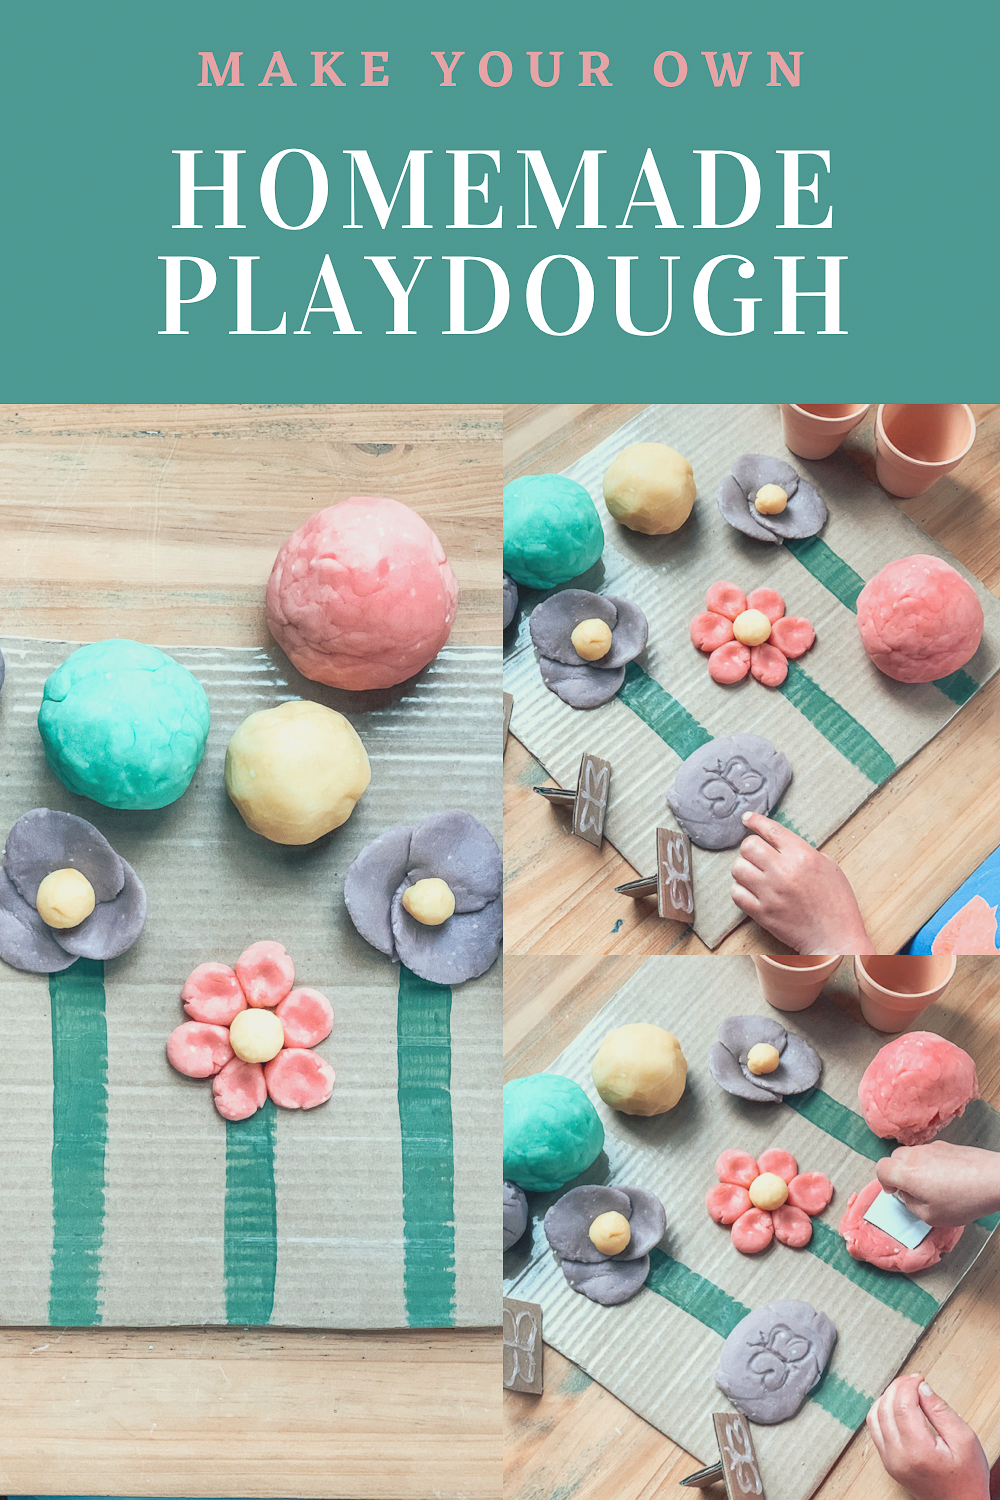
For this spring homemade playdough, I not only made the playdough but I also made a playdough mat and stamps to go along with it.
How To Make The Playdough Mat:
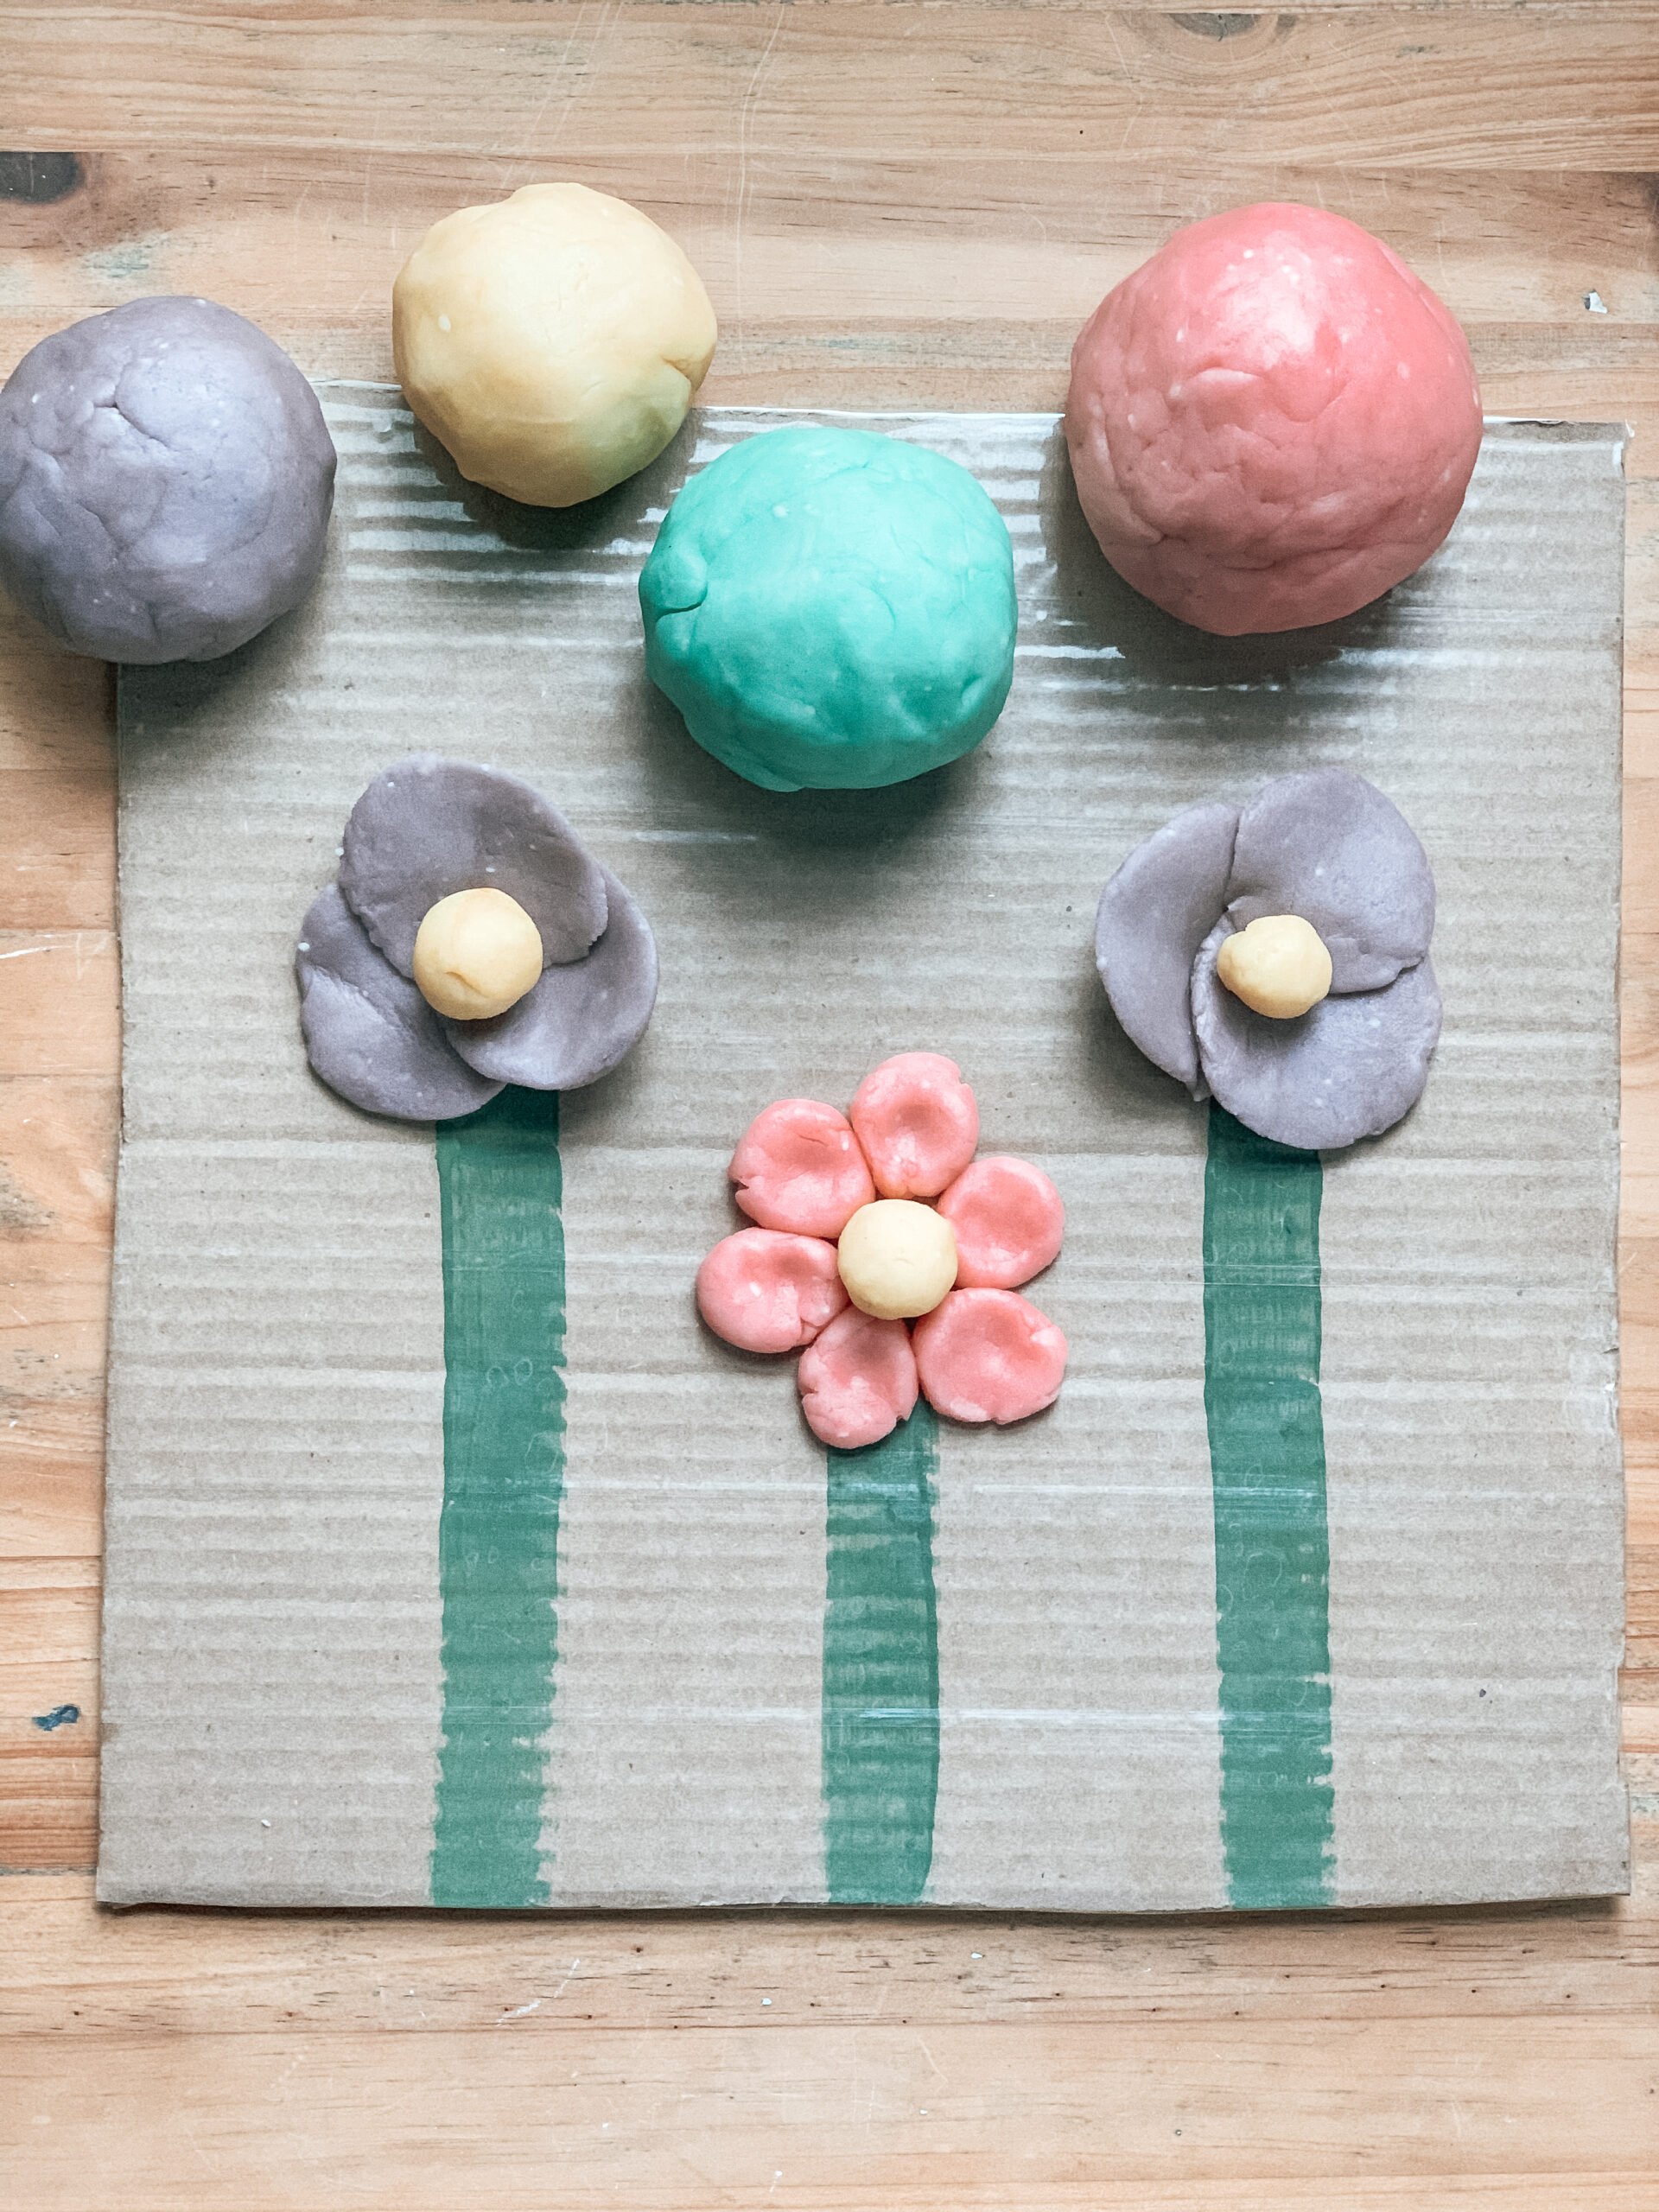
To create the mat, I first cut out a piece of cardboard. Then, I painted three green vertical lines on it.
Once the paint dried, I covered the cardboard mat with packaging tape. This makes the mat reusable. You can also use contact paper instead if you prefer.
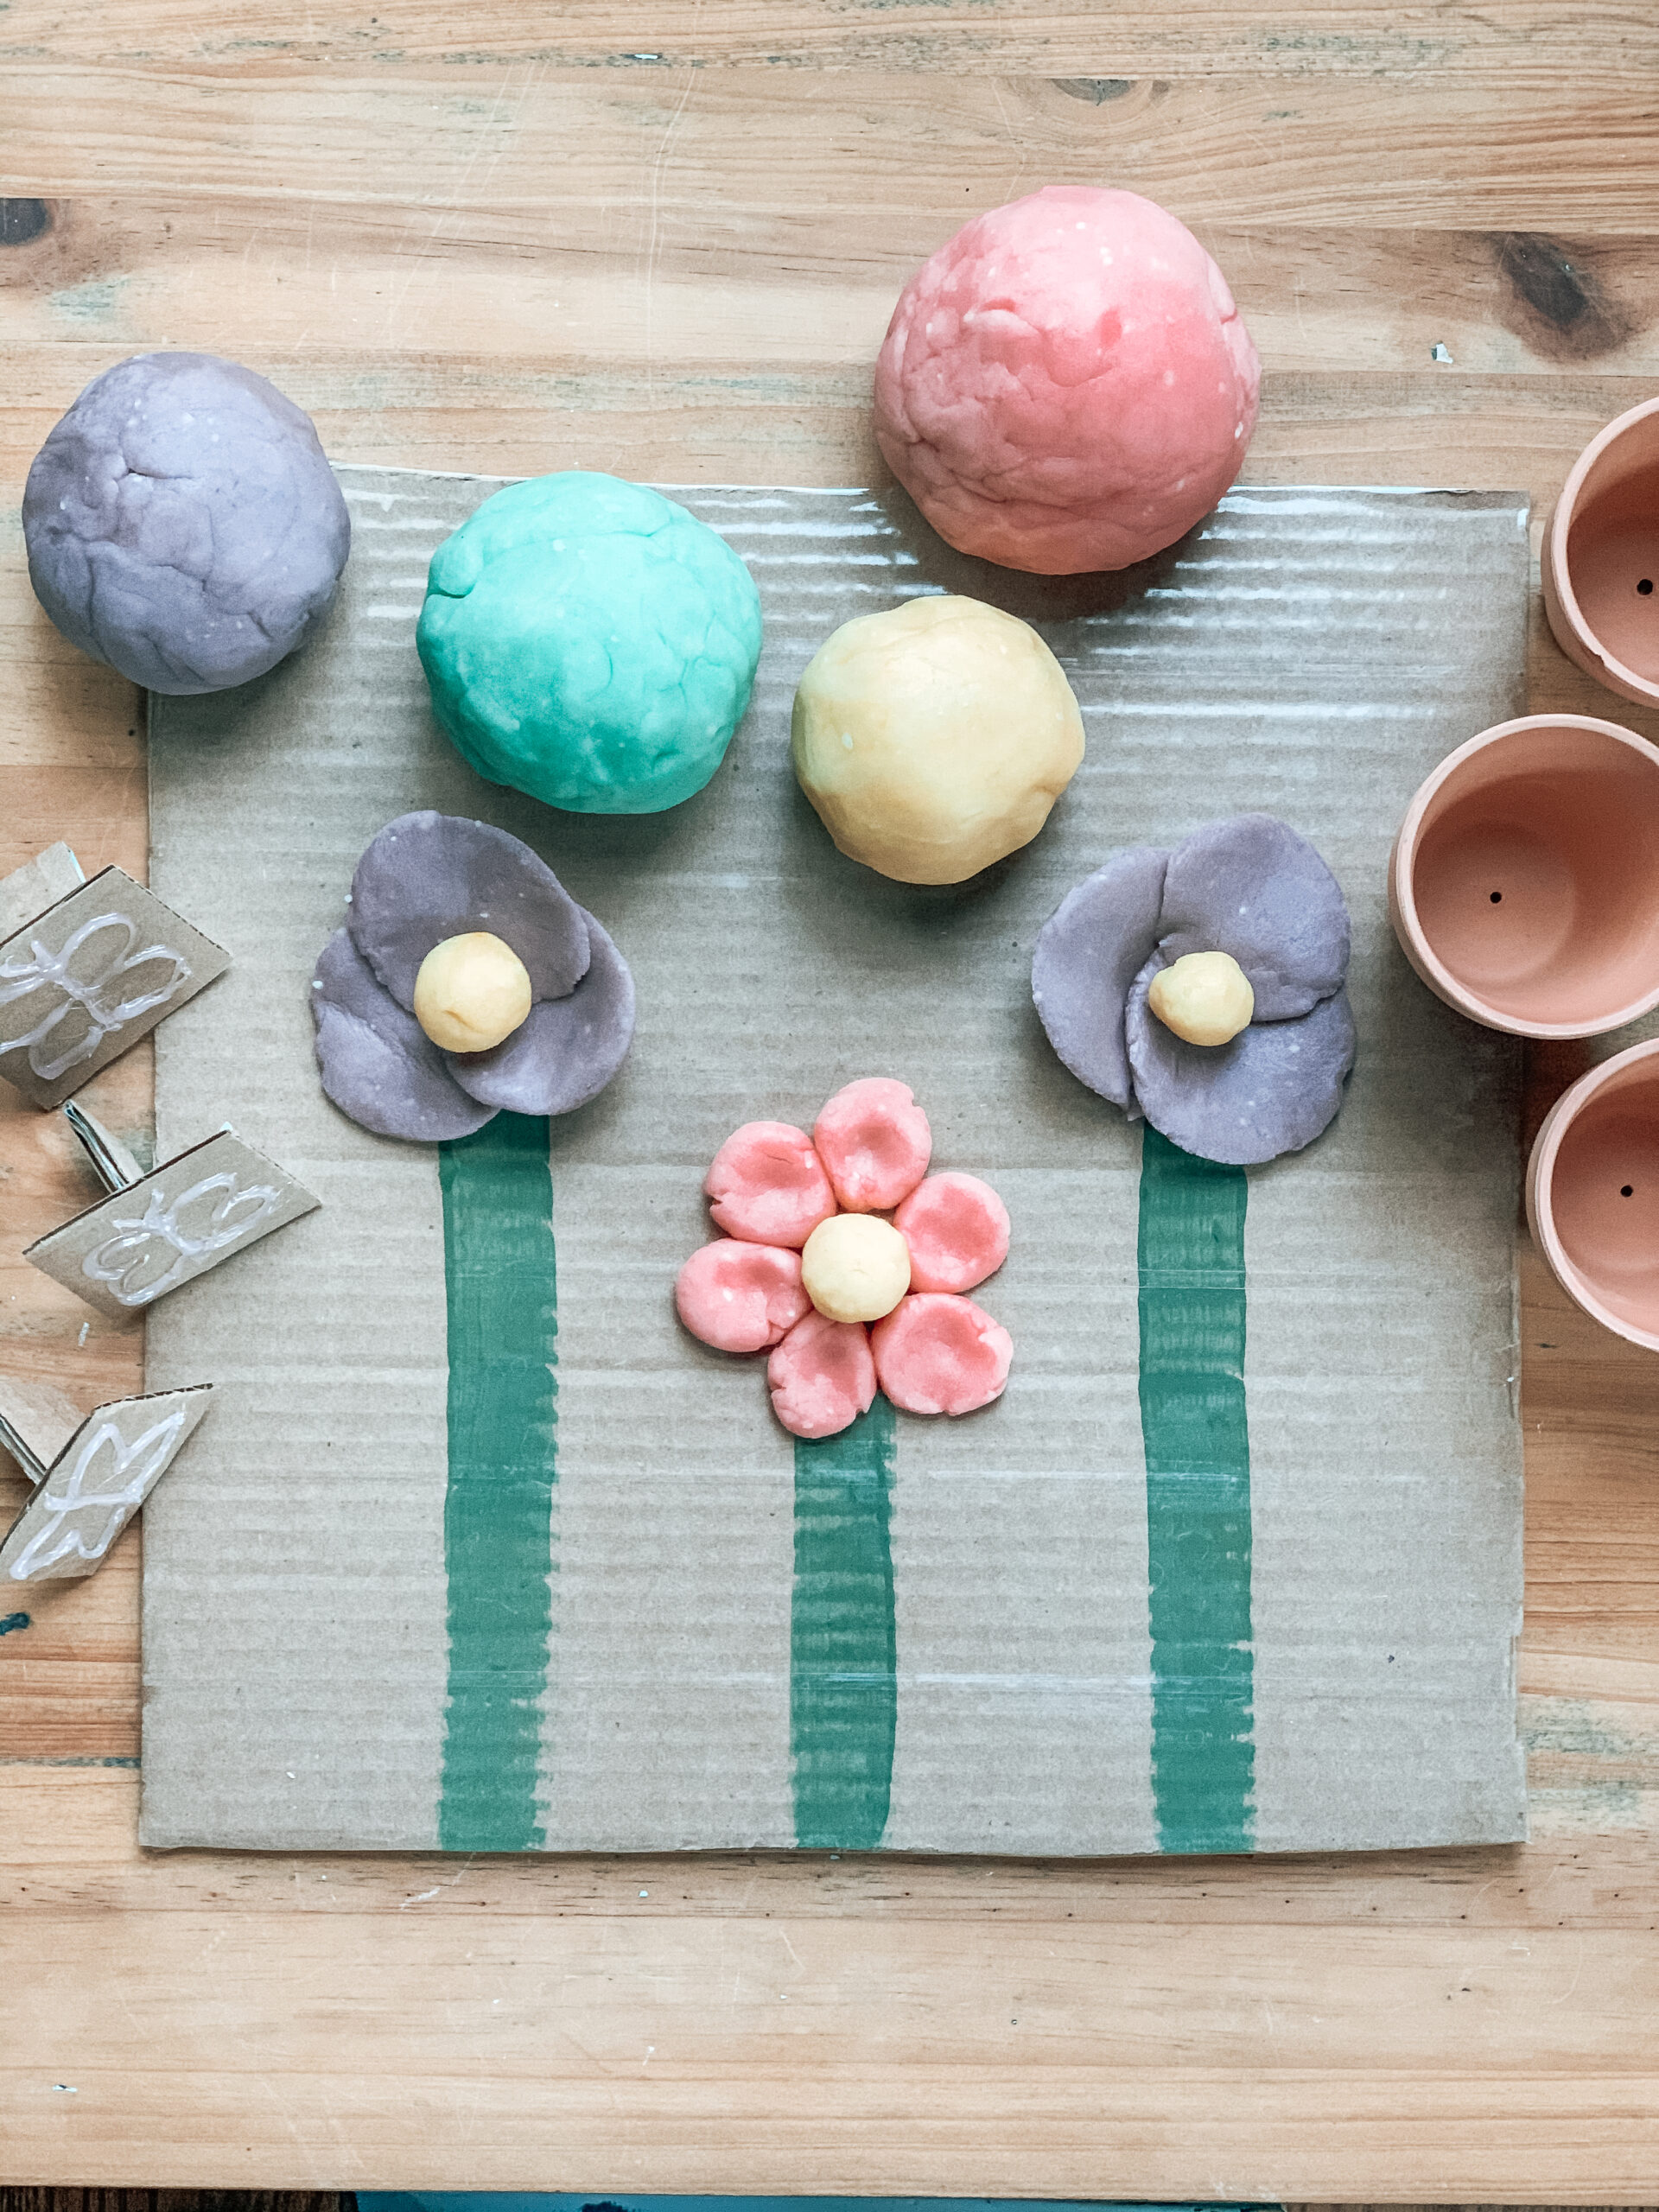
How To Make The Stamps:

To create the stamps, I drew the shape I desired, which this time was a butterfly, with a hot glue gun, onto a piece of cardboard. I then cut a square around the butterfly.
Next, to create the stamp handle, I cut out a long rectangle and folded it in half. I glued it together using a hot glue gun and then glued it to the back of the stamp.
How I Made The Playdough:
My sons joined in on the making of the playdough. They love to help in the kitchen. If you have a toddler that loves to be in the kitchen, I highly recommend a toddler tower. They make having a toddler in the kitchen so much easier and safer. I was uncertain about getting one at first because our house is quite small and these stands are quite large, but I couldn’t live without ours now!
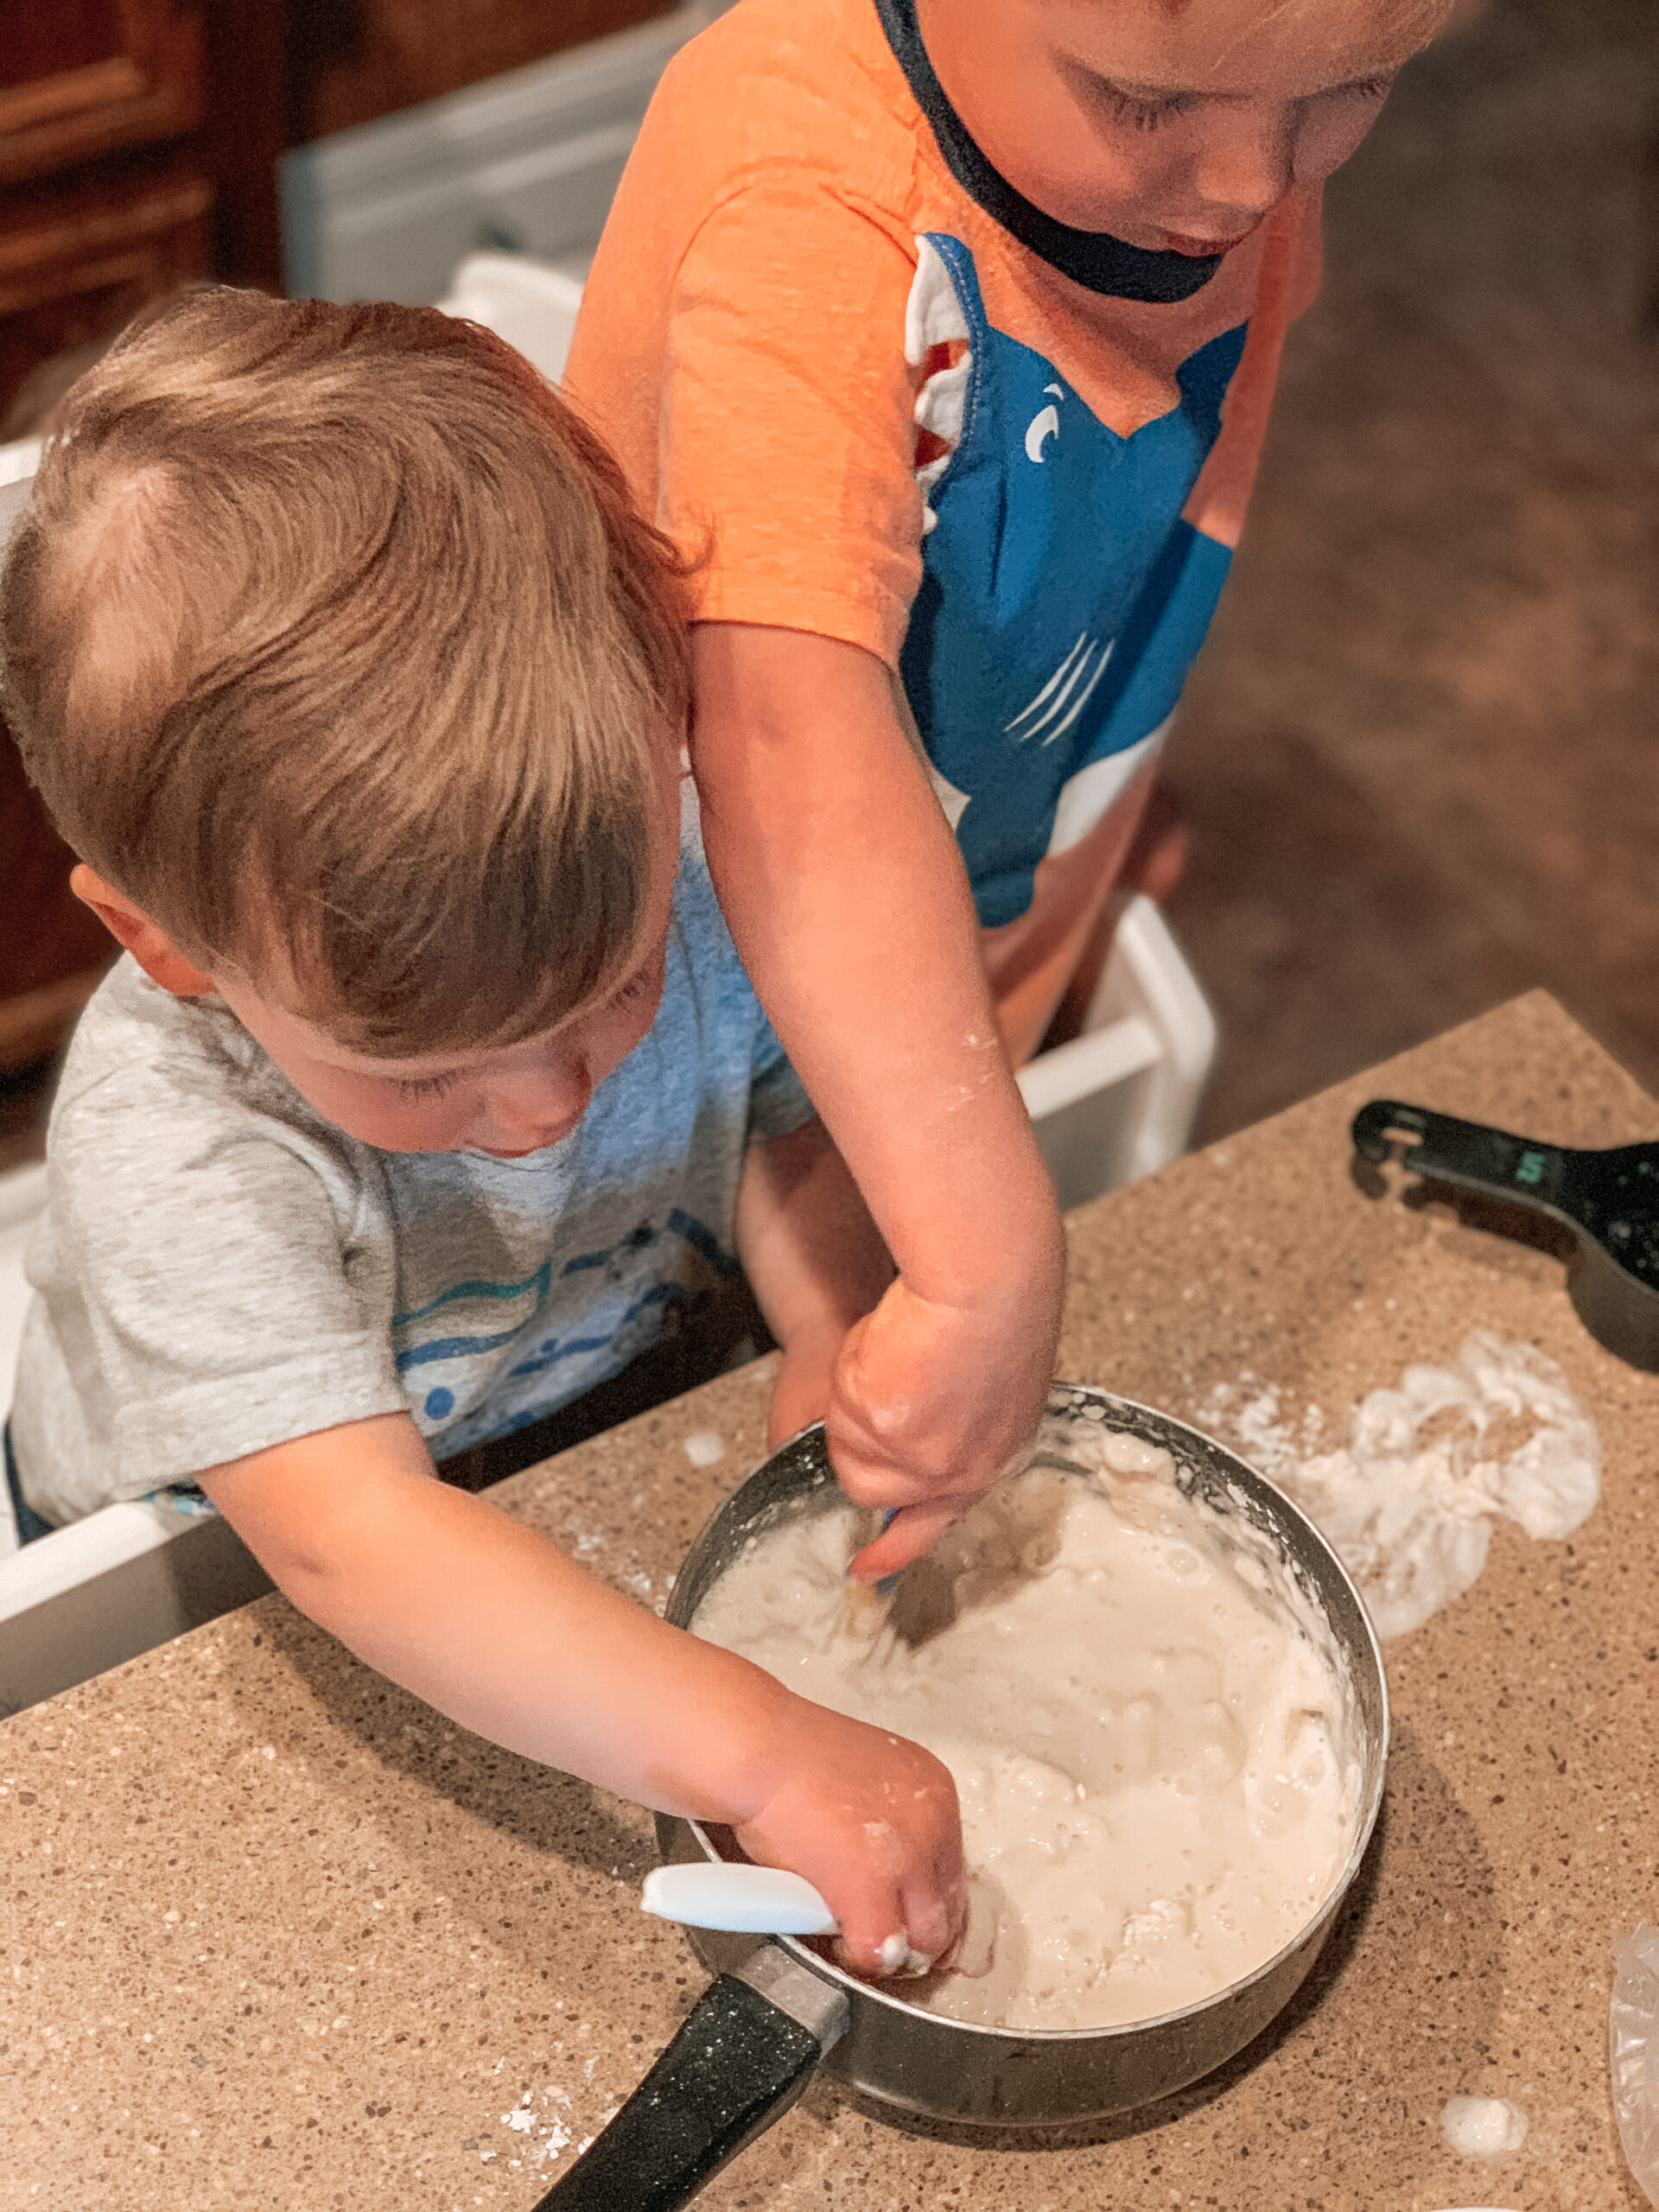
Making the playdough is quite simple. First, I added all of the ingredients to a saucepan (water, flour, salt, cream of tartar, and vegetable oil). Next, I whisked them together.
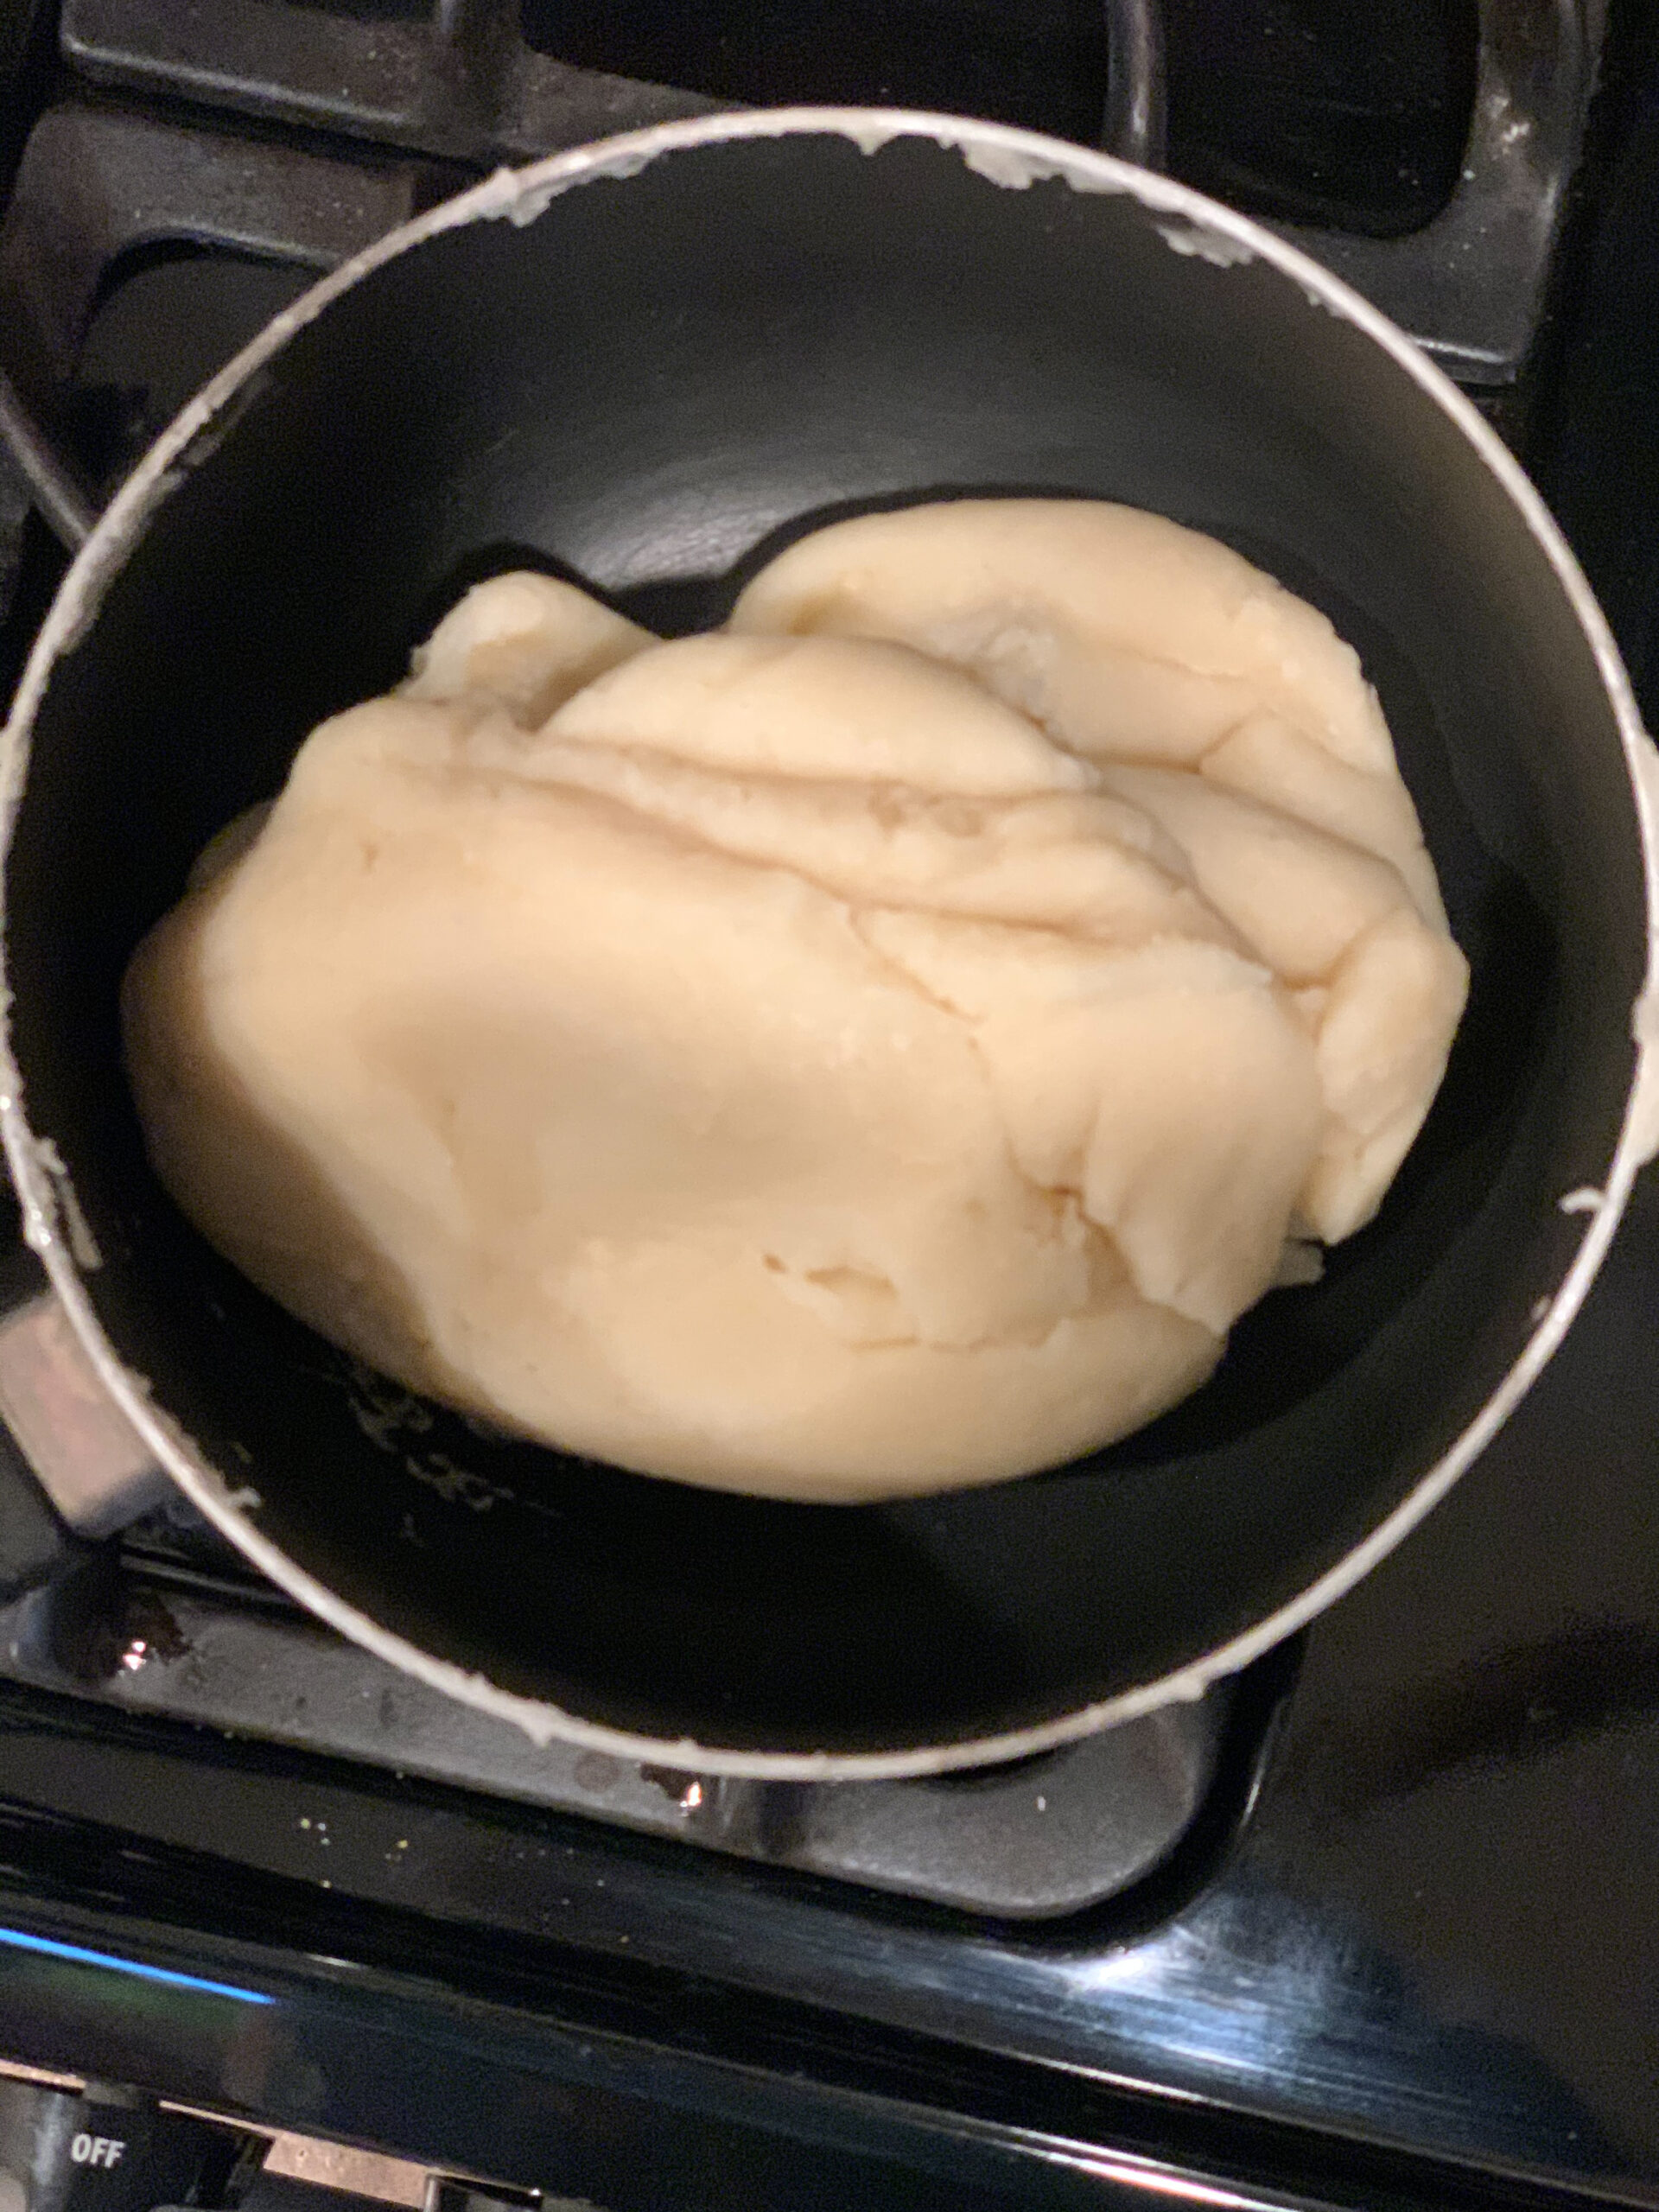
Then, I cooked them over the stove on medium heat. I stirred the mixture with a wooden spoon until the mixture thickened and pulled away from the sides of the pan. Next, I spread the playdough out on a pan to cool.
Once the playdough cooled I separated the it into four parts and added food coloring. The more food coloring you add, the brighter of a color you will get. The purple color was the most difficult for me to create because I did not have purple food coloring. To achieve the purple color, I added three drops of red food coloring and then one drop of blue food coloring. I then folded the playdough until it was all mixed in. For the purple, I had to repeat this process about 4-5 times until I got the color I was looking for.
If you only want to create one color of playdough, you can add the food coloring to the mixture before cooking it on the stove. This lessens the chances of making a mess while you are mixing the color in later. You can also add extracts to the mixture before cooking it, if you would like to make it smell. We enjoy adding peppermint to our playdough at Christmas time.
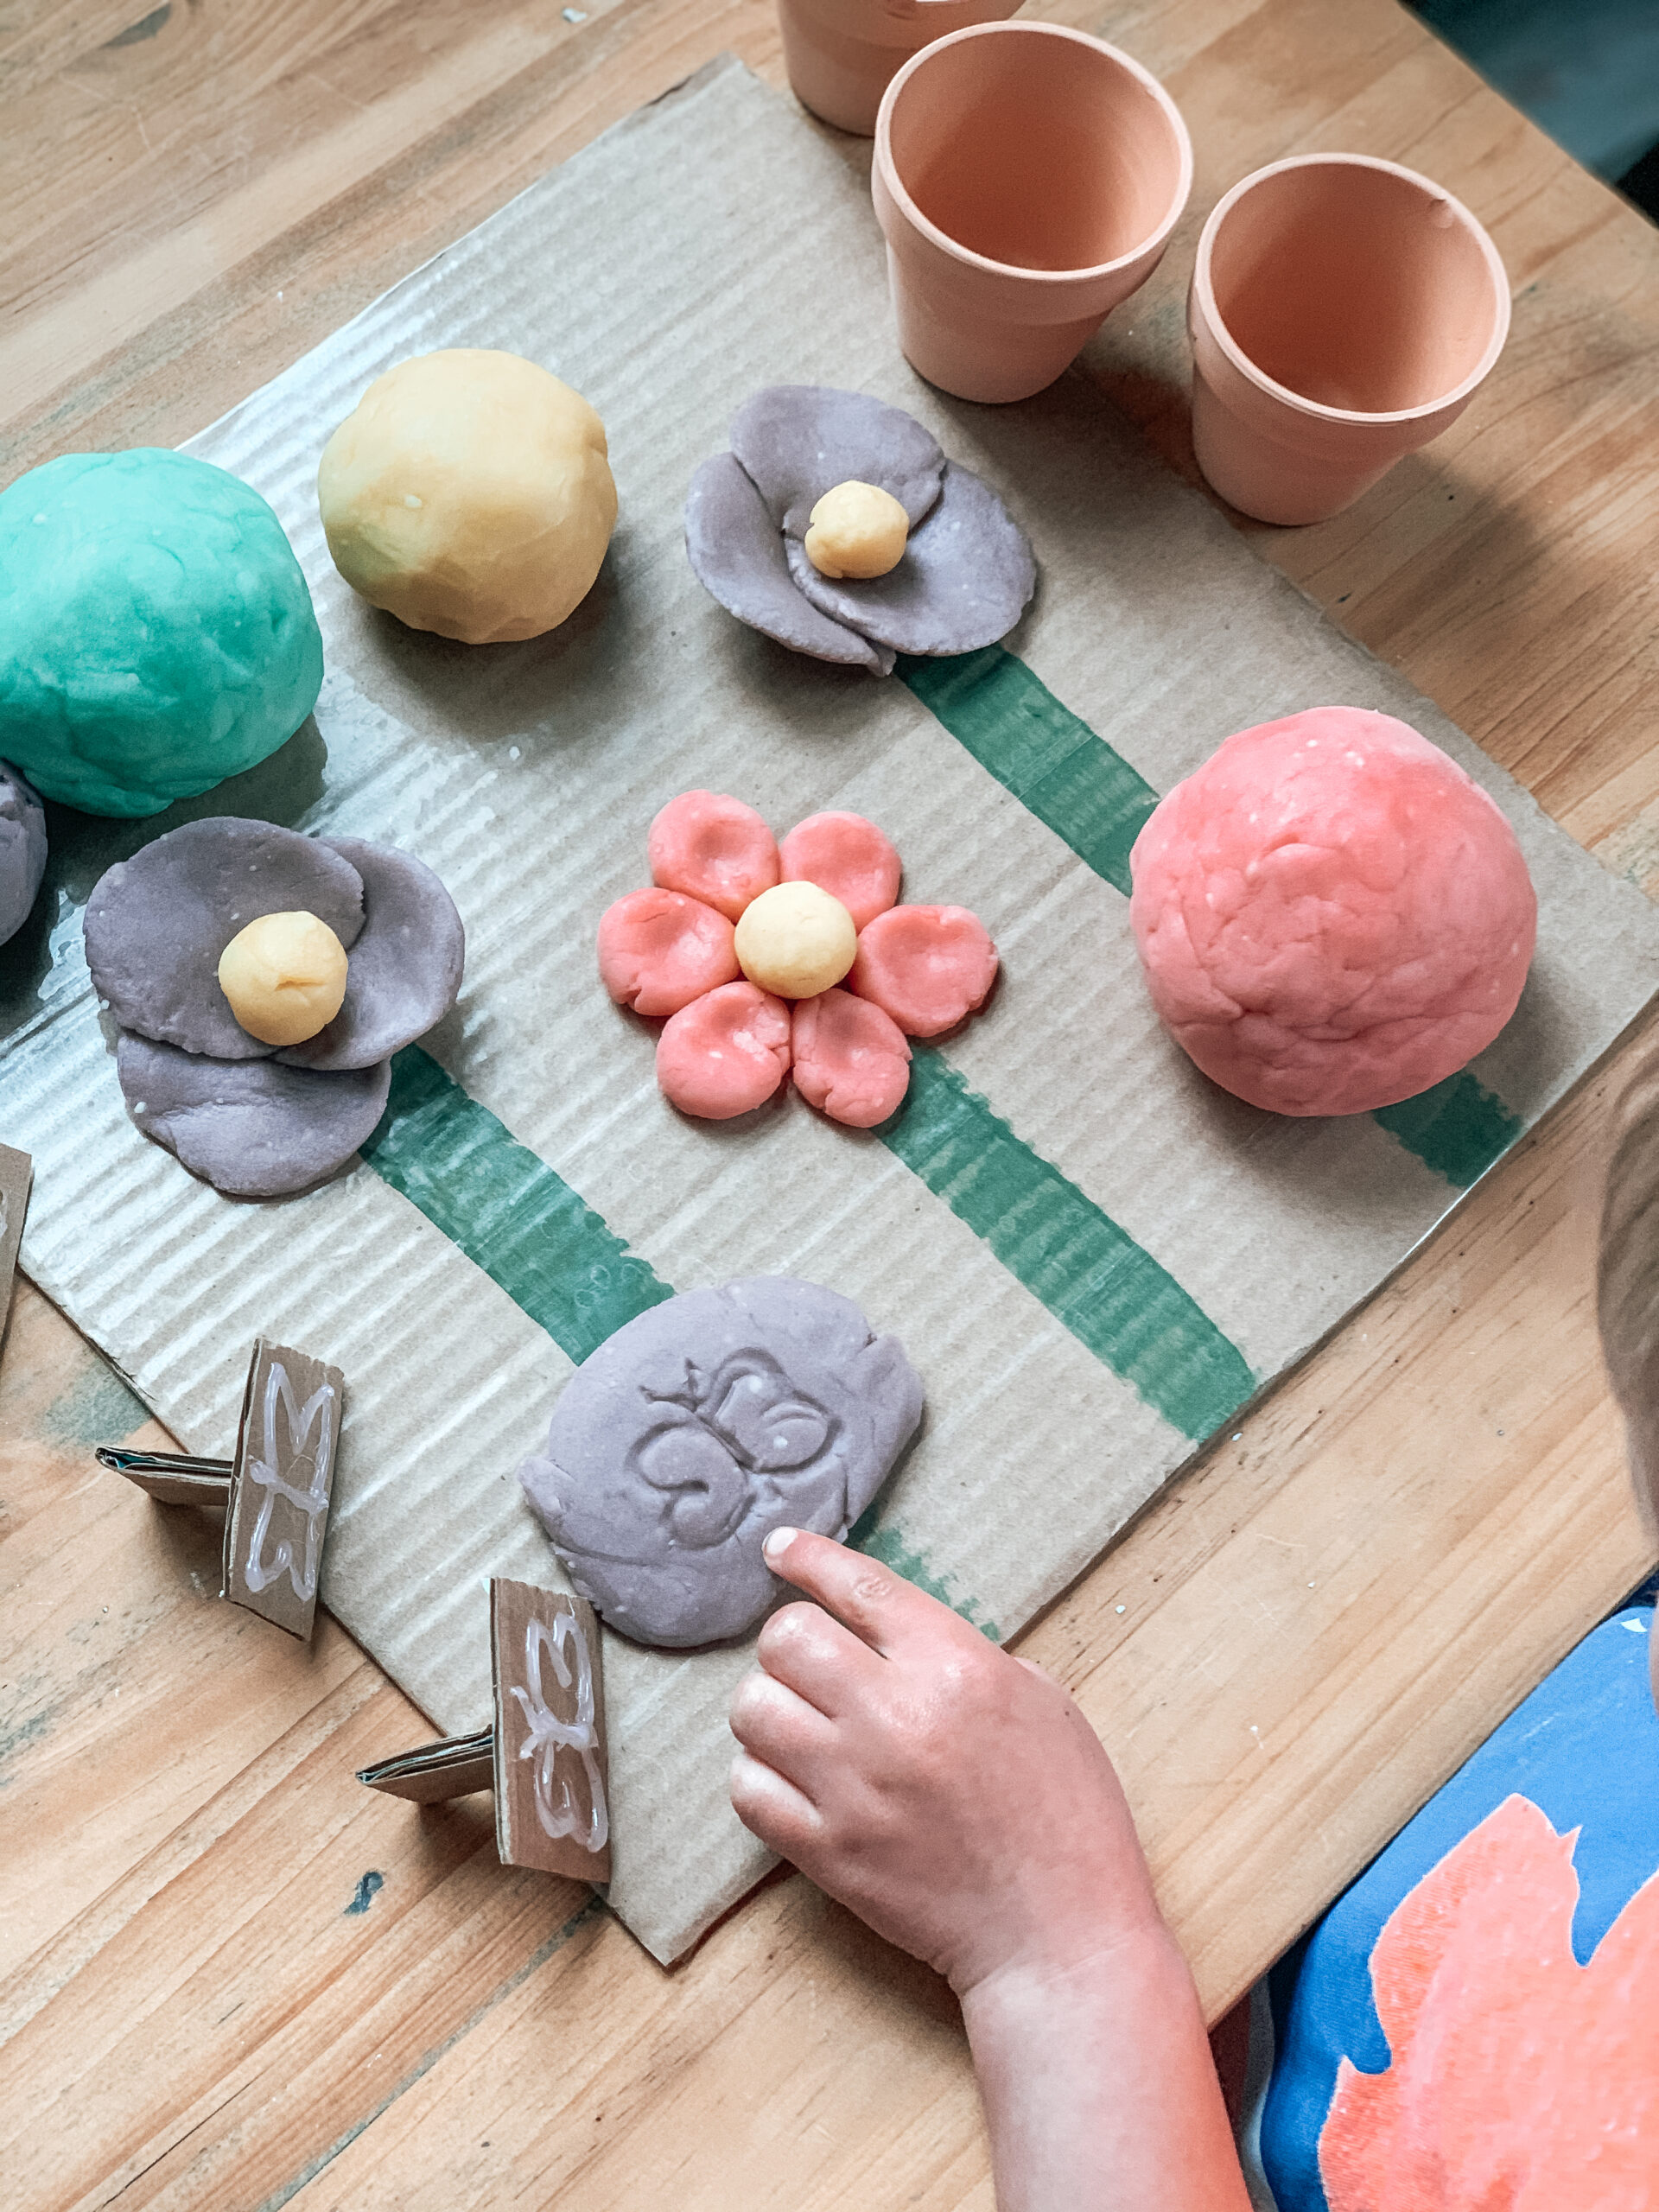
Playing With The Playdough:
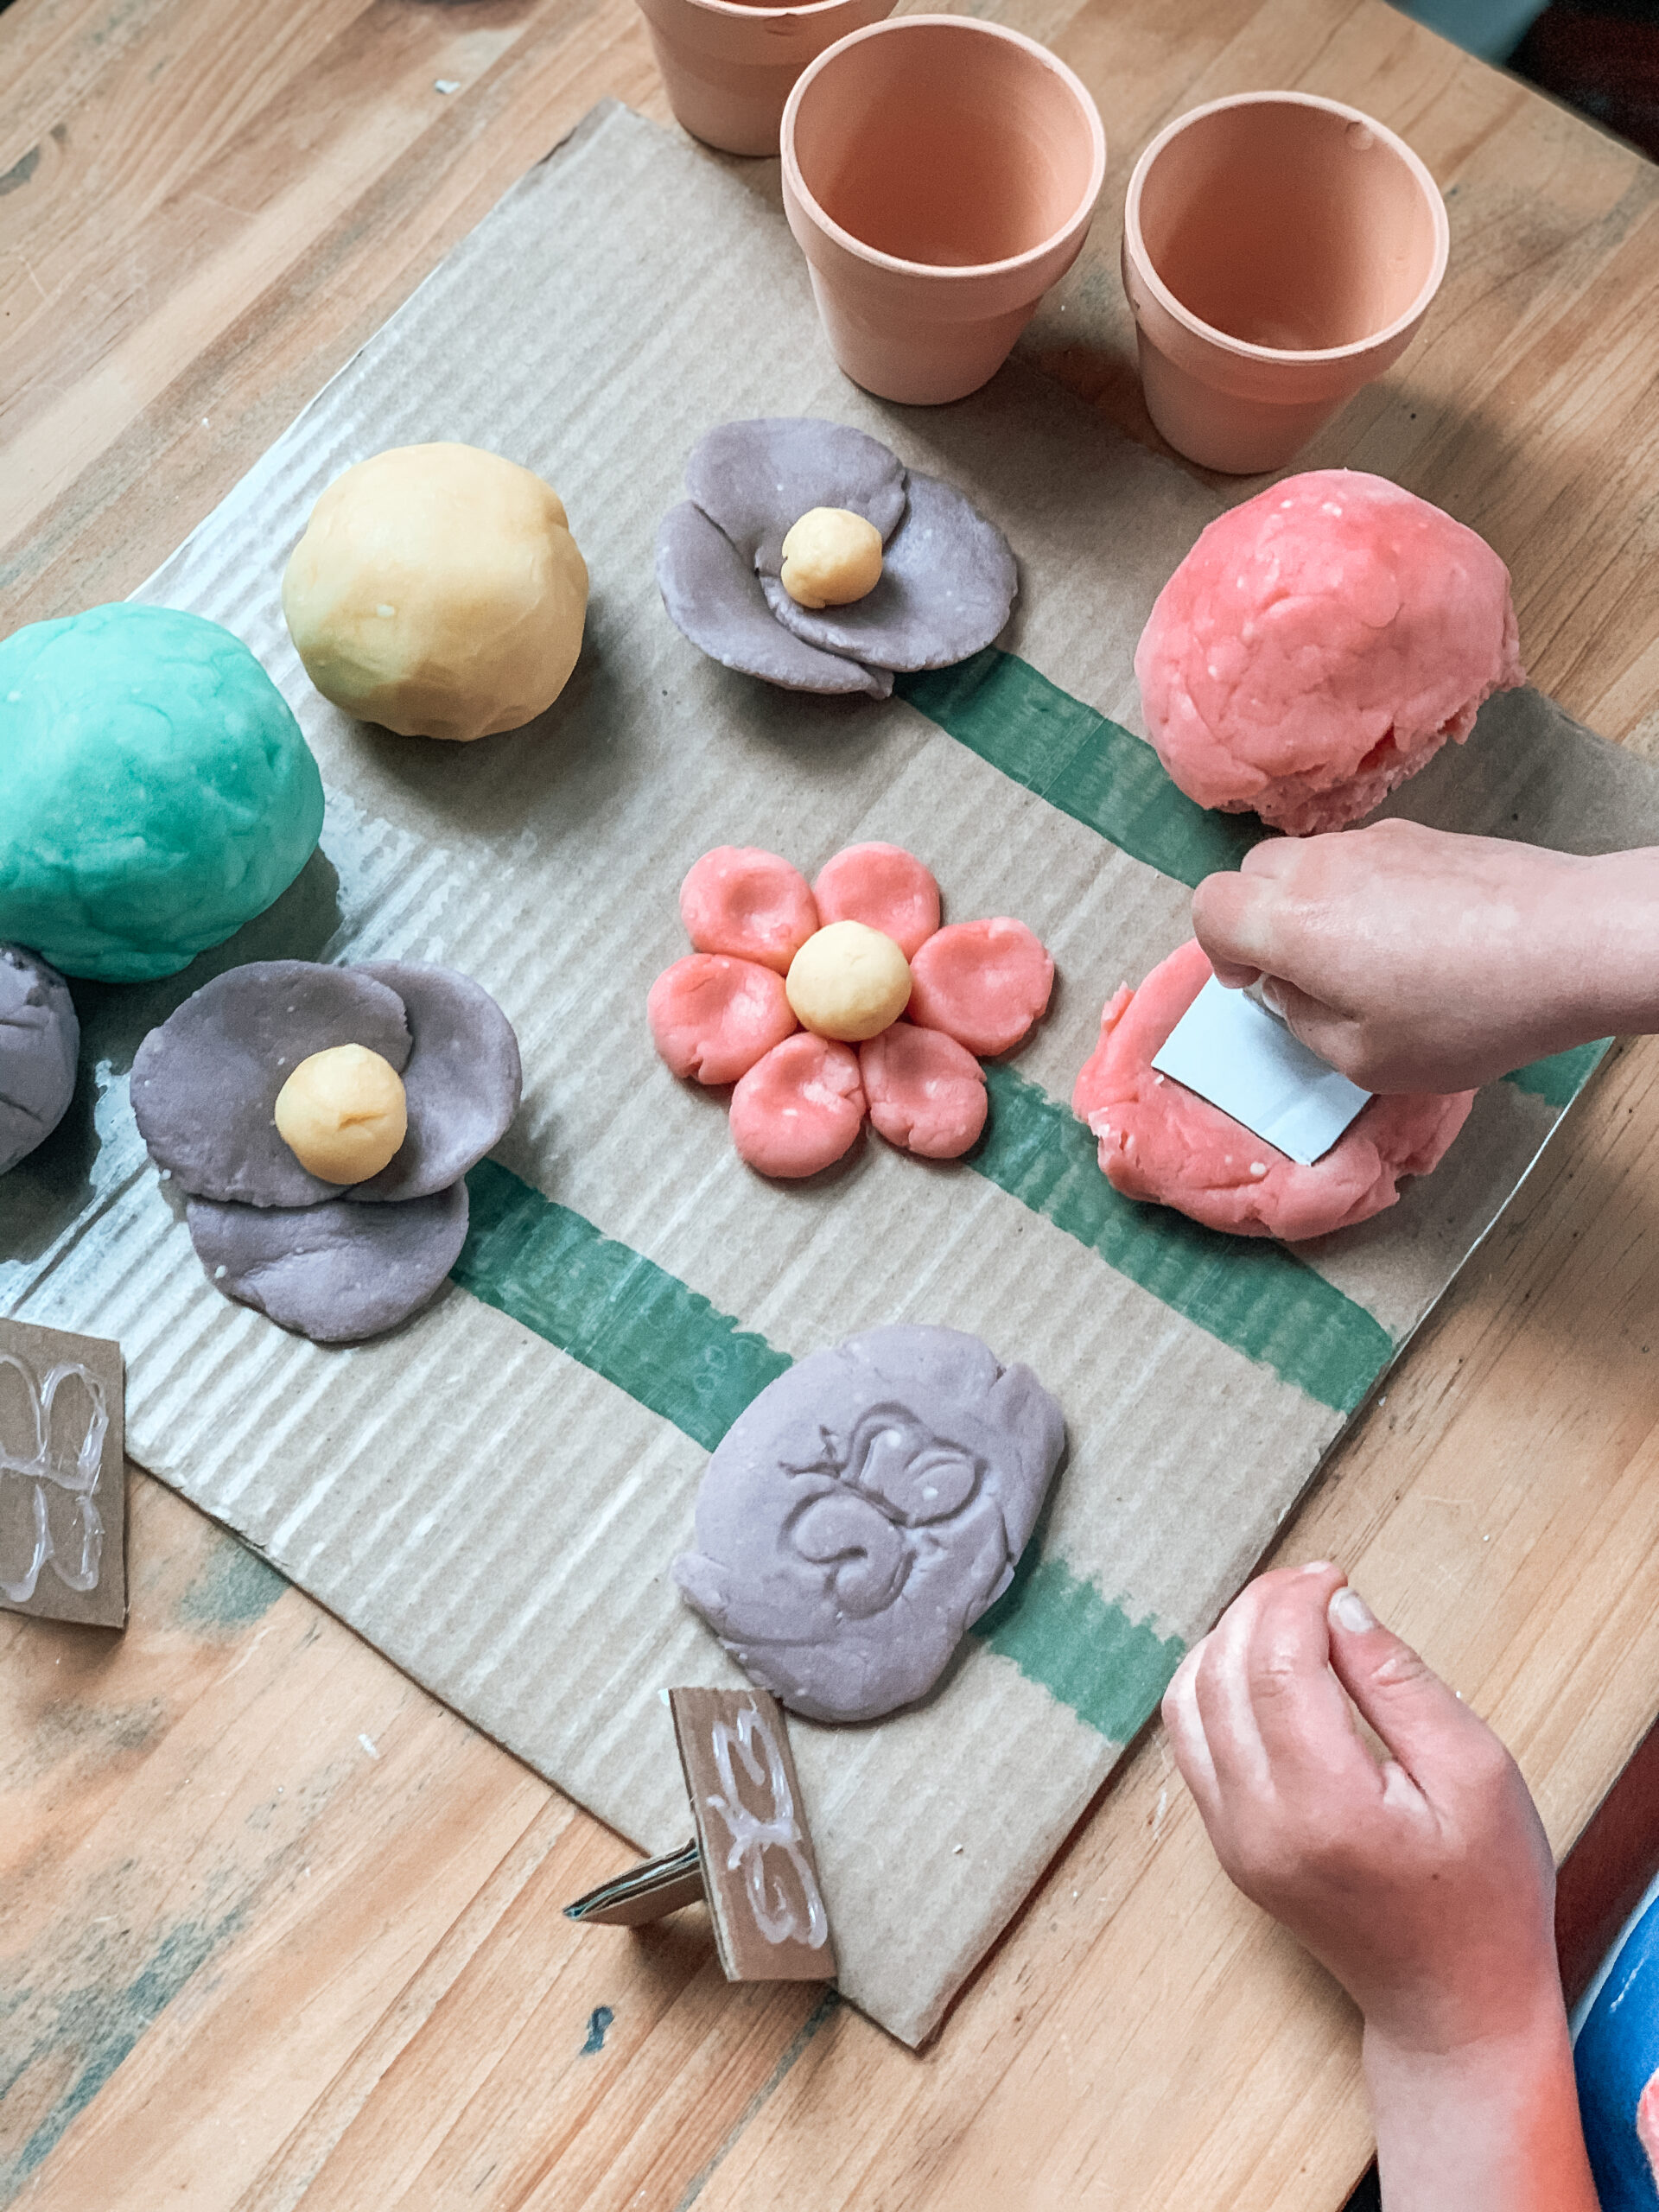
I provided my sons with the mat, stamps, and playdough that I had made and also some flower pots to play with. My sons had a great time stamping and filling the flower pots.
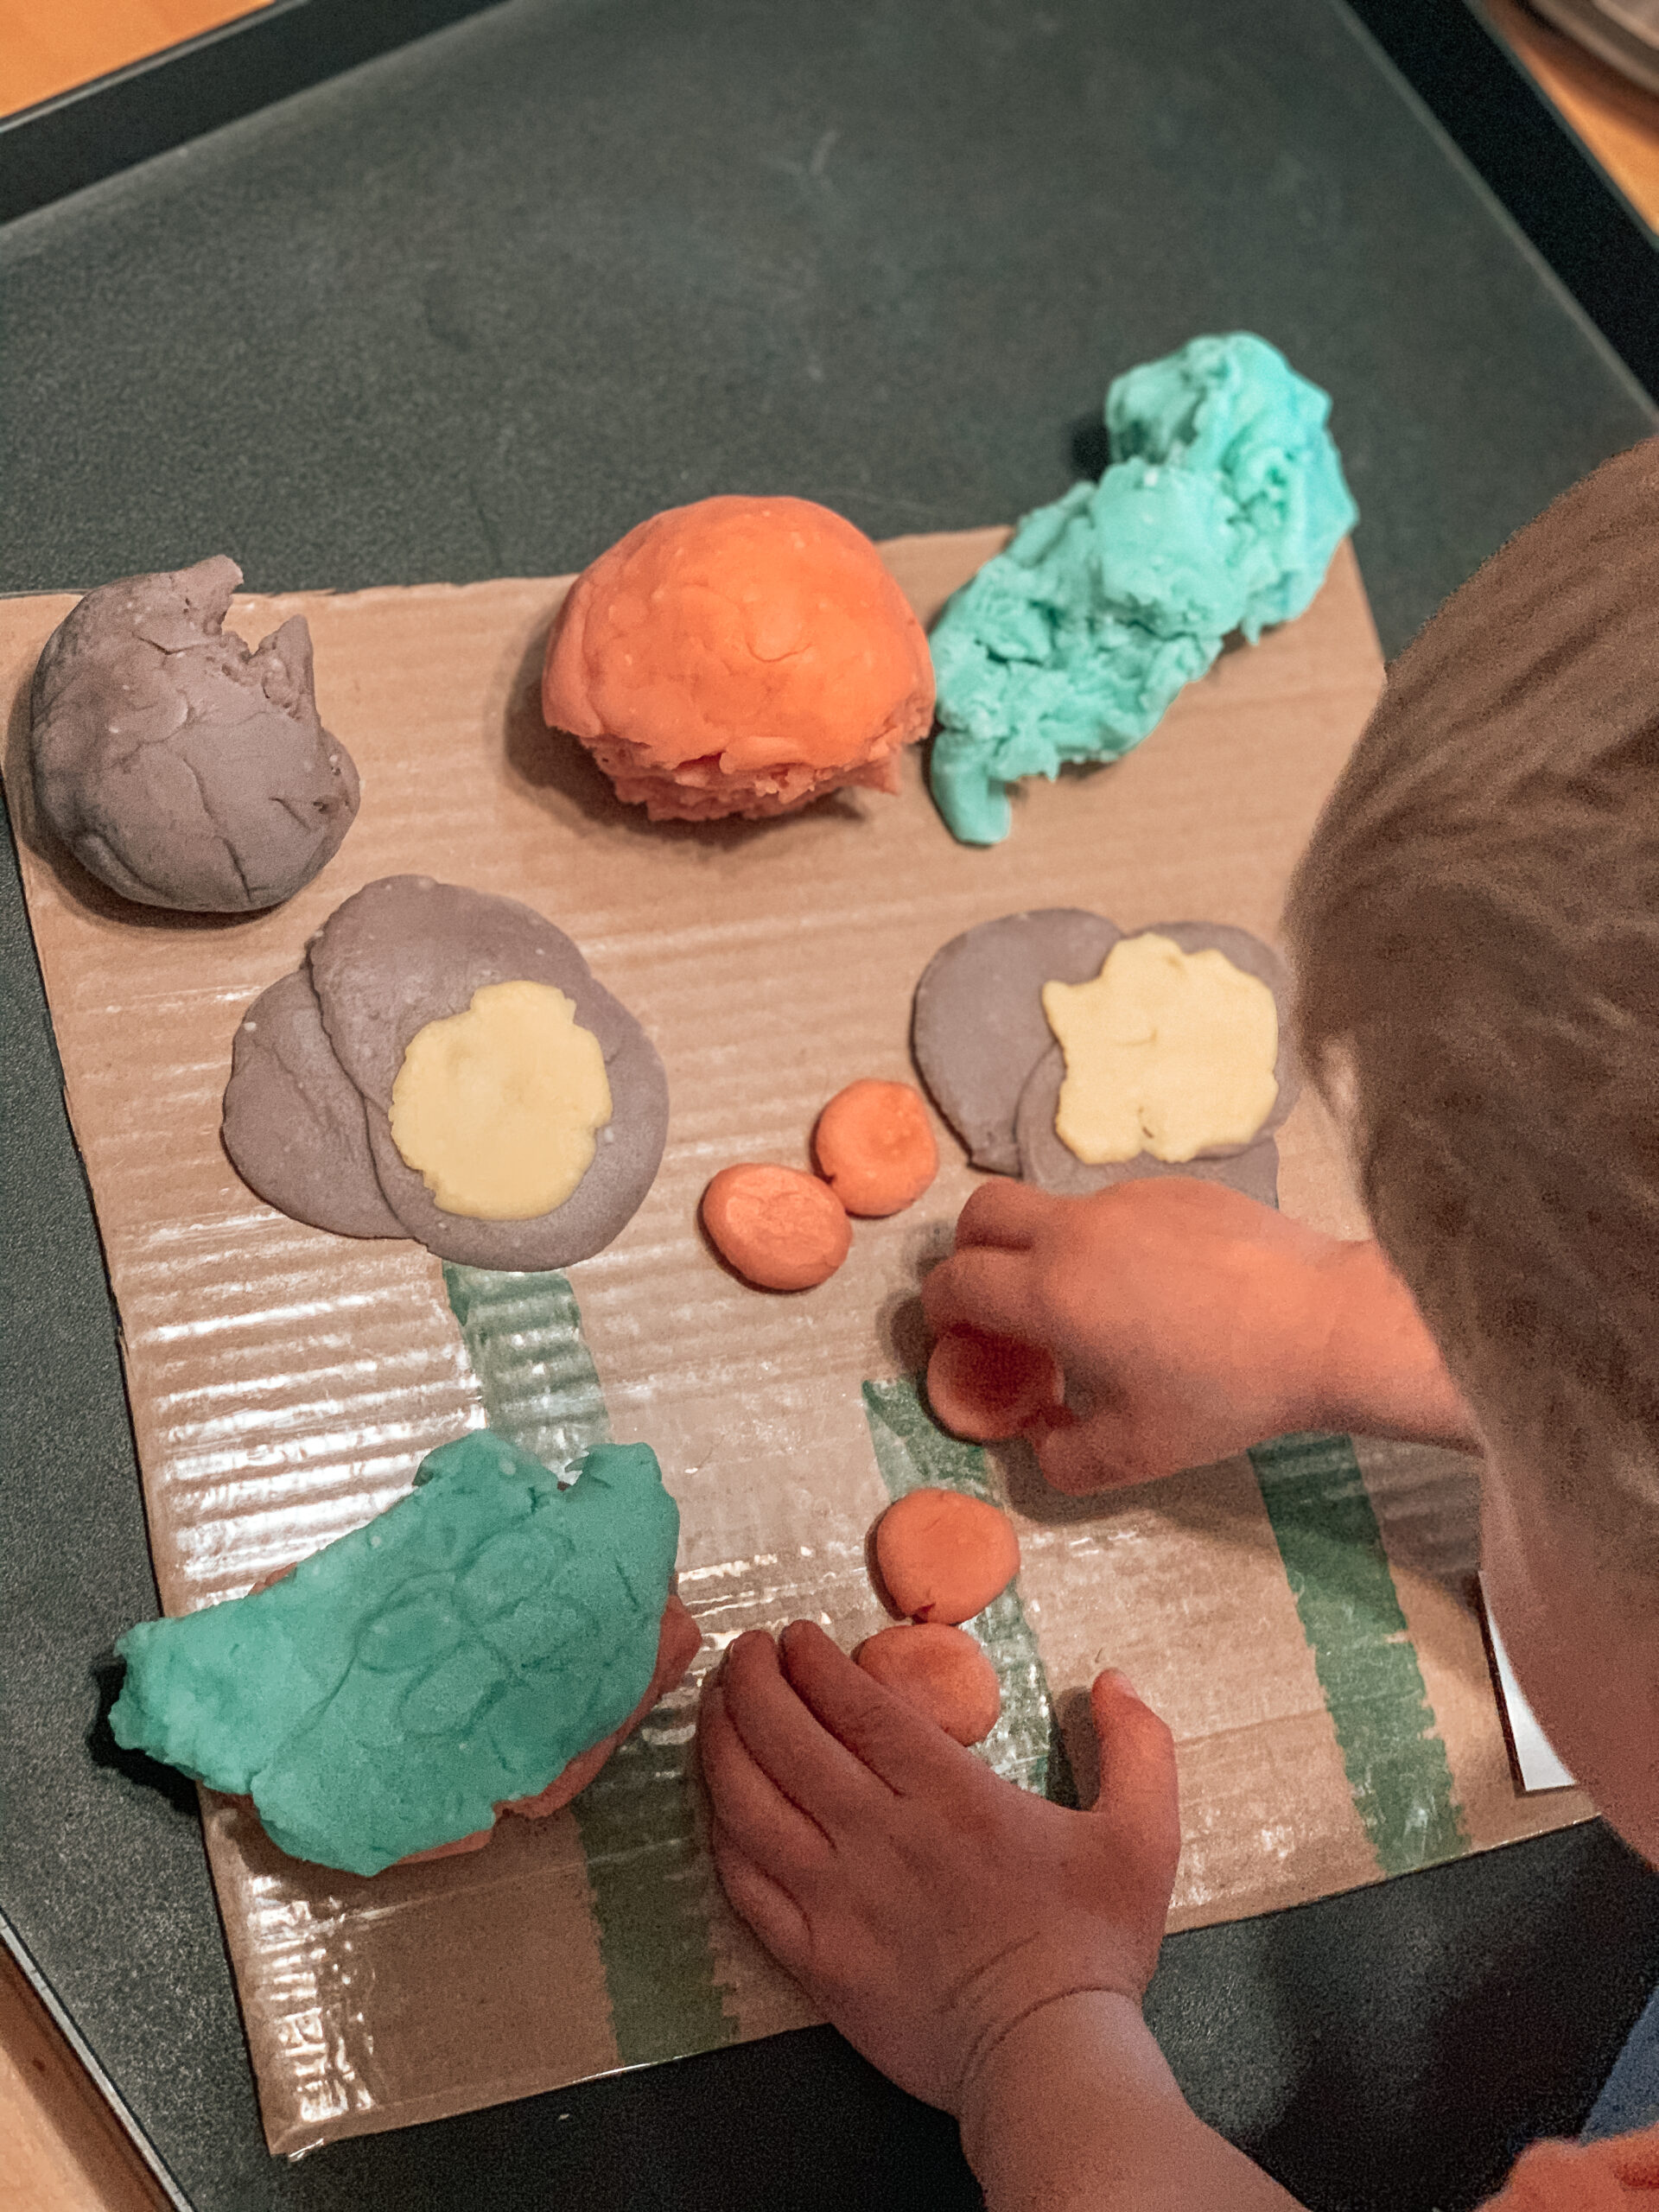
You may notice that the first pictures that I show are of my son playing with the playdough on a table, but I honestly only have him do this until I get a couple of nicer pictures and then I have him play on our Fun2Play tray to help contain the messiness. This playdough is a nice consistency, not crumbly, but it is a little bit greasy from the vegetable oil.
What You Will Need To Make Homemade Playdough:
2 cups water
2 cups flour
½ cup salt
4 teaspoons cream of tartar
4 tablespoons vegetable oil
Food coloring
Directions:
- Combine all of the ingredients in a saucepan
- Whisk the ingredients together
- Cook on the stove over medium heat. Stir constantly with a wooden spoon until the mixture thickens and pulls away from the sides of the pan.
- Let it cool for a few minutes.
- Remove from the pan and knead with your hands until smooth.
- Add food coloring and fold the playdough until the food coloring is evenly dispersed.
- Store in an airtight container.
Inspired by: outdoorplayandthetufftray
This comes at the perfect time as I want to make playdough with my daughter today.
So perfect!
not only does the homemade playdough recipe you provided sound good but all the beautiful things you have made with them are so good as well
Thank you so much!
Love the playdough mat idea! The playdough recipe seems simple enough. I’ve only ever purchased playdough, so now I’ll try this out.
Thank you! It is very easy to make!
What a great idea! My kids would love this homemade playdough.
Thanks! It is a lot of fun.
For as much as my daughter plays with play dough, I bet she’d love making it too!
My boys definitely enjoy helping with the making of the playdough!
Wow! Its so easy to make play dough at home. My kids are grown up but a friend can definitely use this. Will share with her. Thanks!
Thank you for sharing!
Love the homemade options – so much more natural!
Yes, homemade playdough is the best!
Great tutorial with lots of observations from your experience. I sued to make my own Playdough and this brought back great memories. I love the stamps and board too – great addition.
Thanks so much! Glad it brought back memories for you!
Wow lovely recipe for homemade play dough.
Thank you!
I never thought of making my own playdough until i read your post. This looks so easy to make and a fun way to bond with your kids. Thank you for sharing.
It is very simple to do! My boys definitely love helping out.
How fun! I love the creativity here!!