

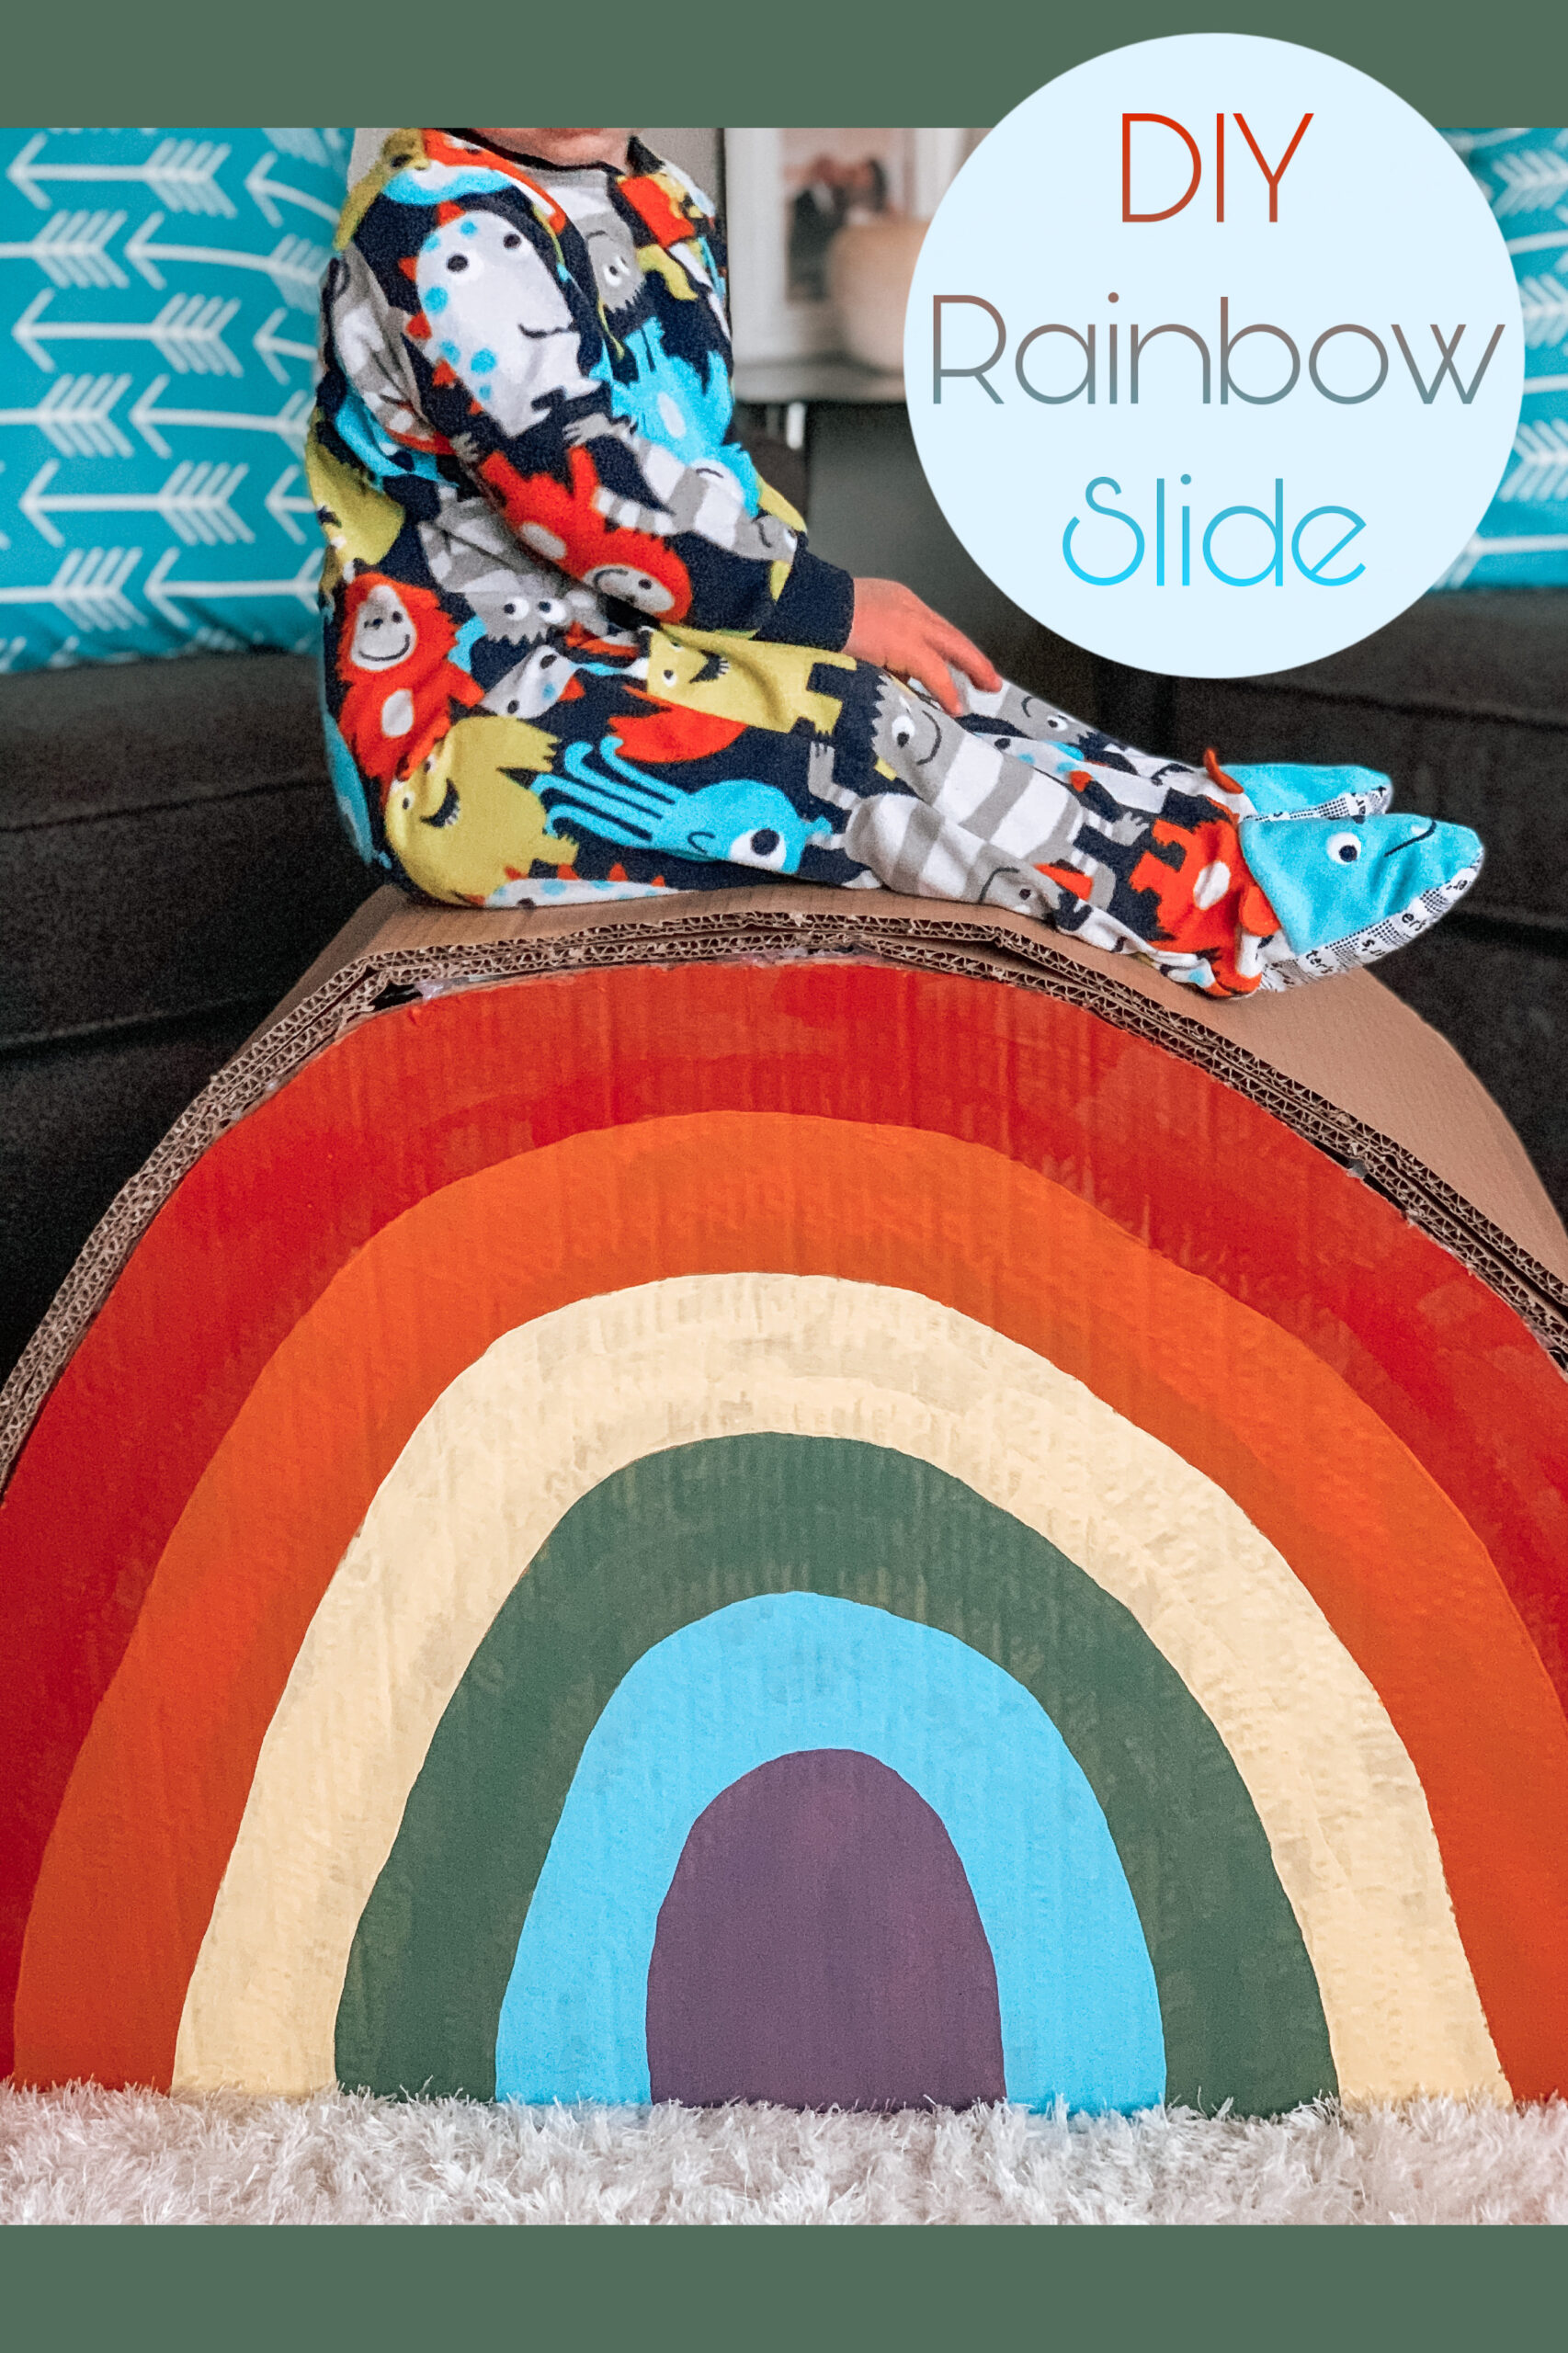
Who else is excited for all things Spring? Bring on all of the spring crafts and activities! This DIY rainbow slide made from repurposed cardboard is the perfect spring activity for your kids that will also brighten up your house!
I had two very large boxes sitting in my basement for awhile (a tv box and crib box). When I saw this idea to make a rainbow slide on Instagram by cardboardfolk, I thought it would be the perfect use for the boxes.
 ]
]
Truthfully, this slide ended up being a bigger project than I expected. It was mainly because I made multiple mistakes along the way of making it. I’m here to tell you all about how I made it, including what I did wrong, so that you don’t make the same mistakes and waste your time.
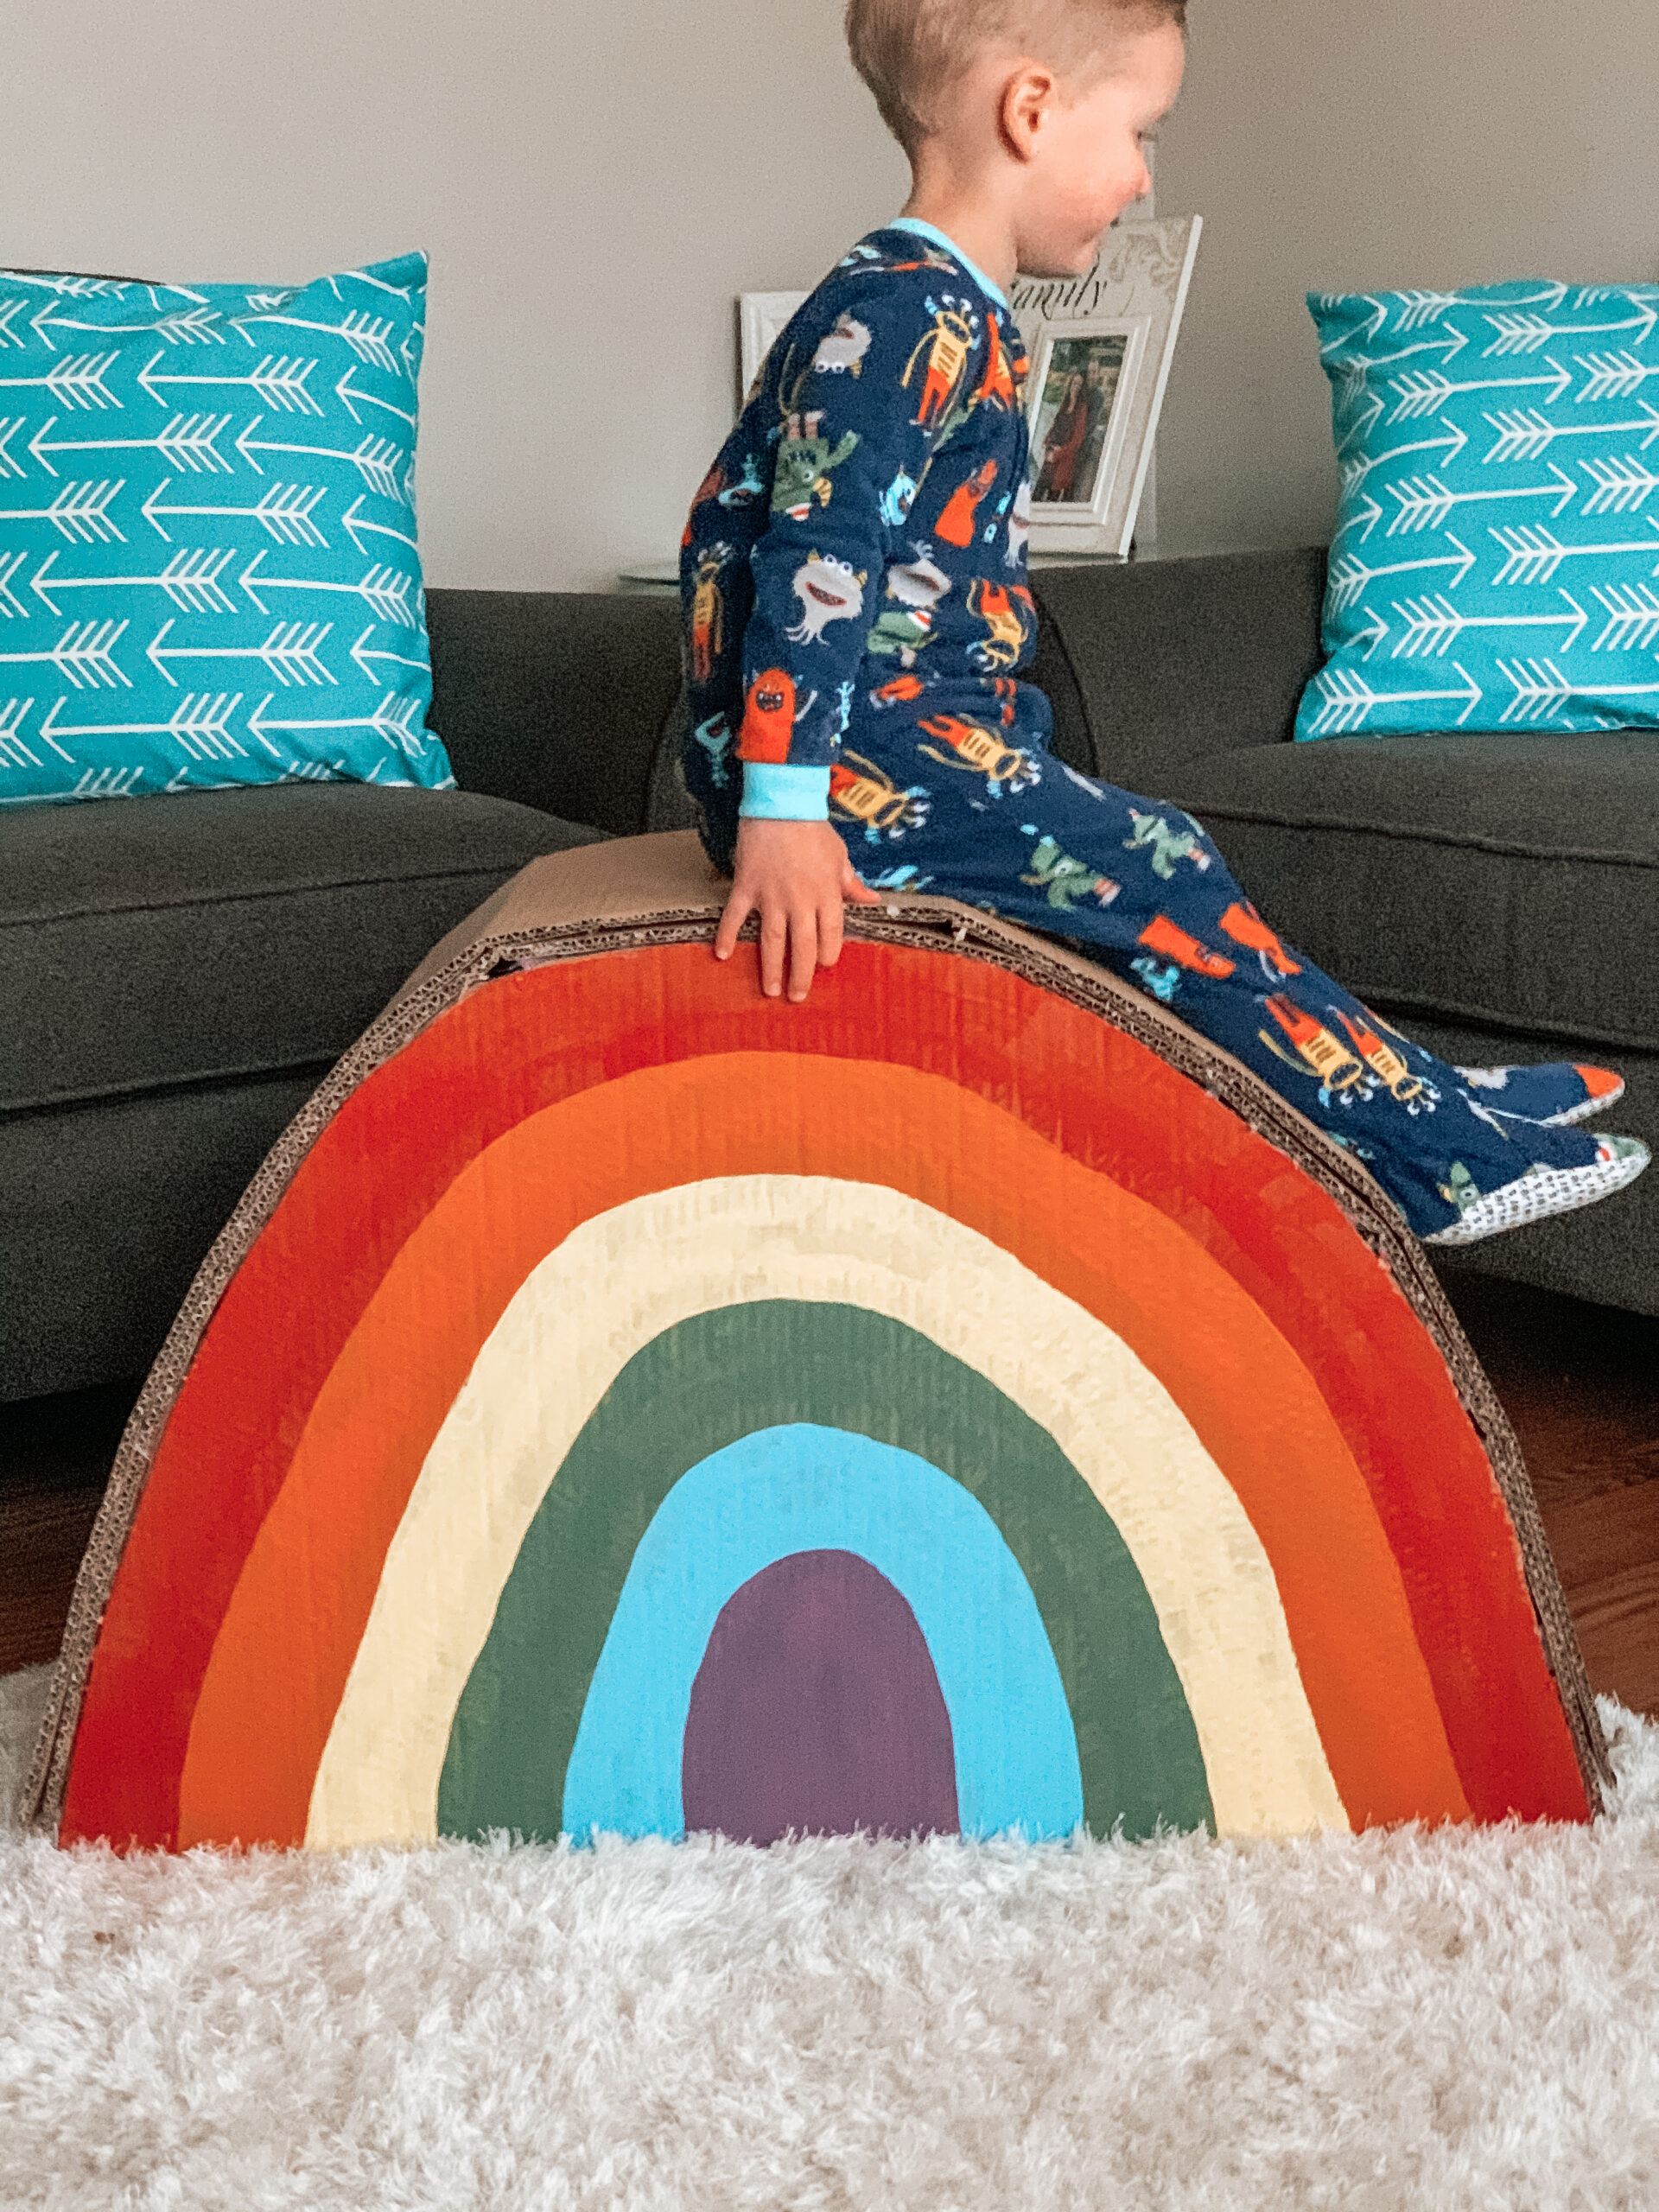
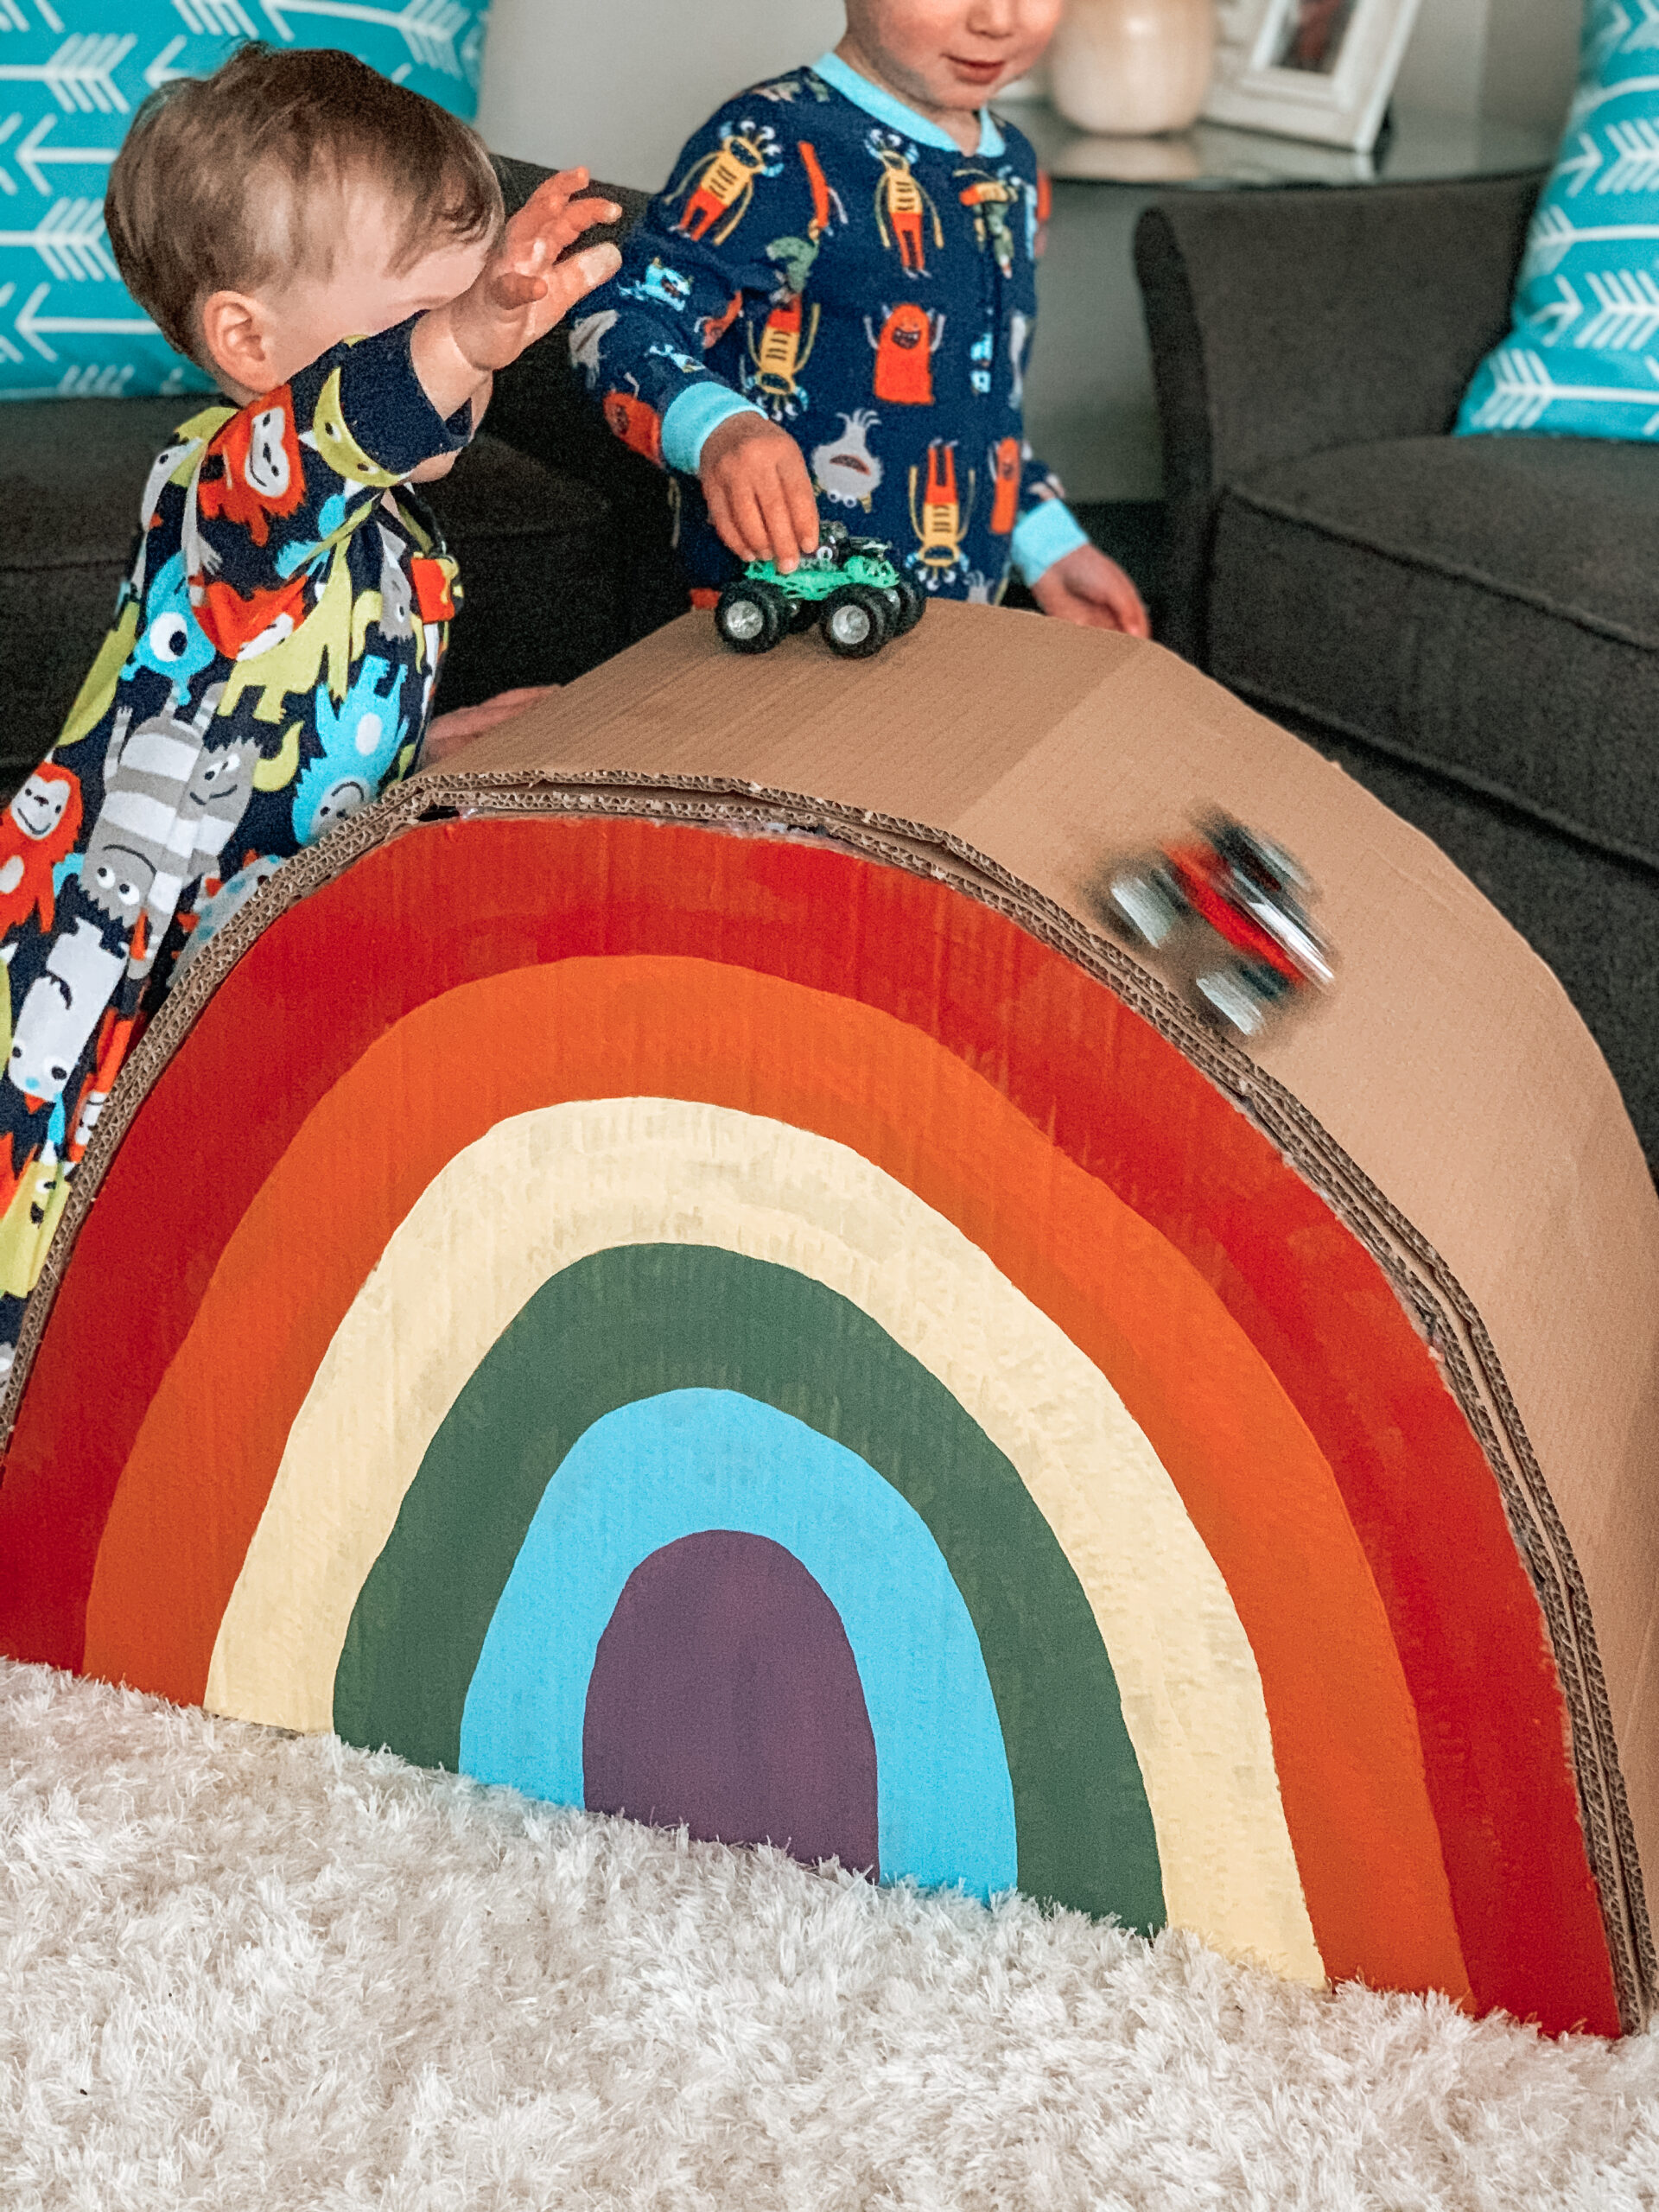
Overall, with this project, I was worried that I would put all of this time into making it and then my boys would play with it for two seconds and lose interest. I am happy to report, however, that this was not the case. My boys absolutely loved it. They climbed on it, slid down it, drove cars down it, and had their stuffed animals slide down it. I have a feeling there will be many more adventures in store for this little rainbow slide.
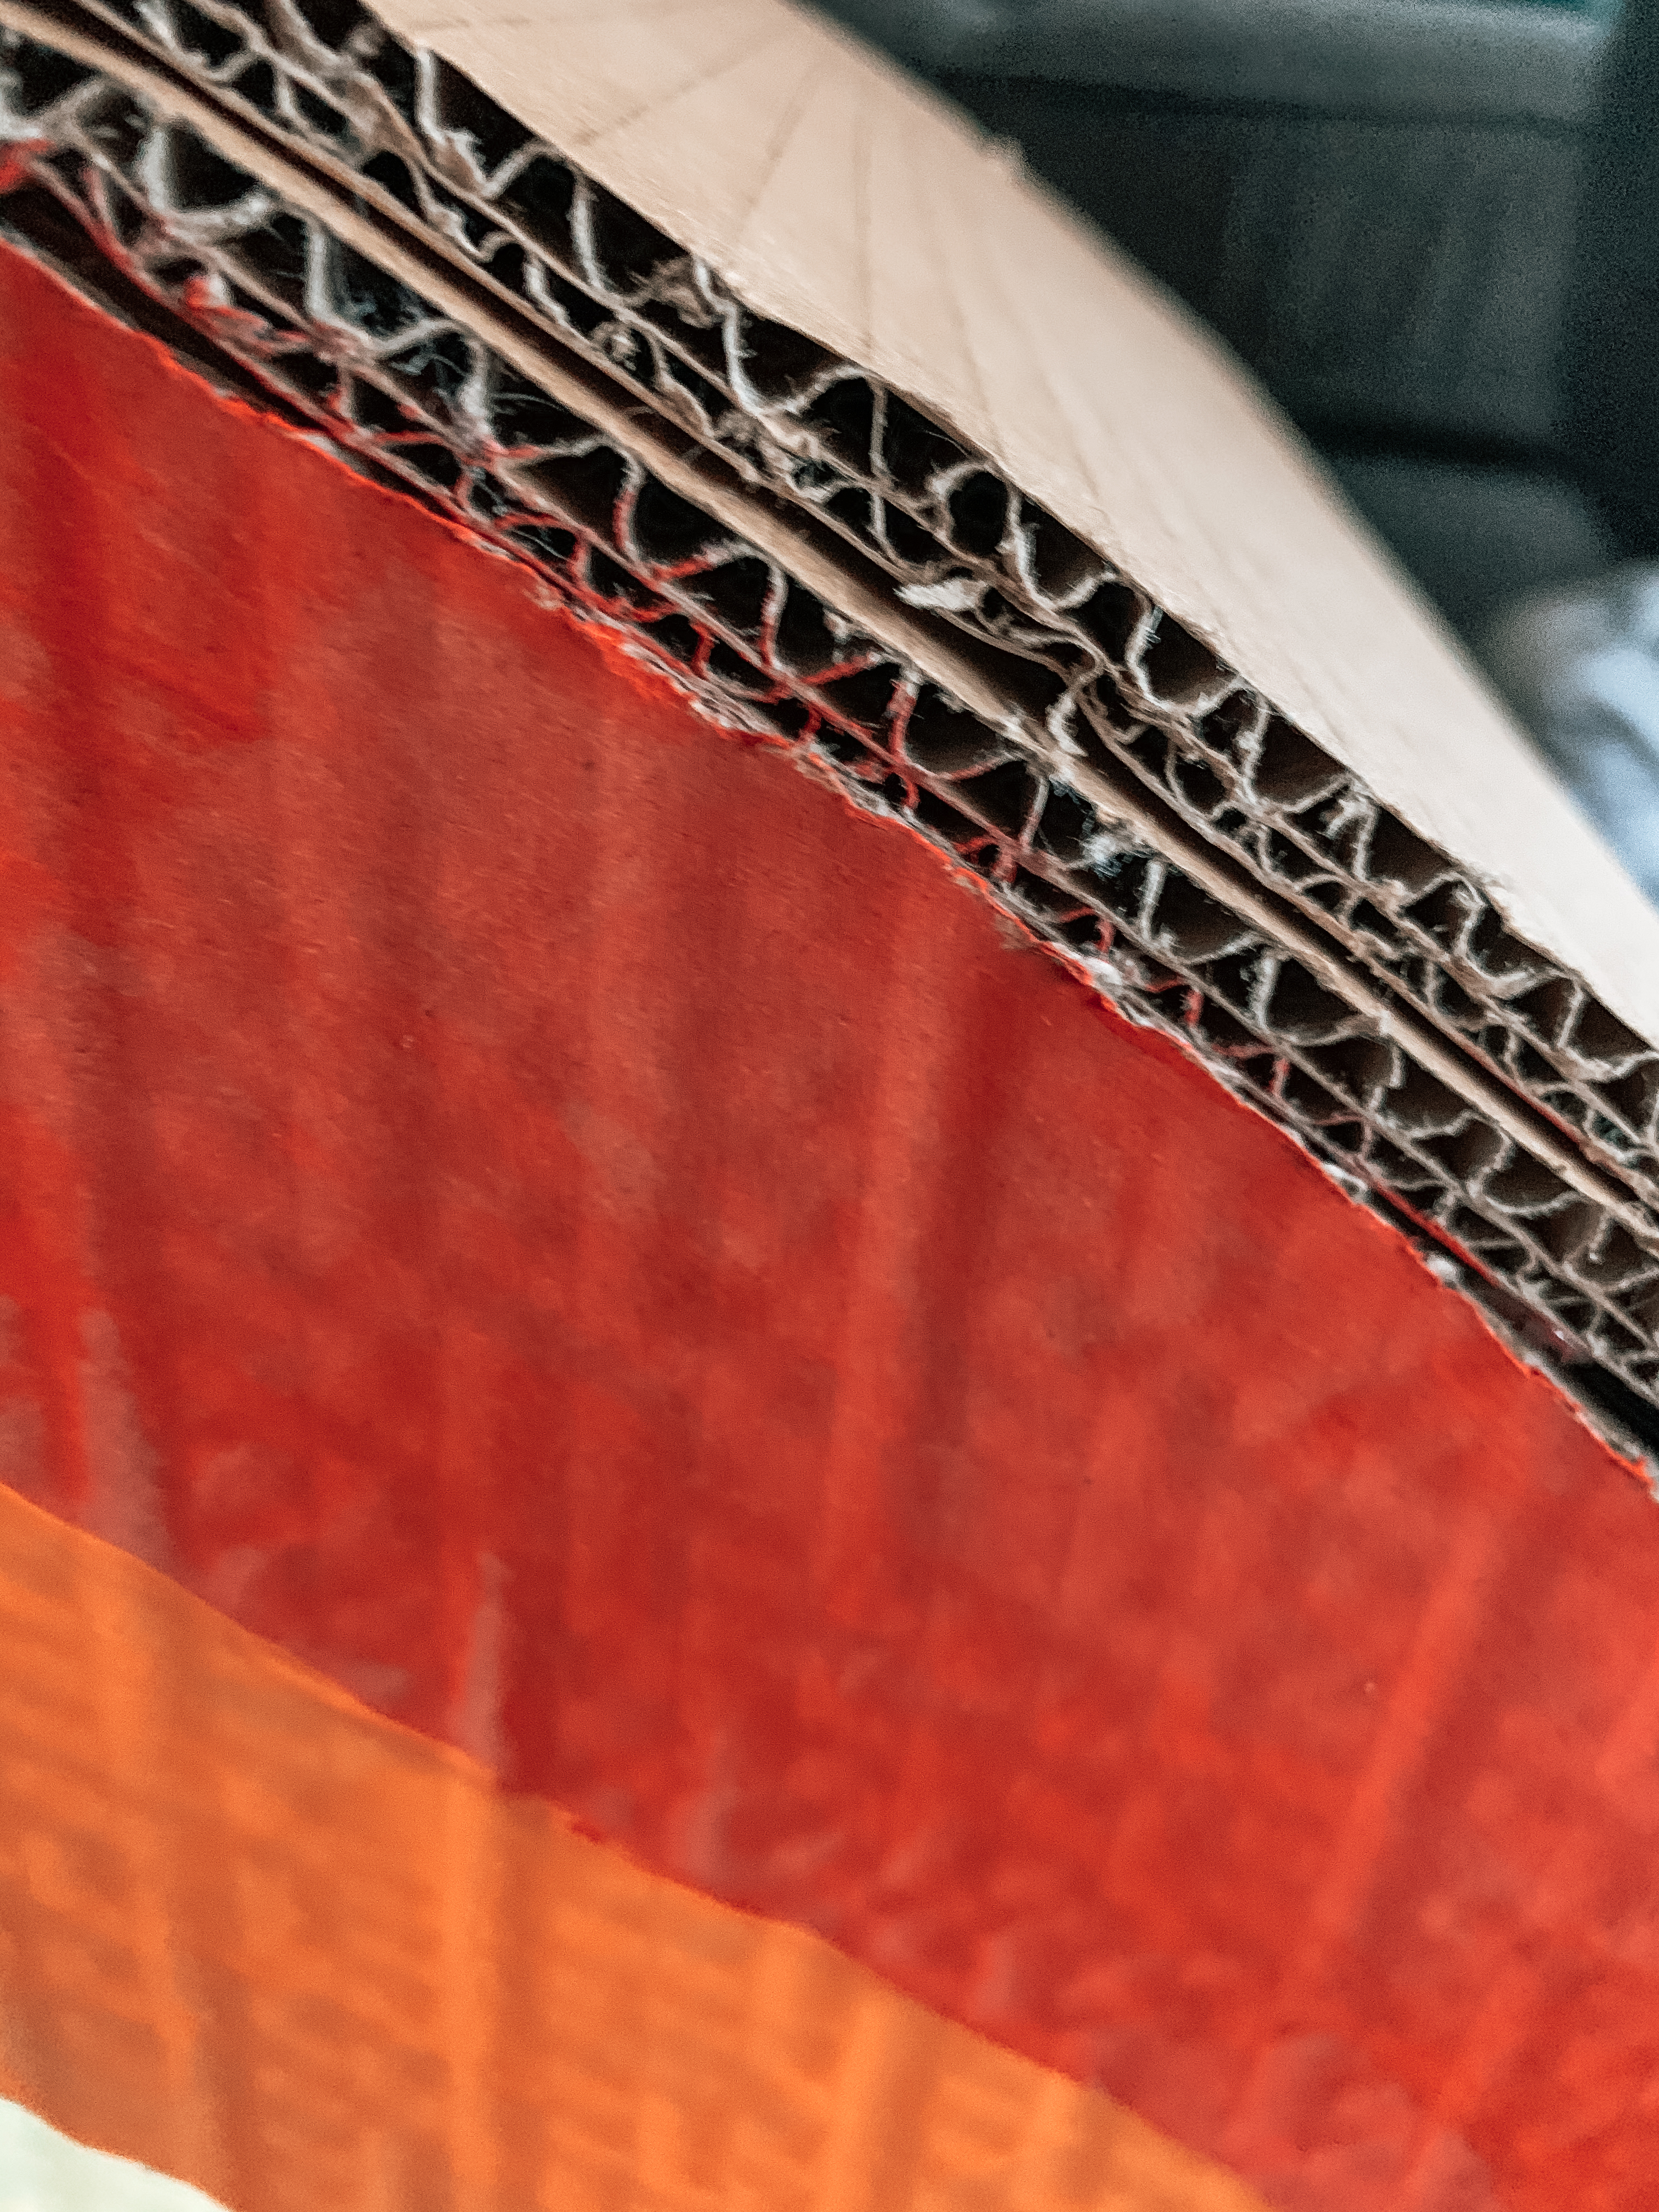
This slide is very sturdy. It is built with two layers of double layered cardboard. It is strong enough that I am able to sit on it without any problems. Just in case it would happen to break, there are smaller, strong boxes stacked underneath for extra support.
How I made this DIY rainbow slide for kids:
First:
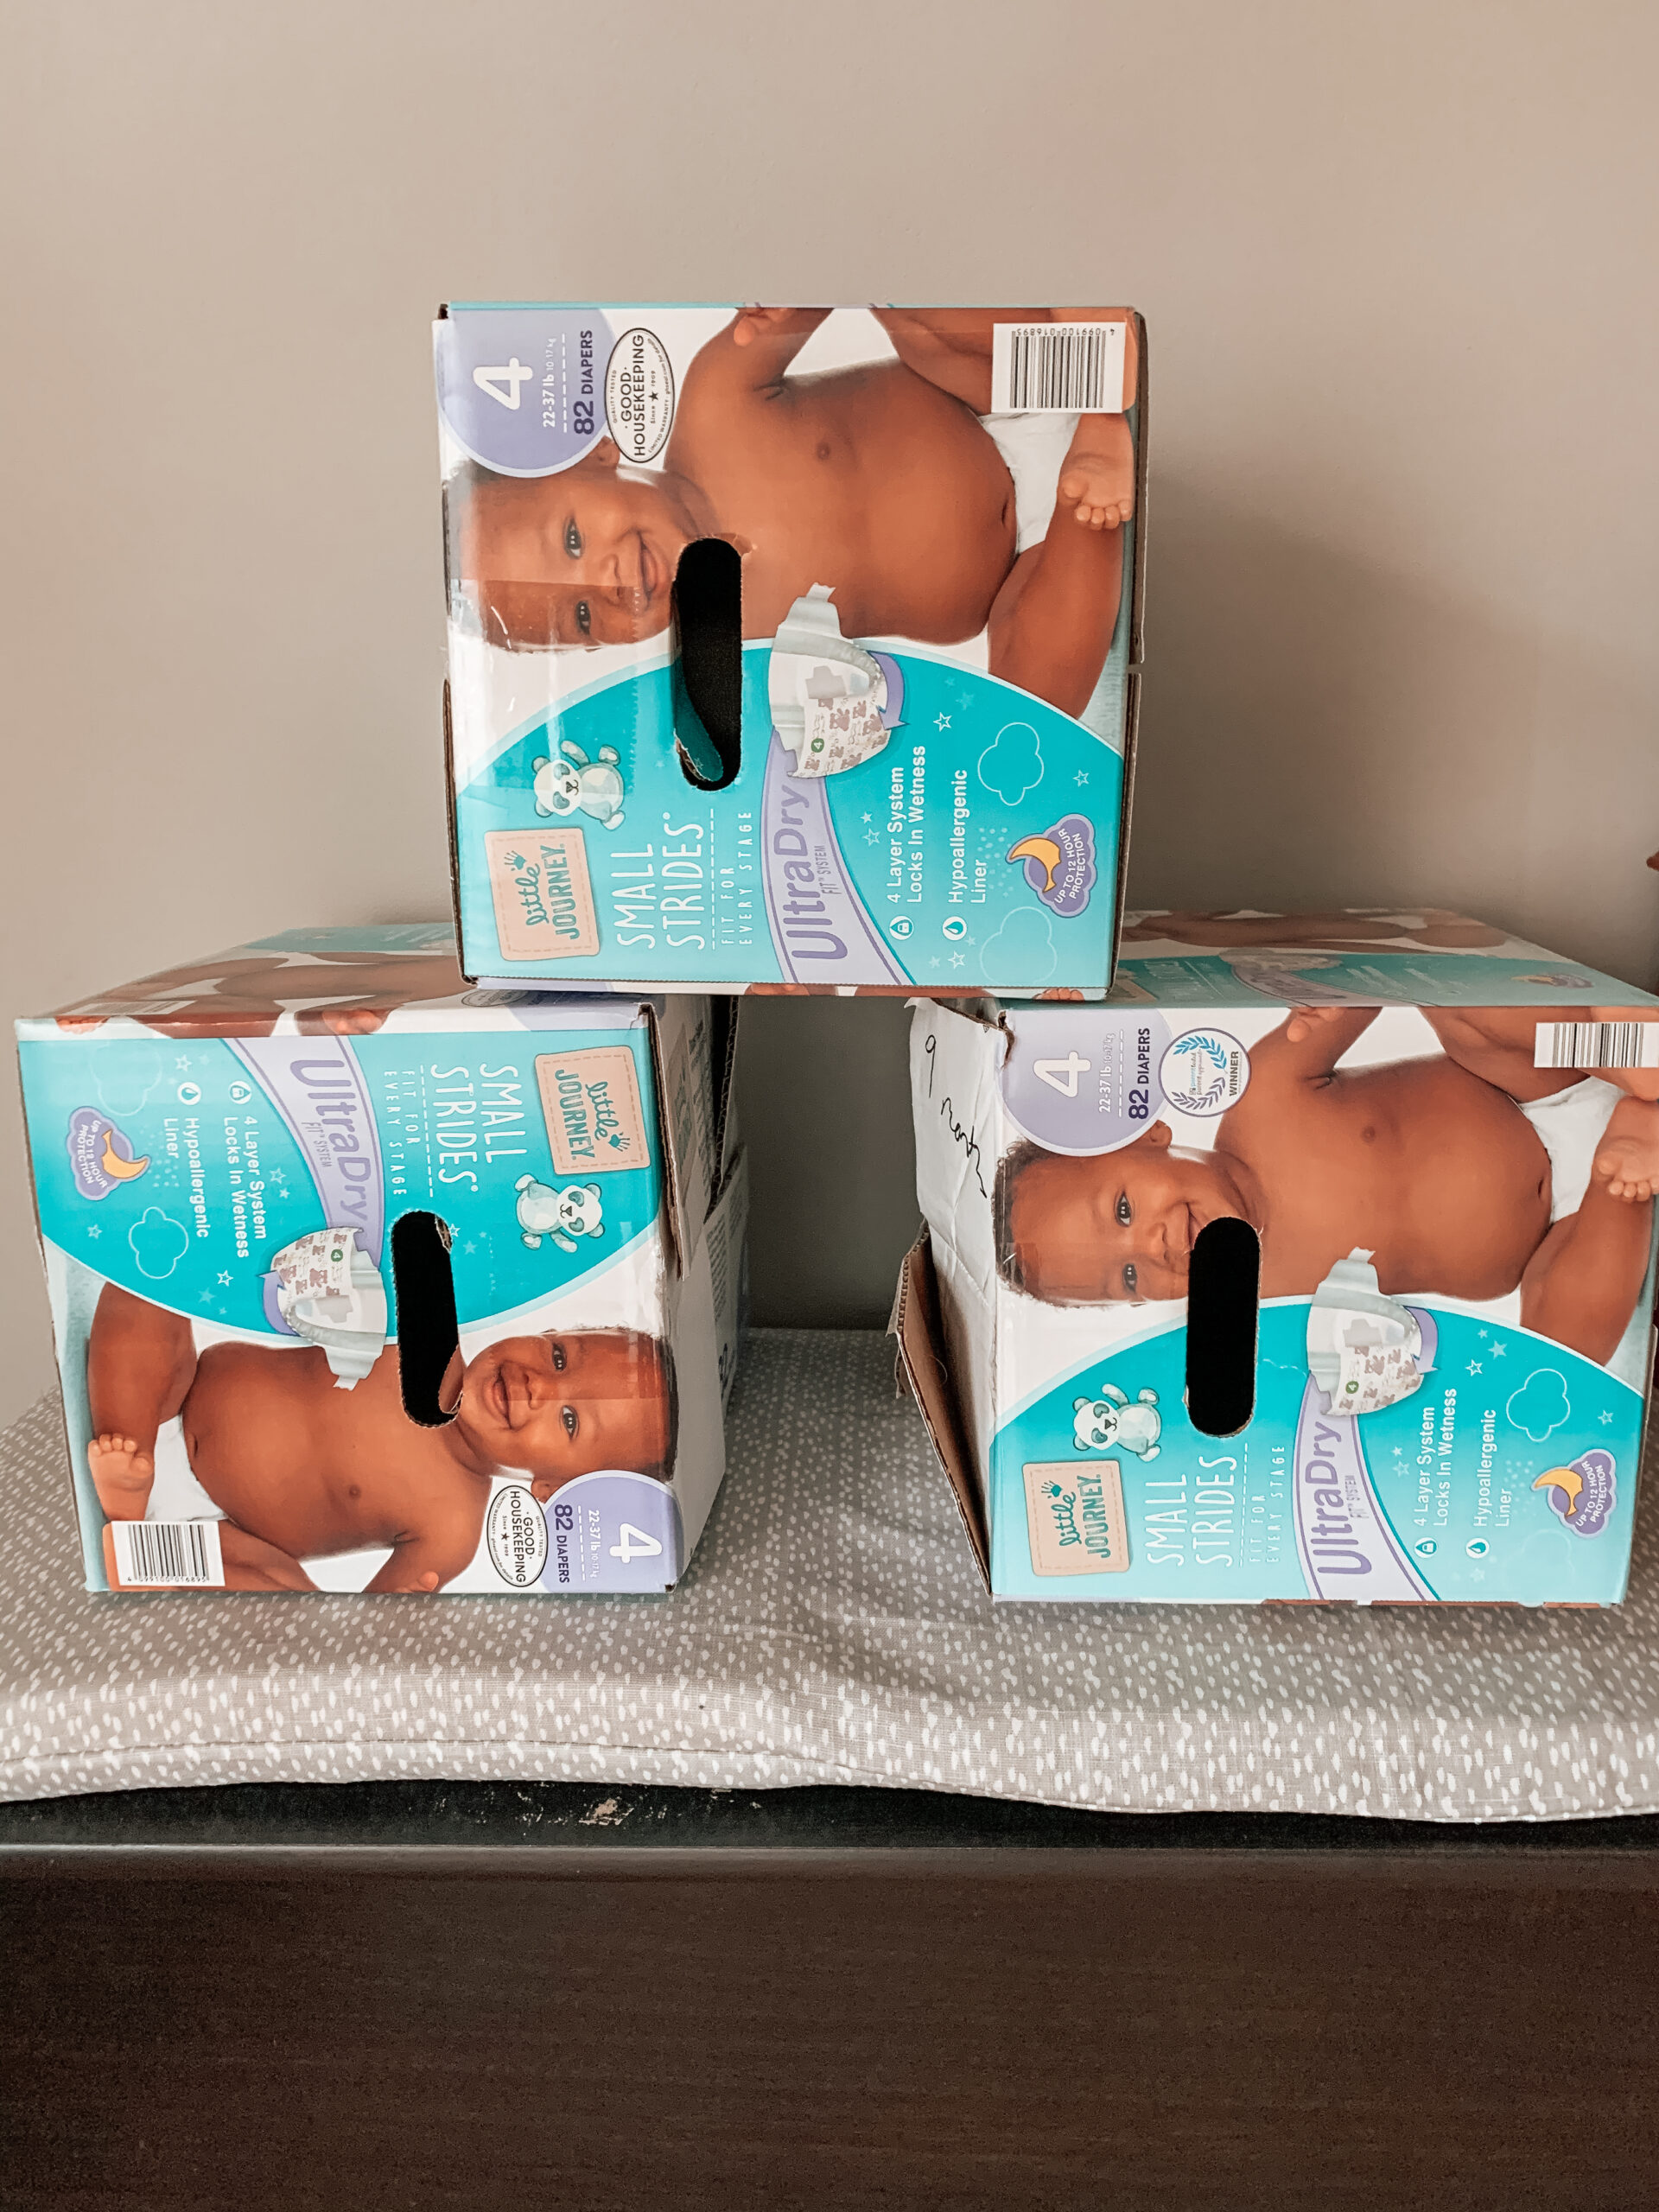
To make this fun rainbow slide, I started with two large boxes (a tv box and a crib box.) Underneath I also stacked three diaper boxes for extra support like shown below.
Second:
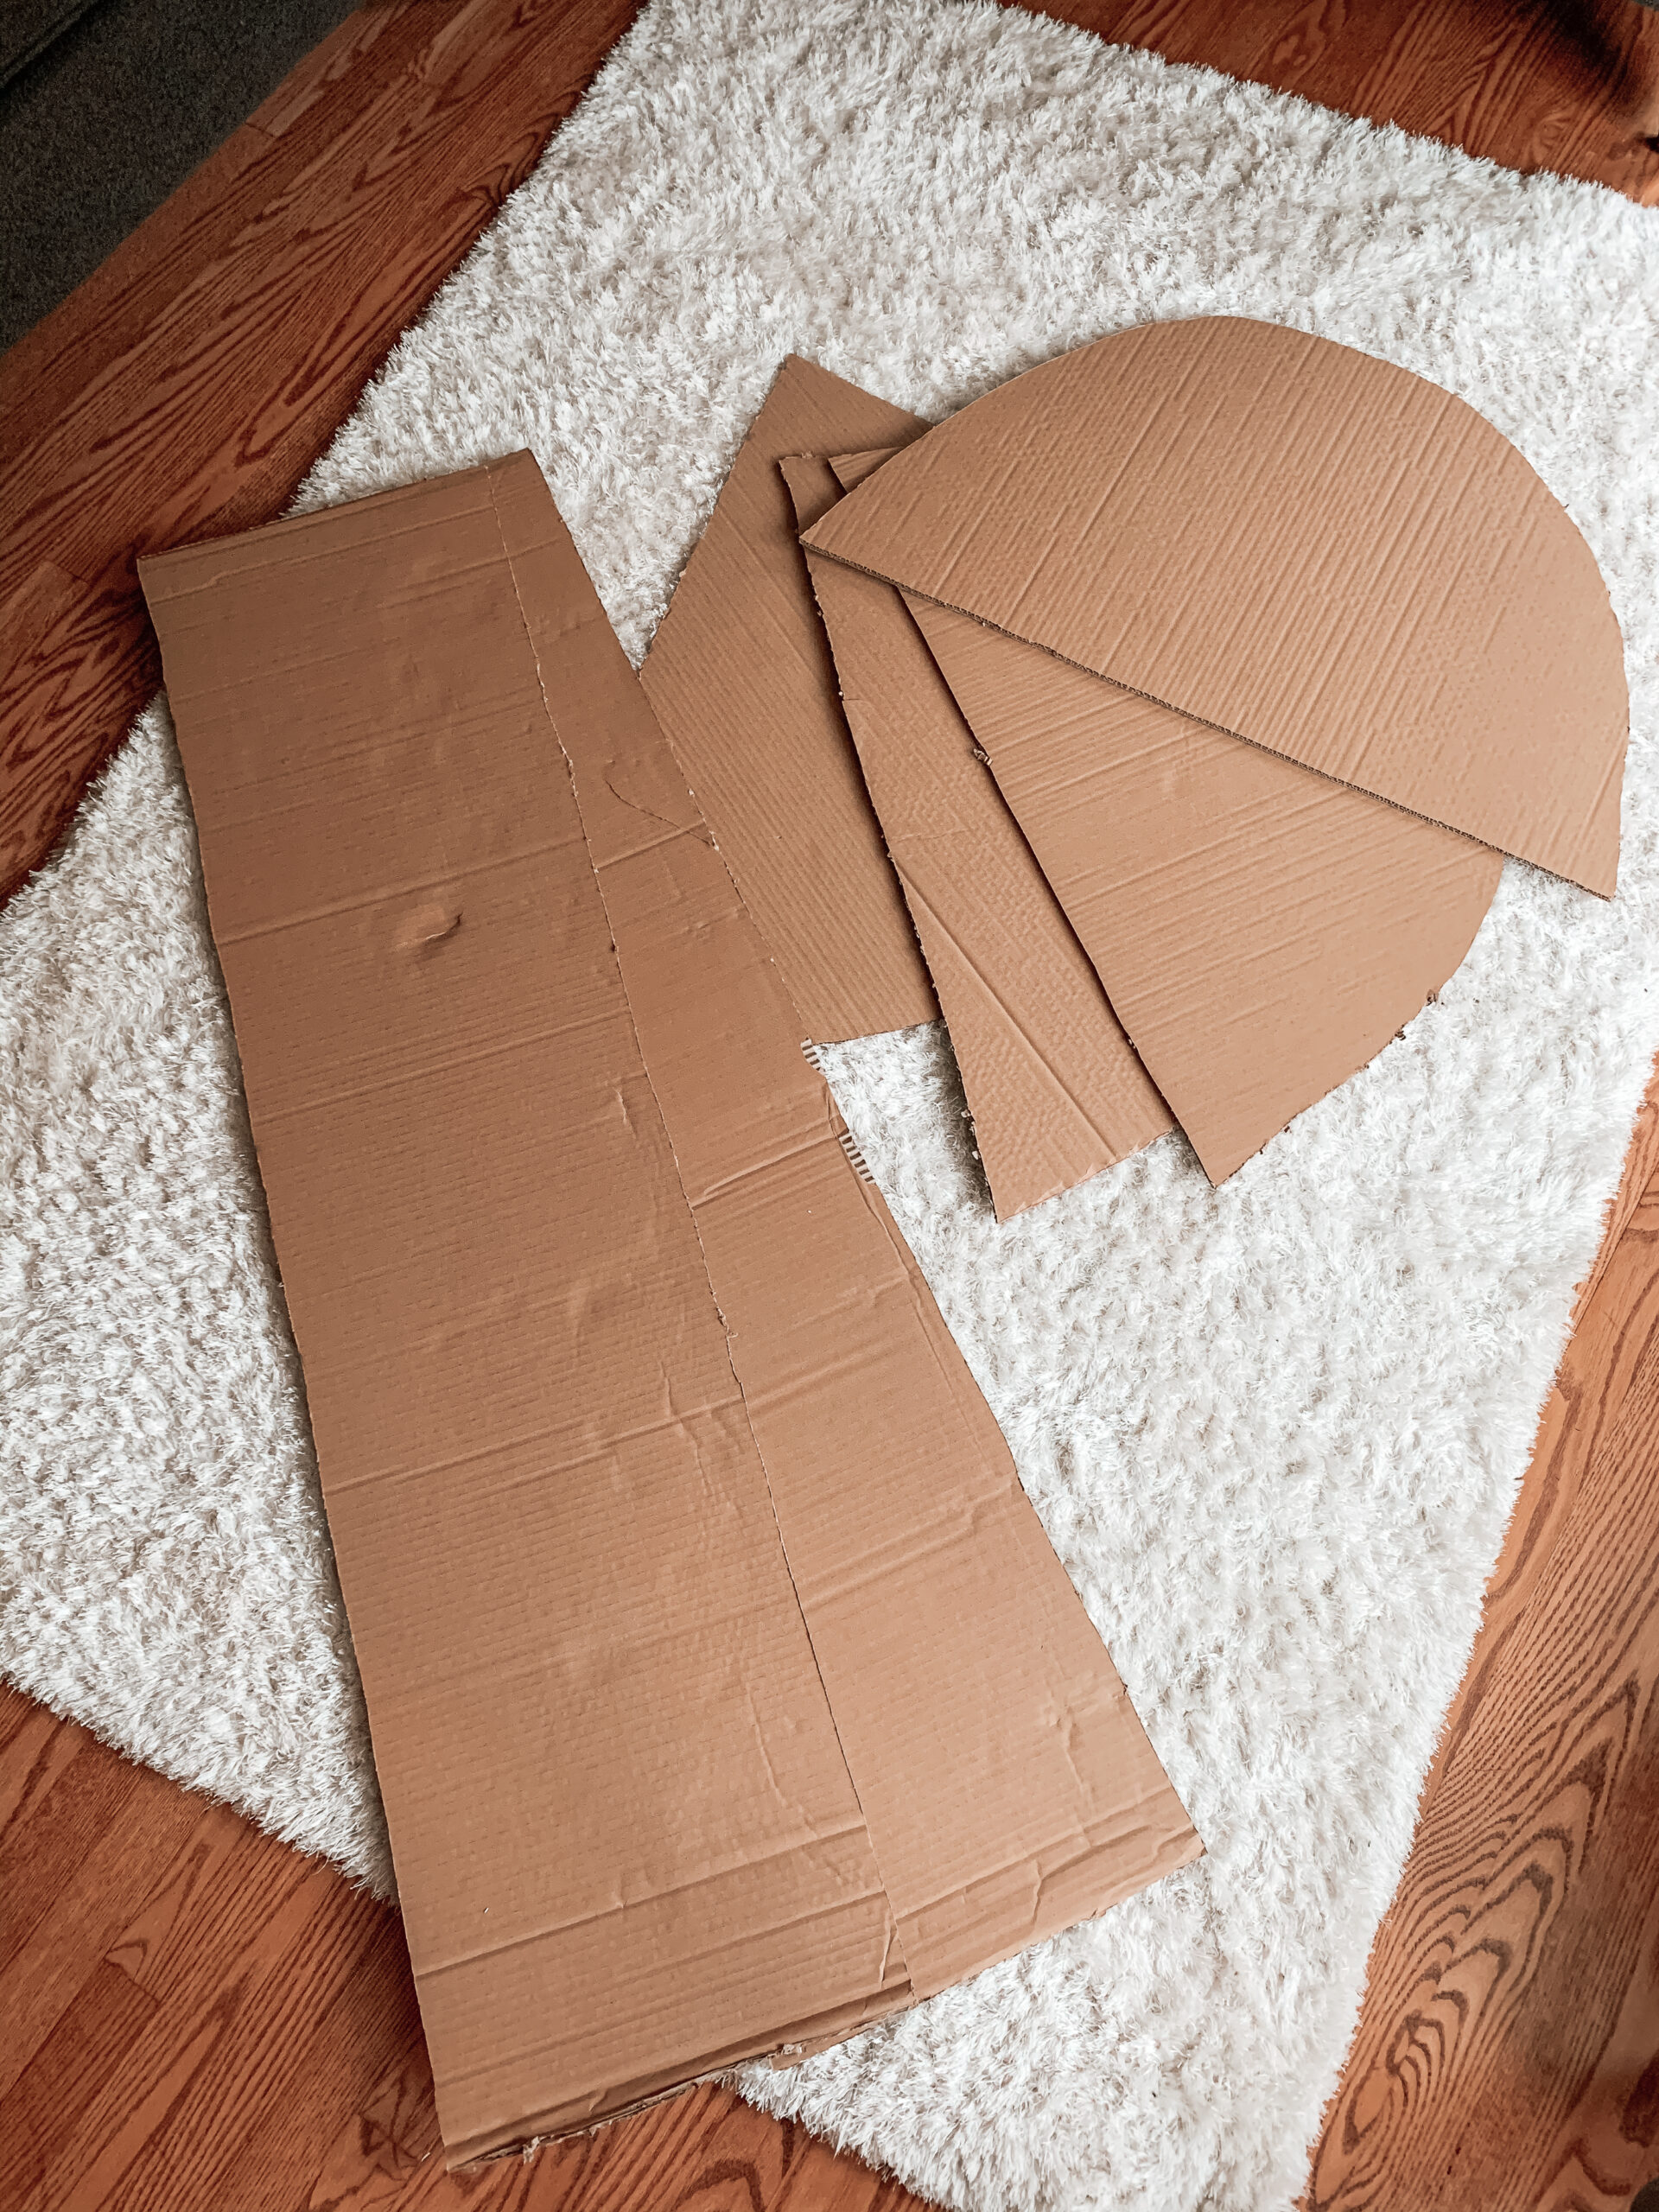
The first main step I took in creating this rainbow slide was to cut out the rainbow arch. I stacked the diaper boxes on top of the tv box and traced out an arch that was just big enough to fit the diaper boxes inside. I then traced and cut out 3 more of these arches.
Note: If I were to do this project again, I would have made a template of the arch out of something like posterboard first. That way all of the arches would be the same size when you trace and cut them out of cardboard. Instead of doing this, I used my first cardboard arch to create the other three arches. This caused the other three arches to be slightly larger than the original and I had to trim them all down to be the same size.
Third:
For the next step, I cut out 2 straight, long pieces of cardboard to create the top of the rainbow slide.
Note: I made another mistake here. I measured these out to be just wide enough to fit the diaper boxes underneath but I did not calculate in the extra space that the thickness of all of the arches would create. So, my strips of cardboard were not wide enough to fit the boxes underneath once the arches were glued together and I had to make them again.
Here are all of the pieces that I cutout:
Forth:
Next, I hot glued all of the pieces together. I started by gluing the arches together. I glued two arches together for each side of the slide. Then, I glued one of the long, straight pieces to the top of the arches, holding them together. Finally, I glued the second long, straight piece overtop of the first.
Fifth:
Once everything was glued, I painted a rainbow on the front of the slide and placed the entire rainbow slide overtop of the stacked diaper boxes for extra support.

What you will need: 2 large cardboard boxes, hot glue gun, box cutter, paint, 3 small boxes
Directions:
- Stack 3 small boxes in a triangular shape (see images above). Trace and cut out 4 arches that are large enough to fit the small boxes inside.
- Cut out two large, straight pieces of cardboard (for the top of the slide)
- Hot glue the arches together. Glue two arches together for each side.
- Glue one straight piece to the top of the arches. Connecting the arches
- Layer and glue the second straight piece on top of the first
- Paint a rainbow on the front of the slide
- Place the finished slide overtop of the 3 small boxes for extra support
- Let your kids enjoy their new DIY rainbow slide made from repurposed cardboard!
Wow this is very creative and fun! Looks like your little ones are loving their new slide. 💖
Thank you! They definitely love it!
This looks like so much fun! Hope to do it with my kiddos!
Thank you! I hope your kiddos enjoy it!
I am in love with this! Creative and resourceful!
Thanks so much!
Such a creative person you are, this is so beautiful and I love it. I am going to make this for my kids. Thank you!
Thank you! I appreciate it!
How creative and what a fun project! Looks like the kids are having a blast.
I had fun making it and my boys are loving it for sure!
What a fun DIY my kids would love this.
My kids still play with it months after I made it!
Oh my gosh how cute is this!
Thank you!