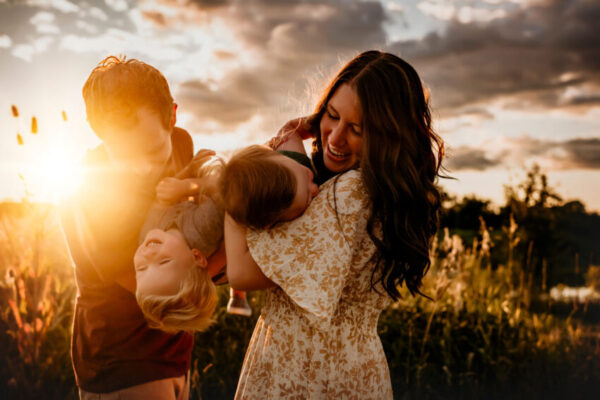
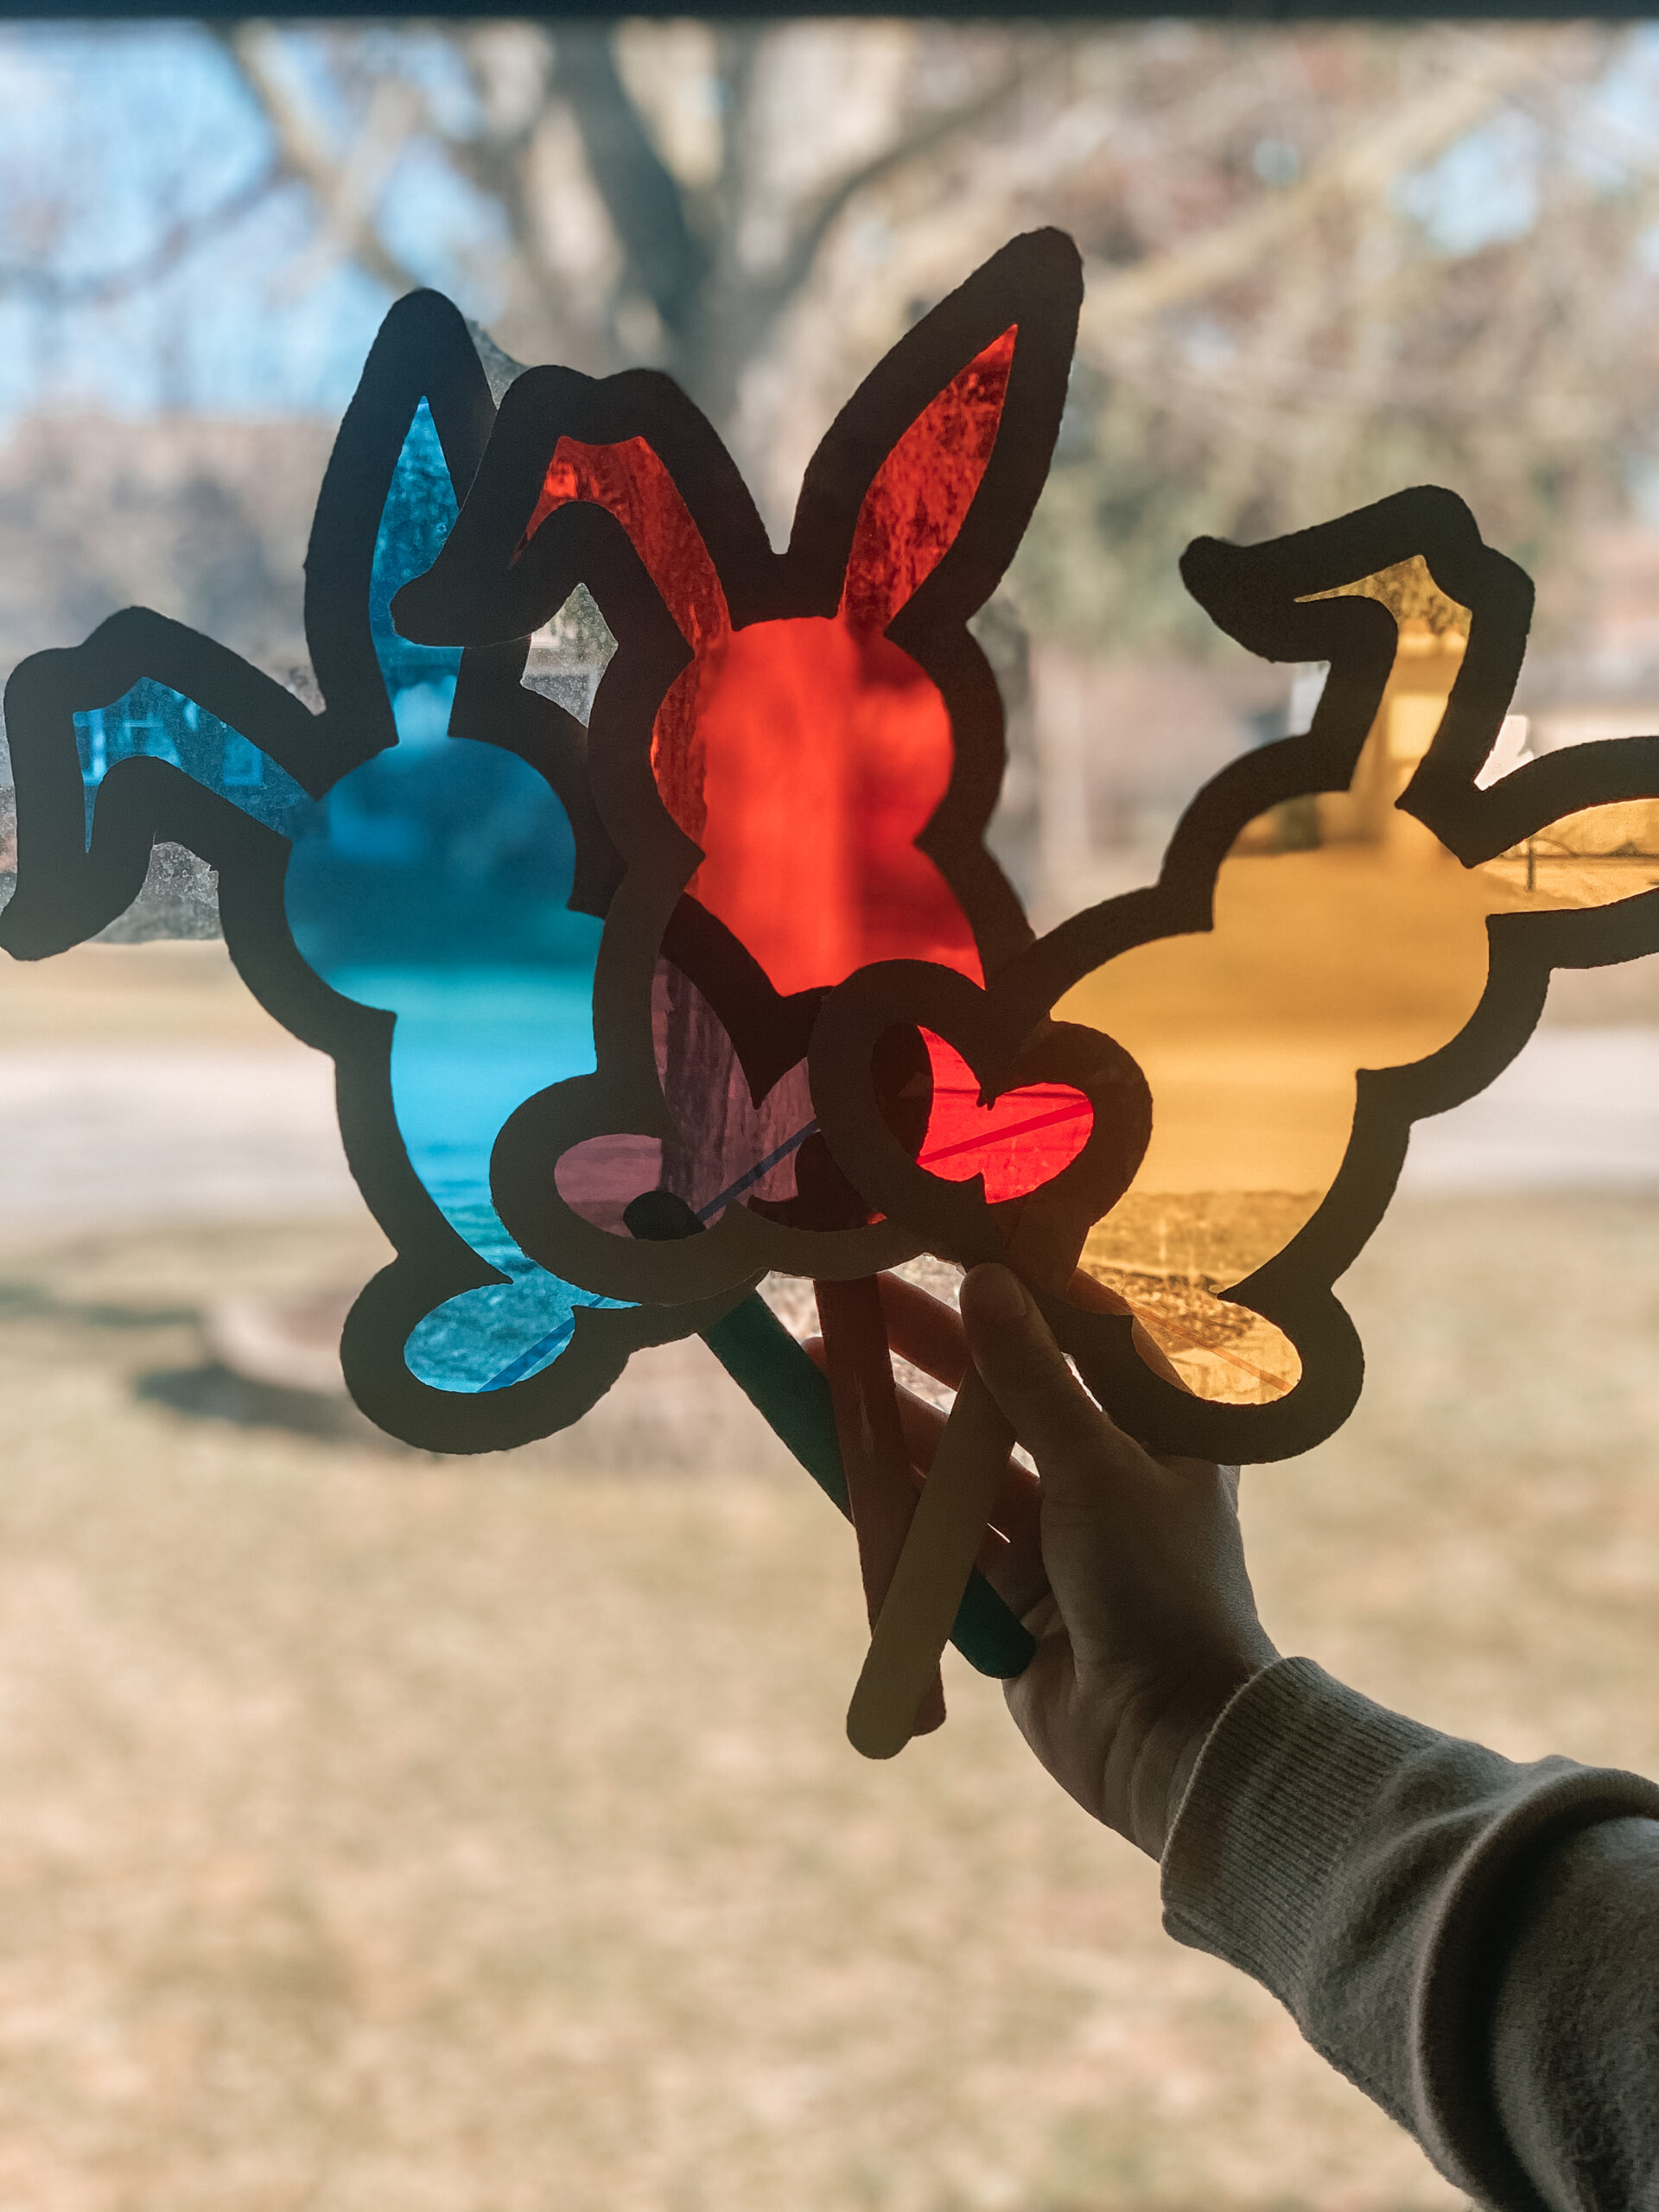
I love hands-on ways to help my kids learn new things. One day I was playing around with cellophane sheets and realized they would make a great way to teach my three year old what primary colors (red, yellow, and blue) can be combined to create secondary colors (purple, green, and orange).
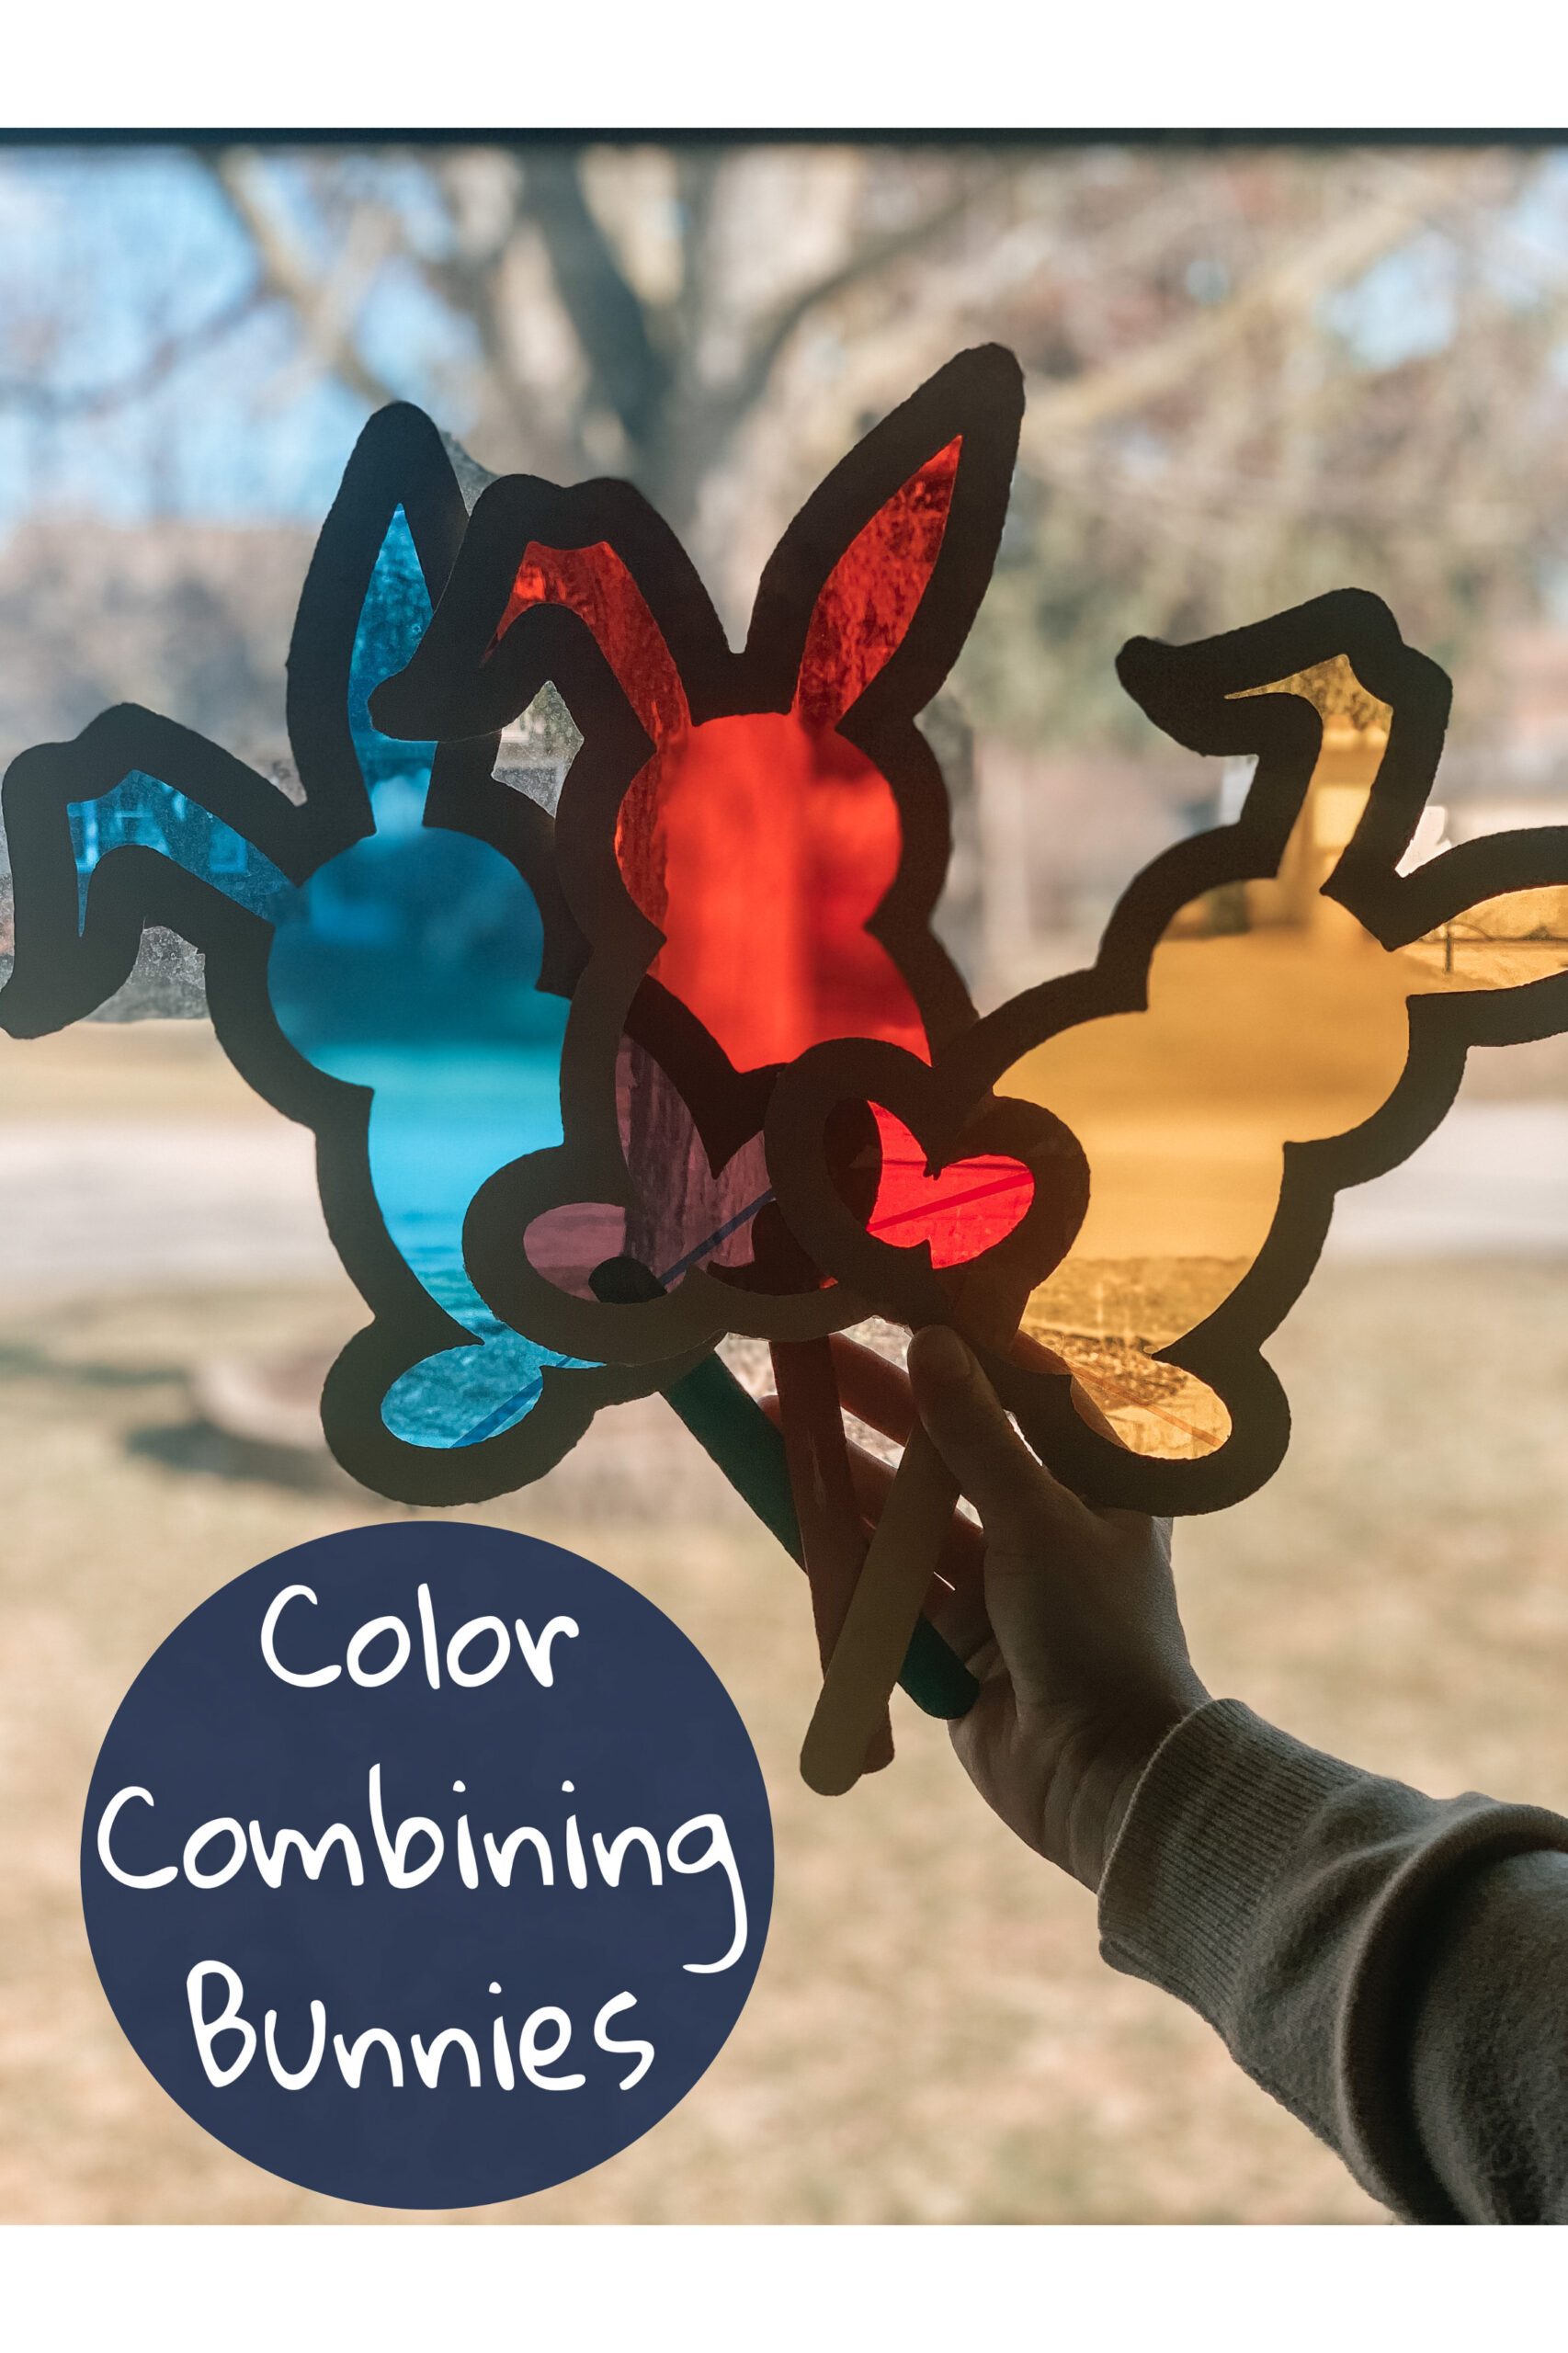
I was not sure if my sons would enjoy this or not but it turns out they had a great time with these little bunnies. My three year old enjoyed putting them together to make different color combinations. After doing this a few times he was able to correctly guess which color mixing two primary colors would create. My one year old enjoyed holding them up to his face and looking through them to turn the world around him a new color.
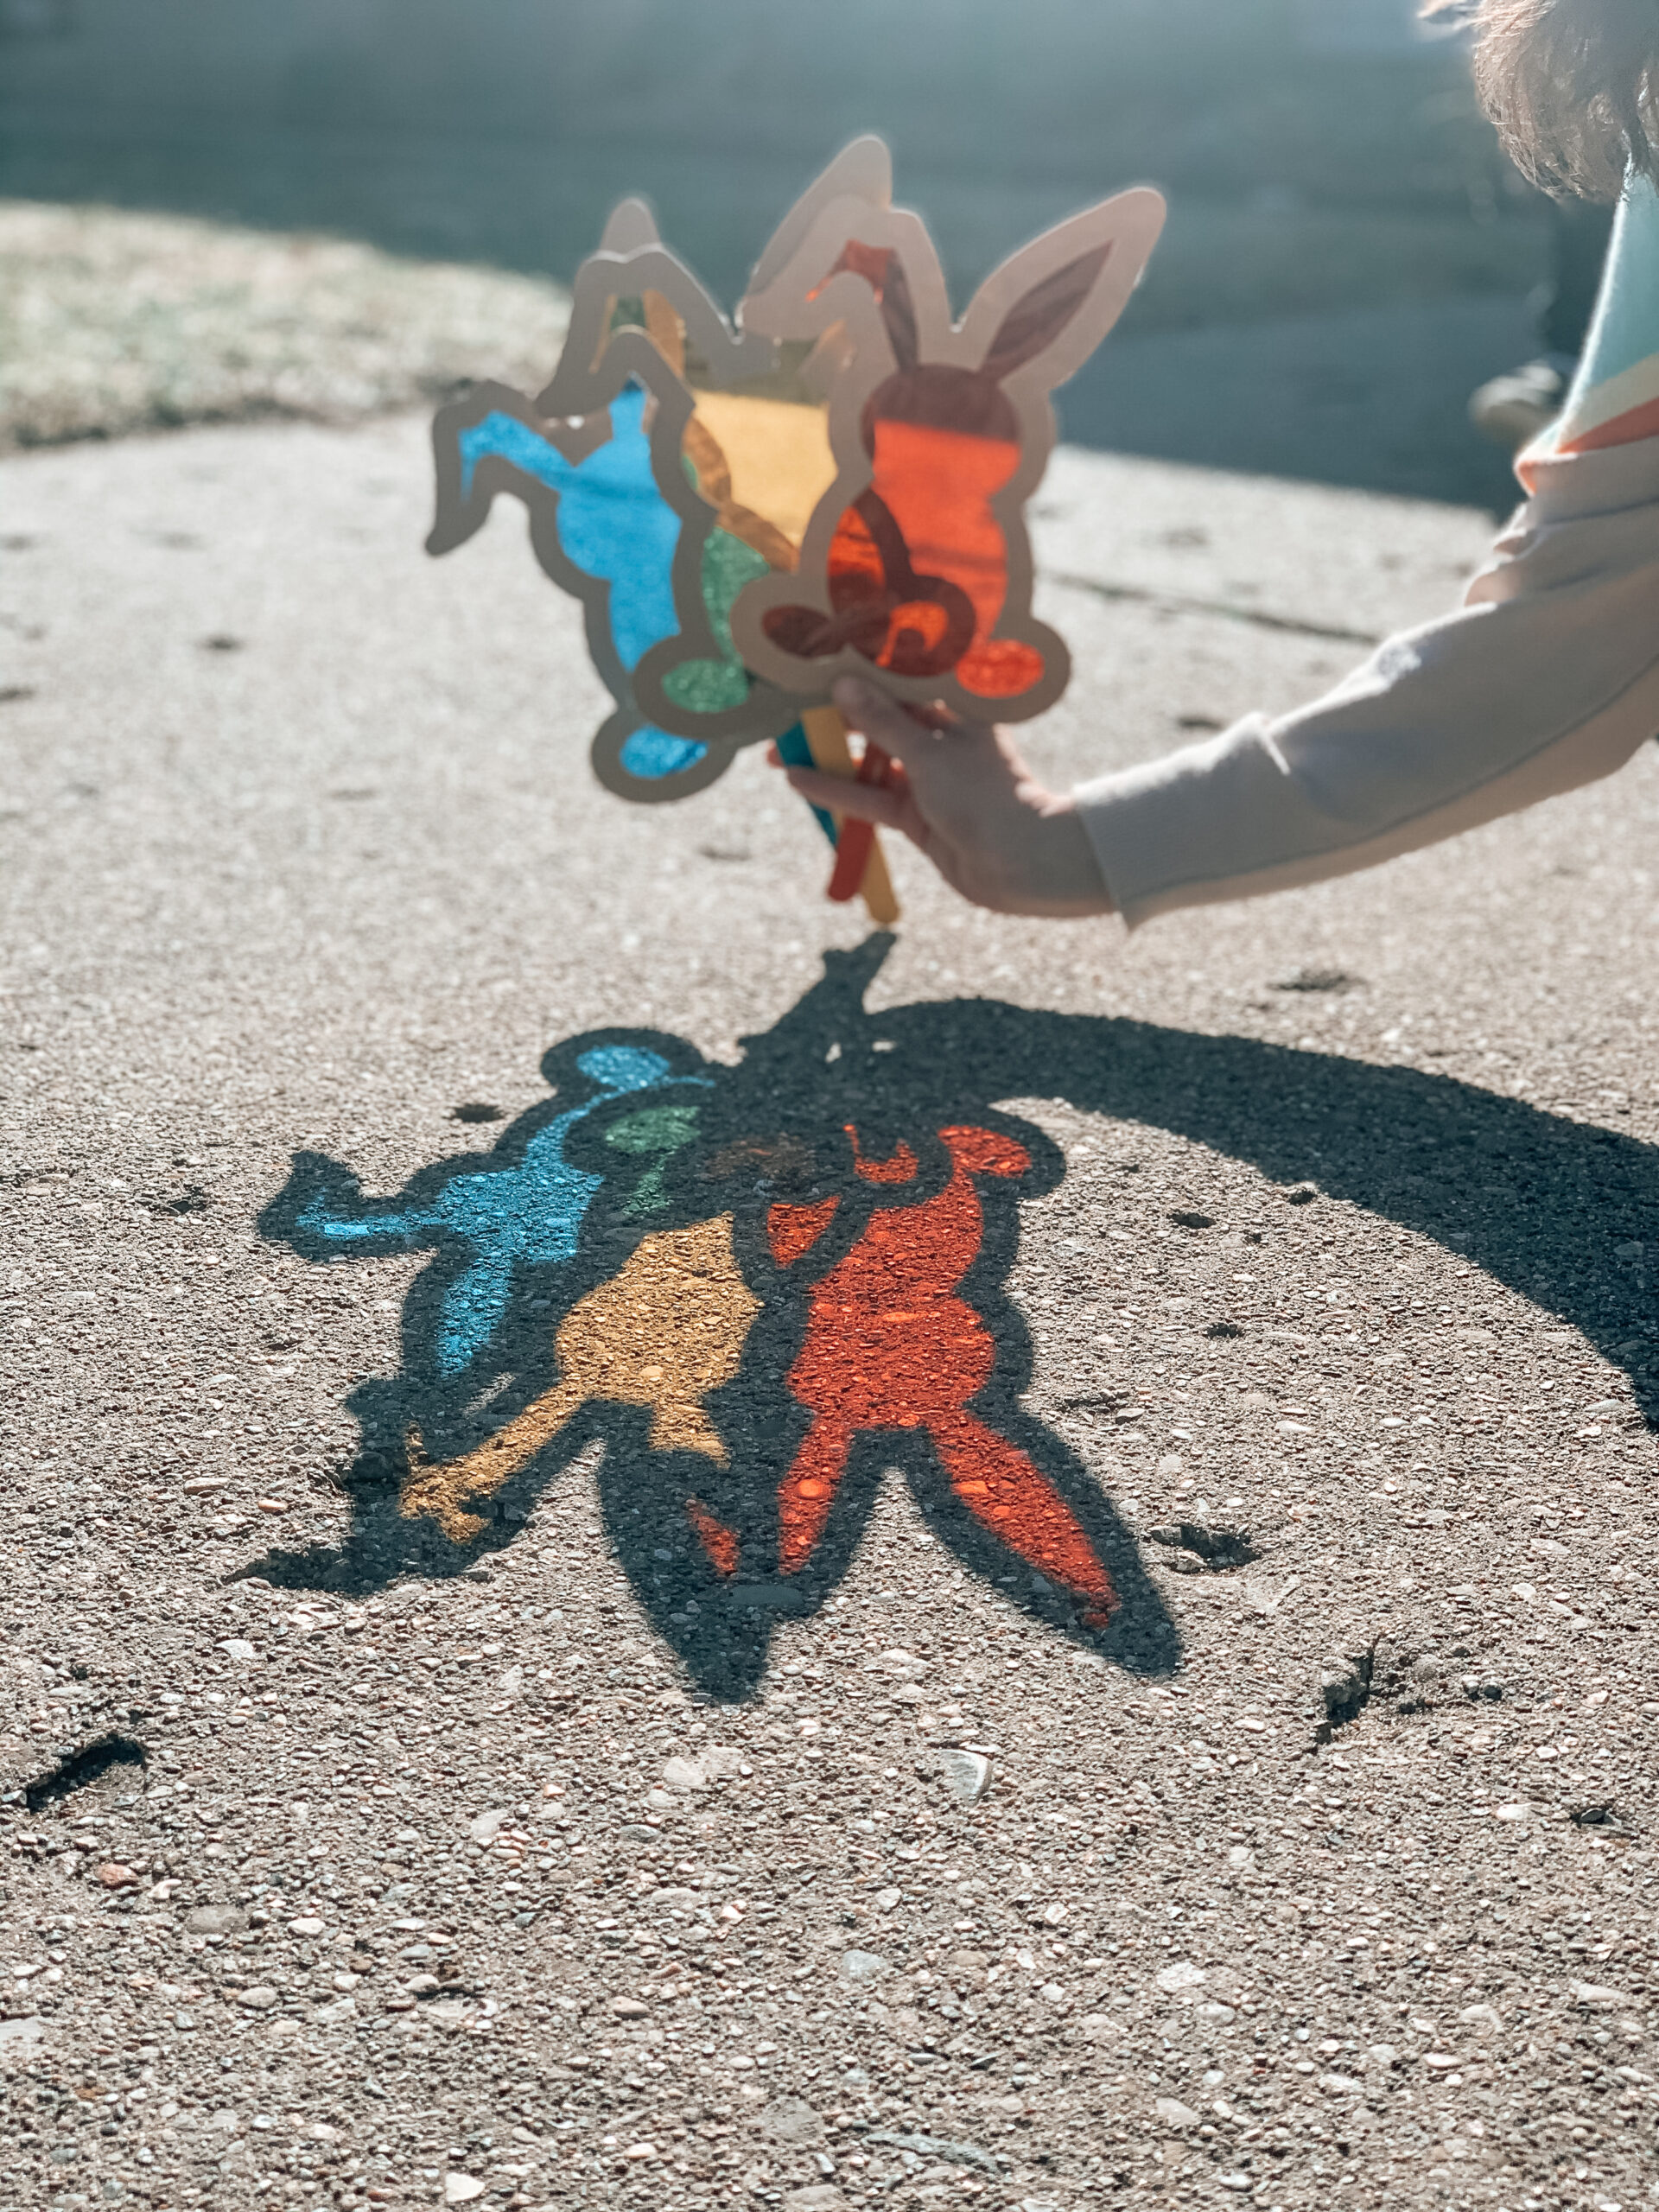
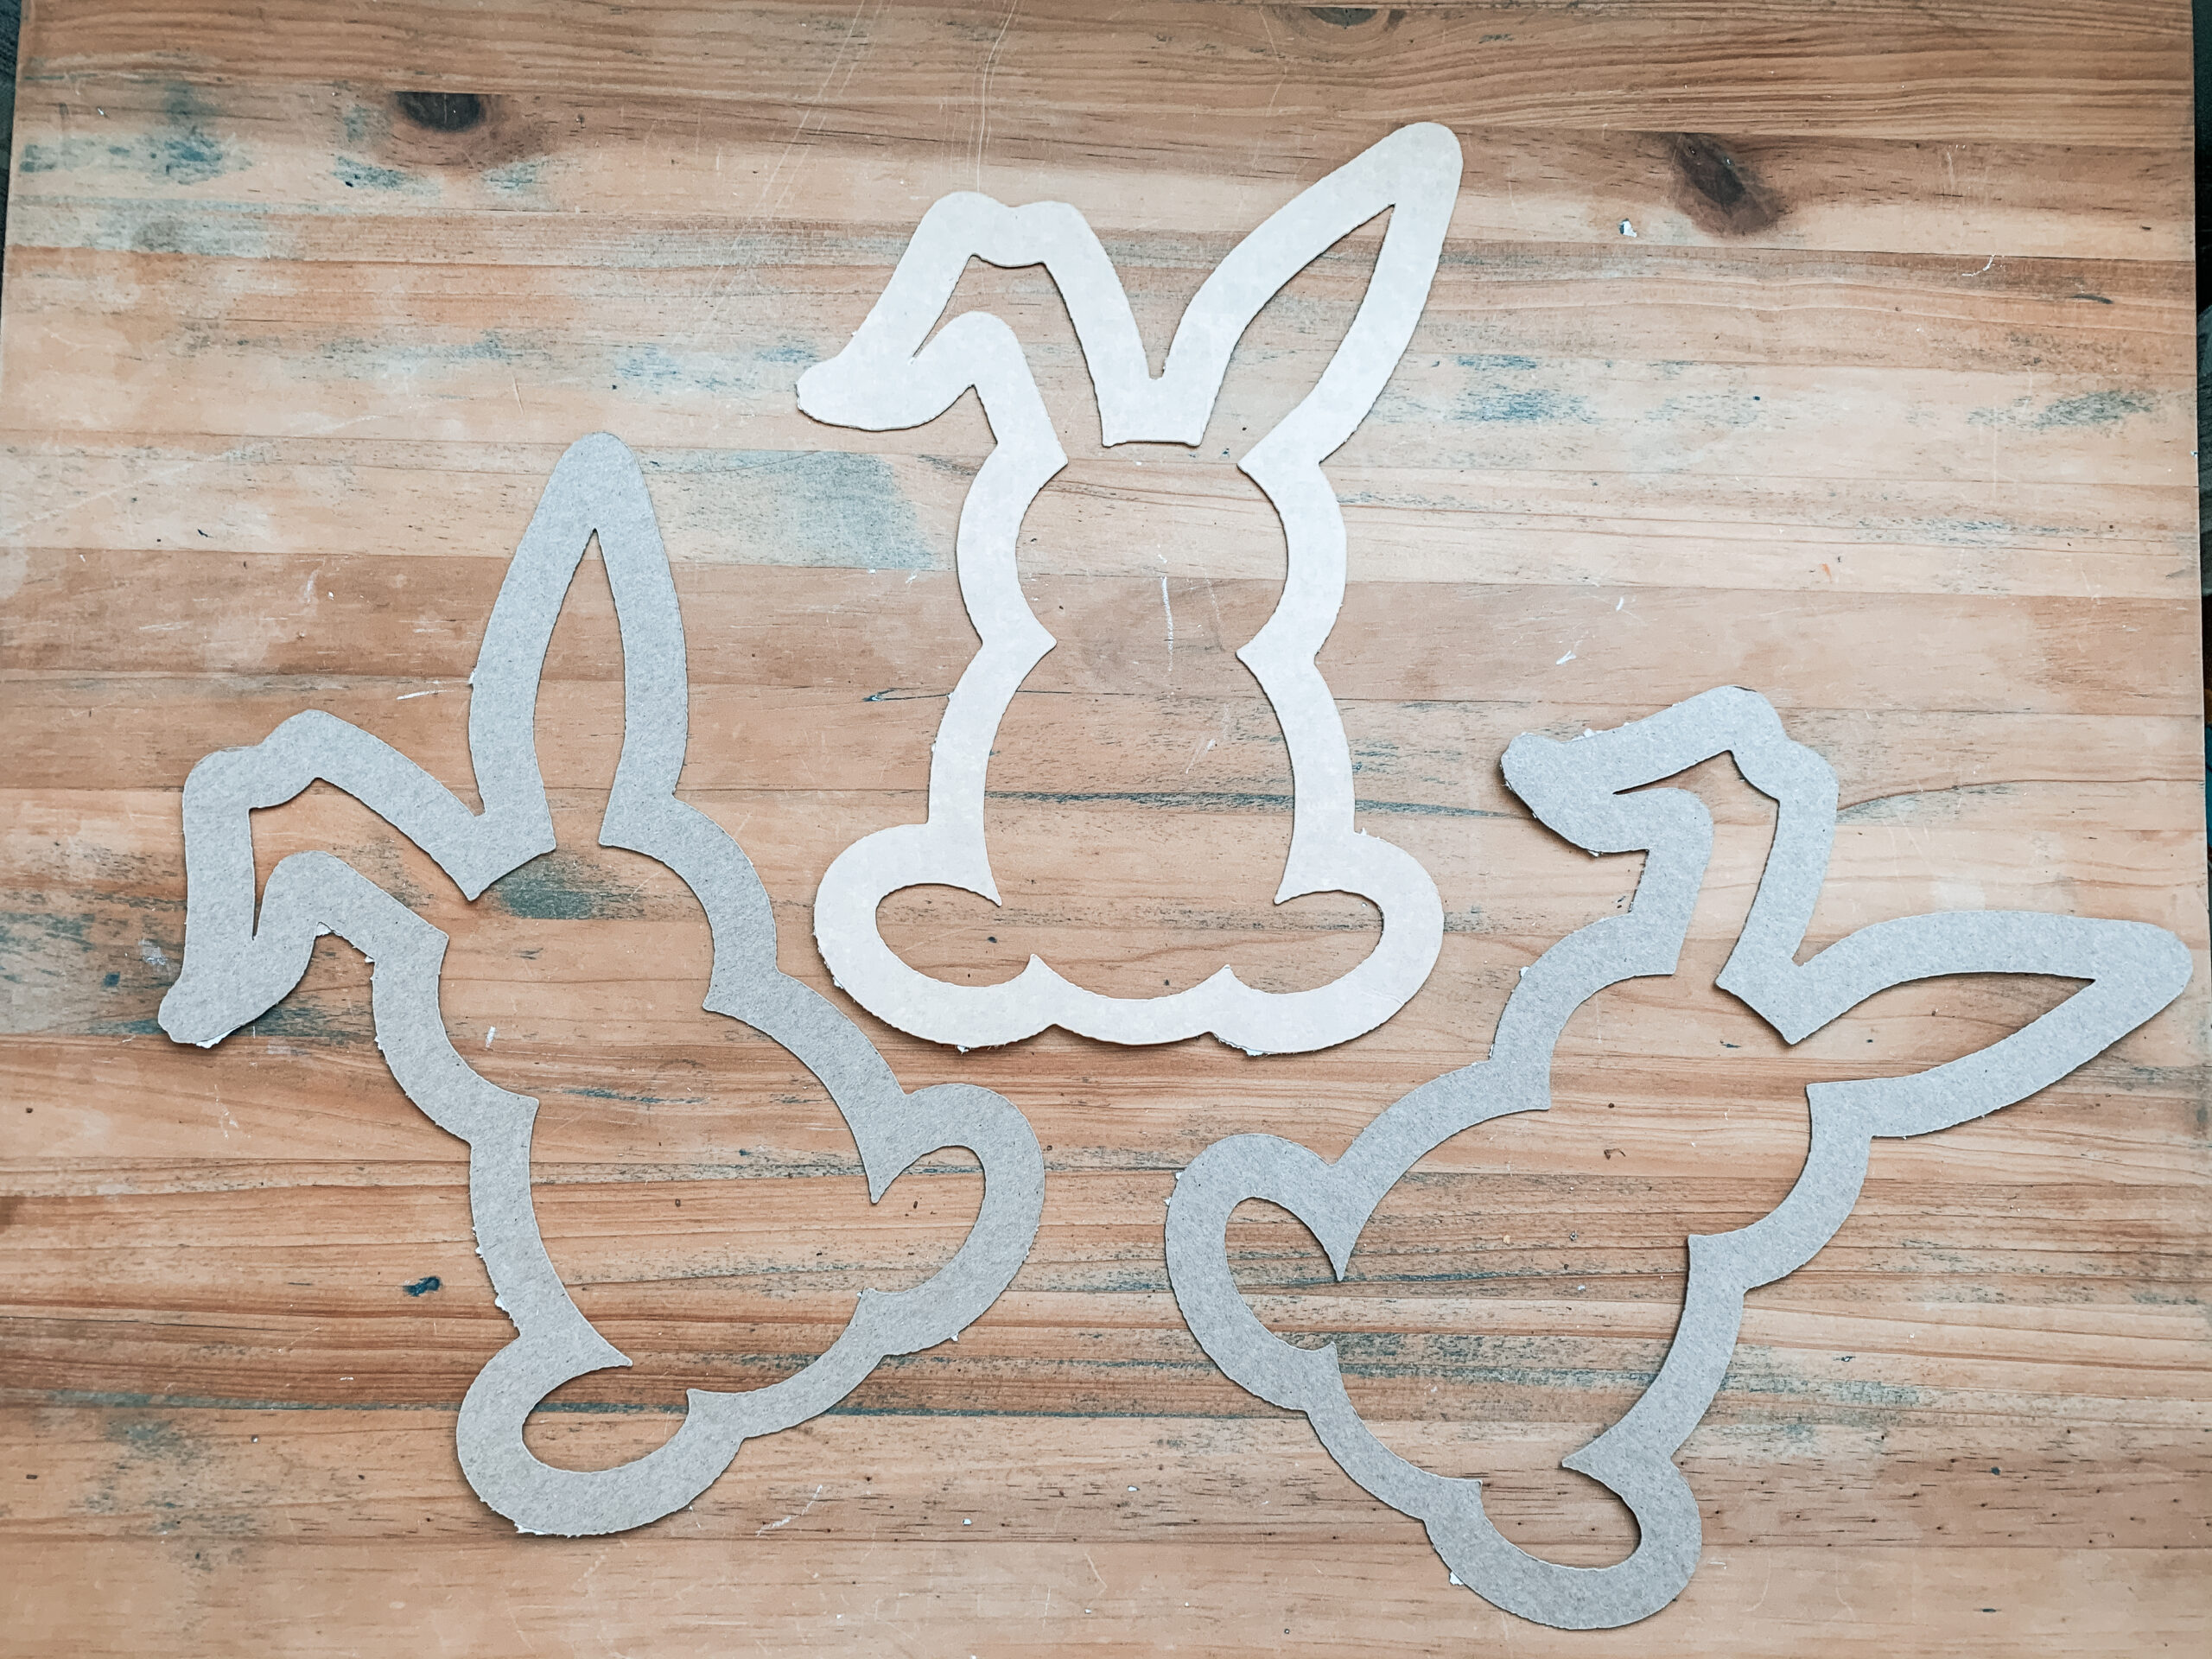
For Christmas this year, I received a cricut. To create these little bunnies, I used my cricut to cut a bunny outline out of a cardboard cereal box. If you don’t own a cricut, no problem, you can trace and cut out a bunny using an exacto knife.
If you are using a cricut or hand cutting your bunnies, you can find the template I used on Pinterest from simplemomproject. I made my bunnies about 7 inches wide and 10 inches tall.
After cutting the cardboard bunny outline out, I cut cellophane sheets to fit a little larger than the inside opening of the bunnies. I then taped the cellophane to the cardboard and taped a popsicle stick to the bottom of each bunny.
What you will need:
cellophane sheets , cereal boxes (I used 2), tape, popsicle sticks, and an exacto knife
Directions:
- Cut bunny outline (Mine measured 7 inches across and 10 inches high) out of a cereal box using a cricut or exacto knife.
- If using a cricut, set on thick poster board setting to cut through the cereal box
- If using an exacto knife, print out the bunny template, cut it out and trace onto the cereal box first
- Cut cellophane sheets to fit slightly larger than the hole in the middle of the bunny
- Tape cellophane cutouts to the cardboard bunny cutouts
- Tape popsicle stick to the back of the bunny
Note: to make the bunny more sturdy, add another cardboard bunny outline to the back
[…] you tried out our Color Combining Bunnies, you may have ended up with bunny outlines after cutting the bunny shapes out of cardboard. I’m a […]
I love the bunnies. I’ll try mine with my daughter.
Great! I hope your daughter enjoys!